As November draws closer to December, I’ve been thinking about a few holiday tablescape ideas. It’s never too early to start planning and I hope some of my ideas might inspire you to try something different this year.
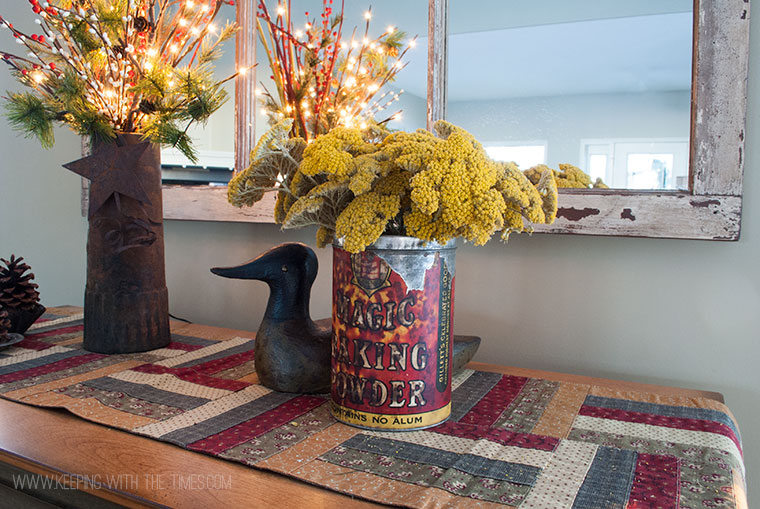
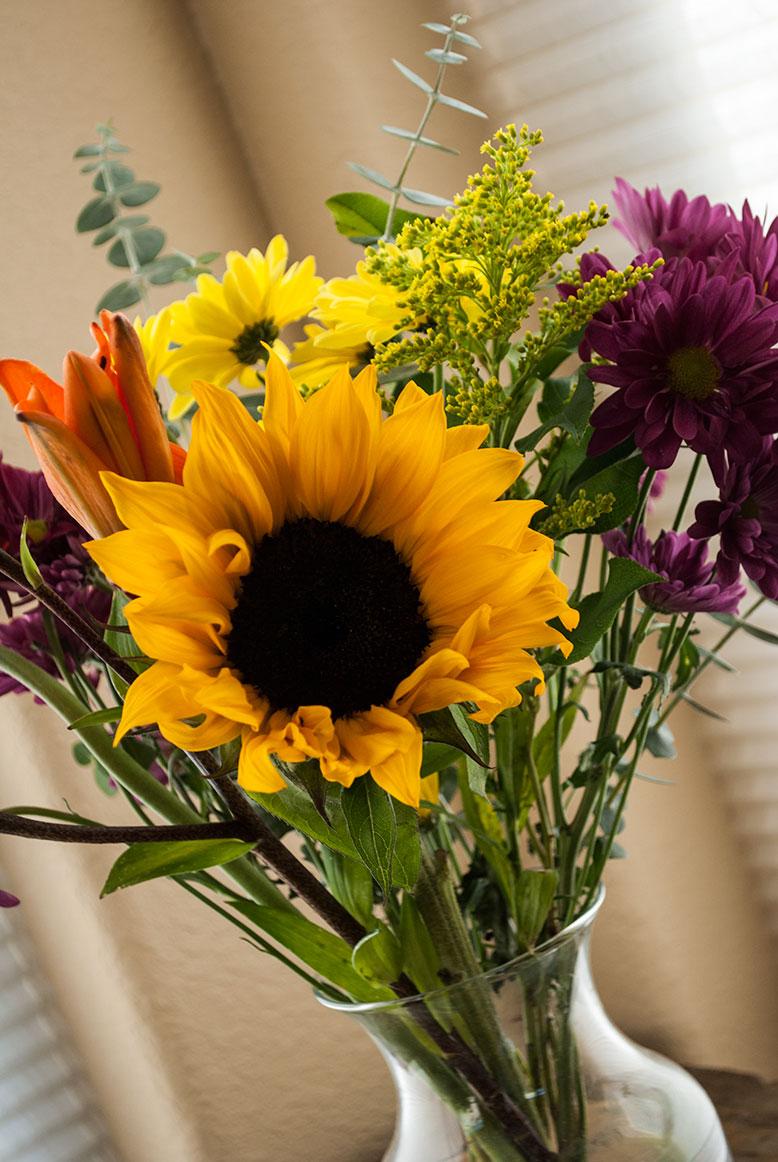
I often decorate in neutral tones, and lean toward a rustic country style. However, when I received this stunning bouquet from FTD, it set my to mind spinning, and all I could think of was gold and black, gold and black!
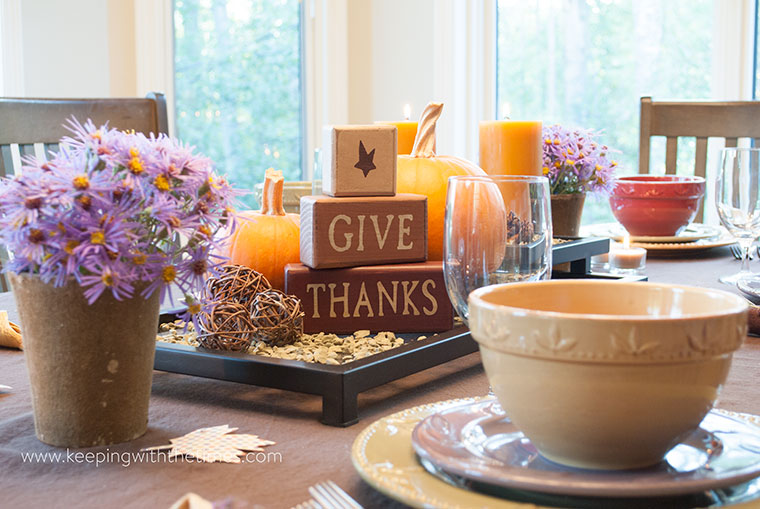
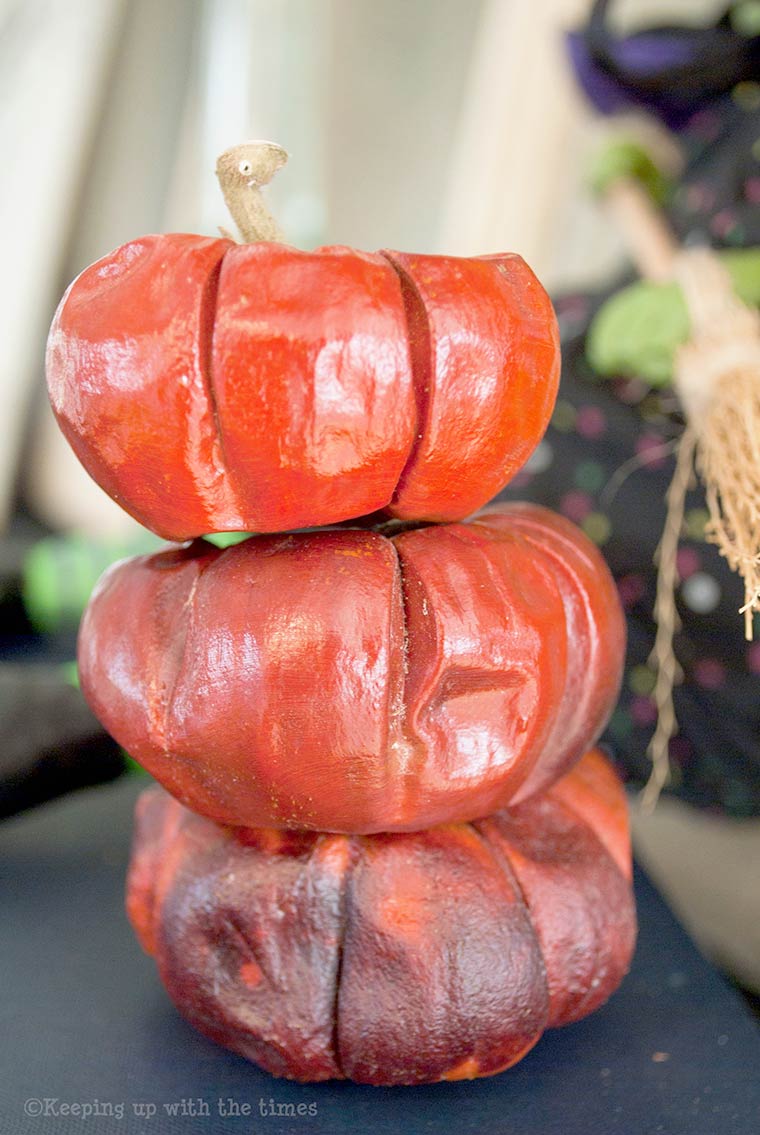
And notice the pumpkins! yes, this style of holiday tablescape will take you from Thanksgiving, through Christmas, and on into the New Year! I think the sky should be the limit when it comes to setting your holiday table, and it doesn’t have to be limited to what you usually do … this is where you can really let loose (in my opinion.)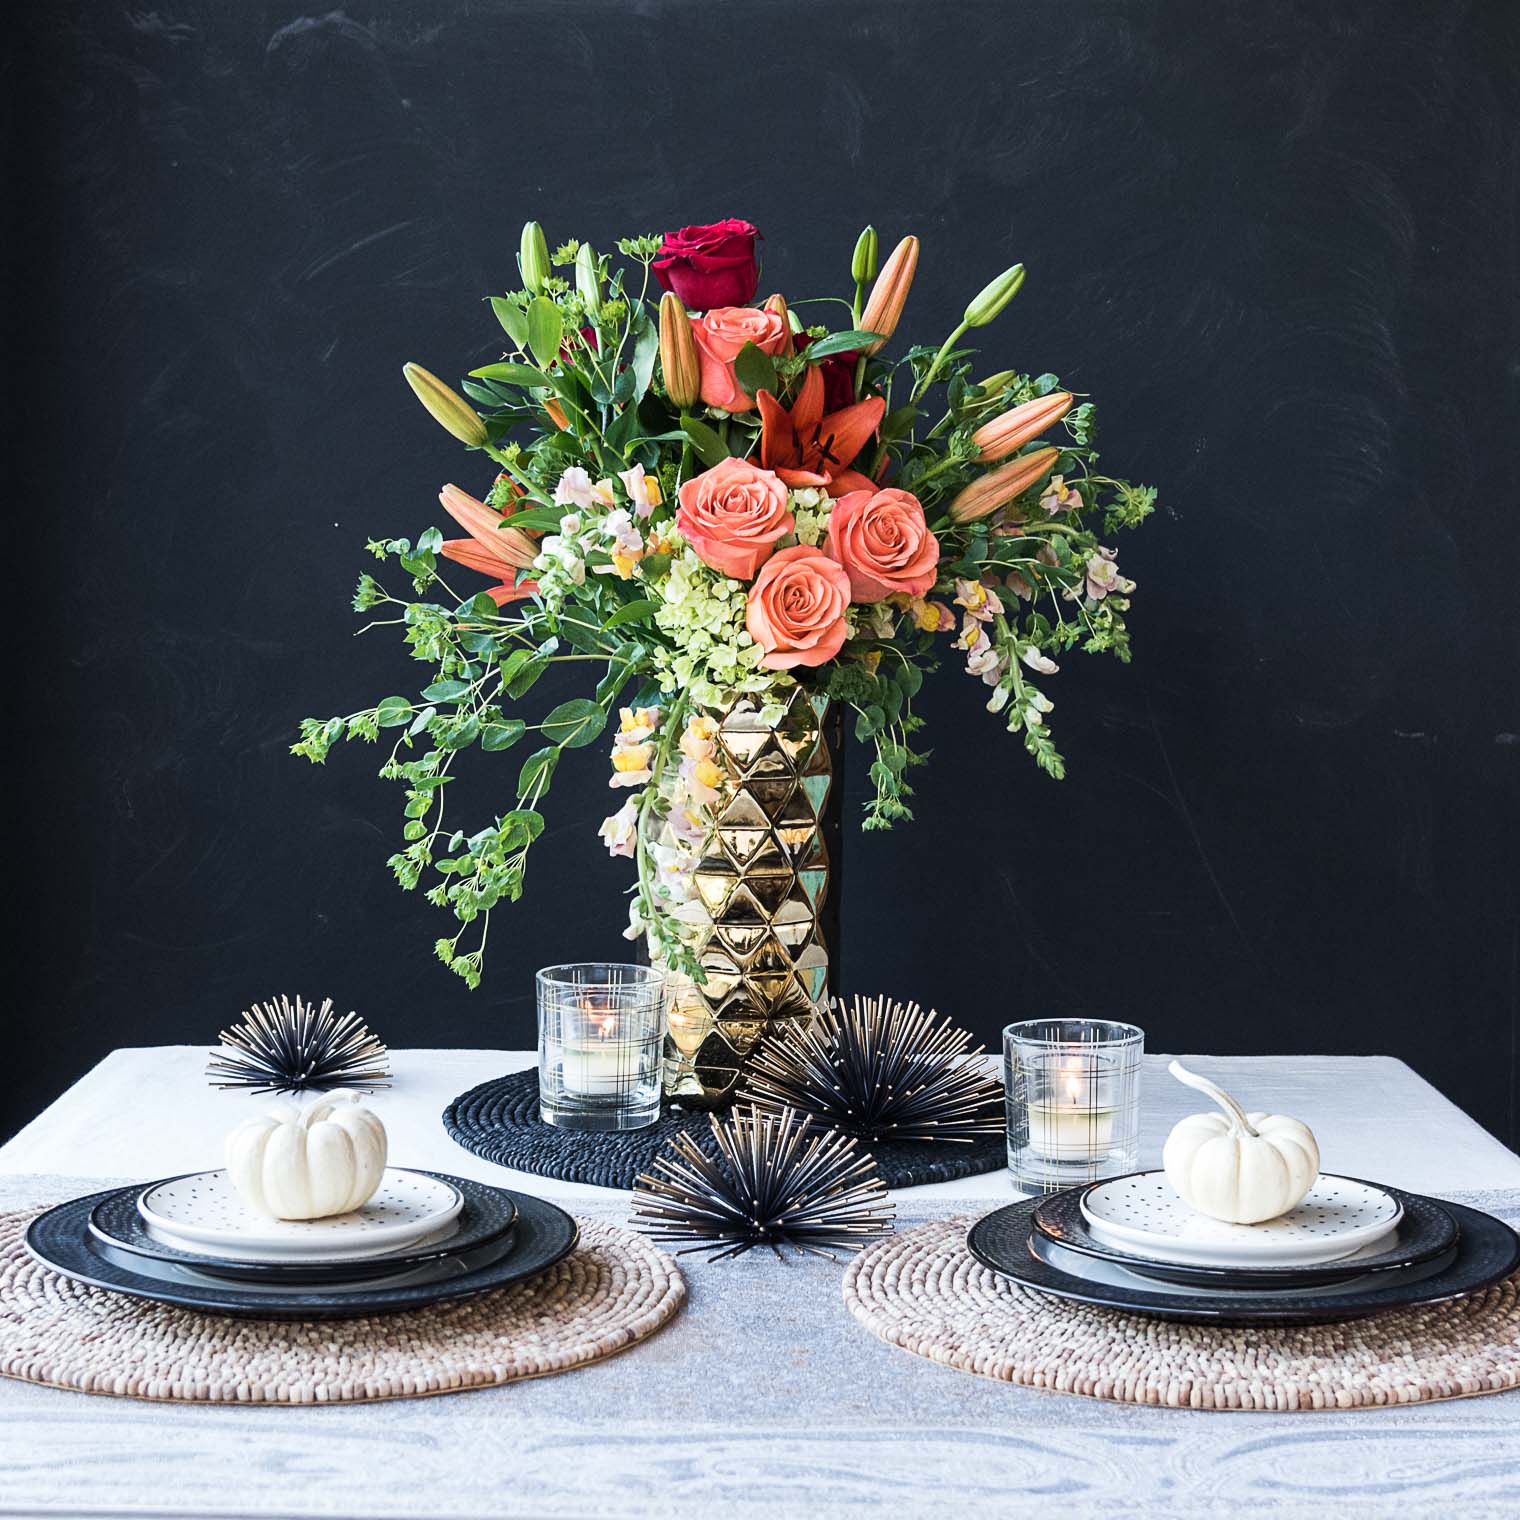
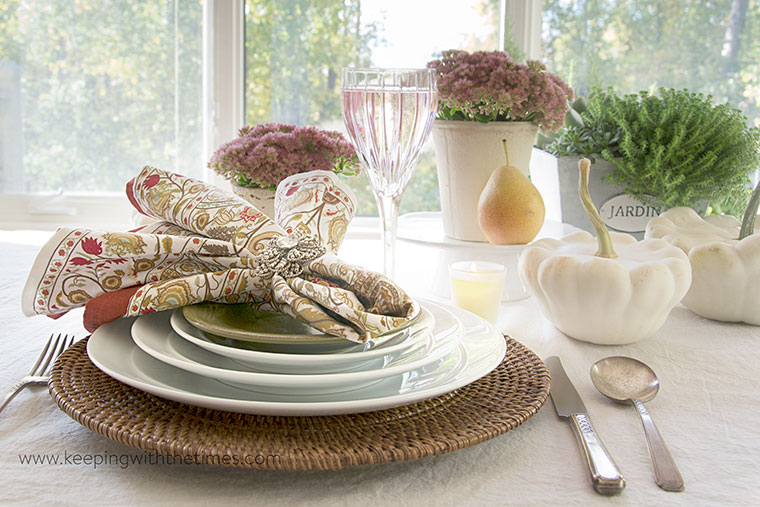
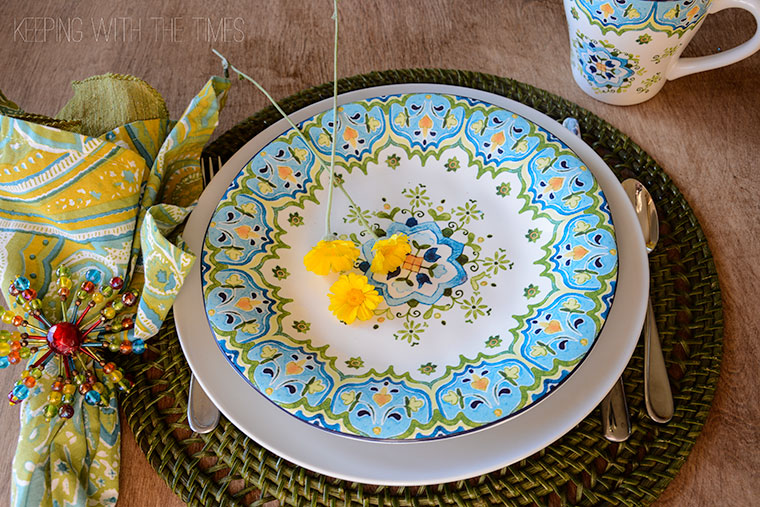
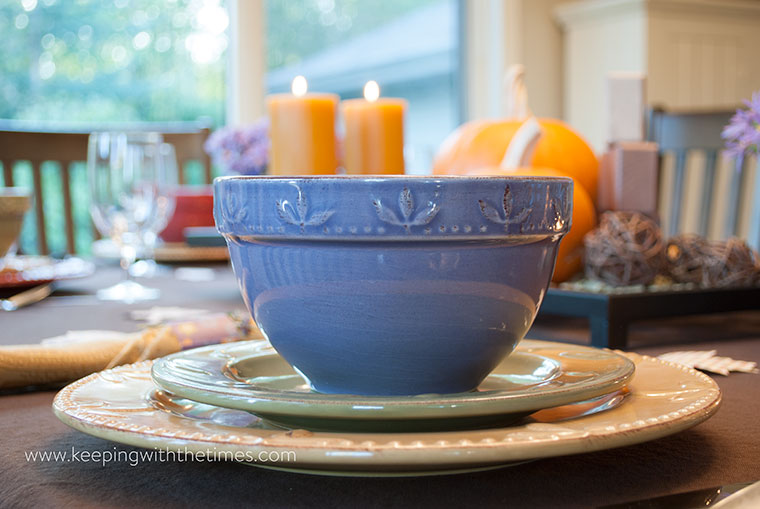
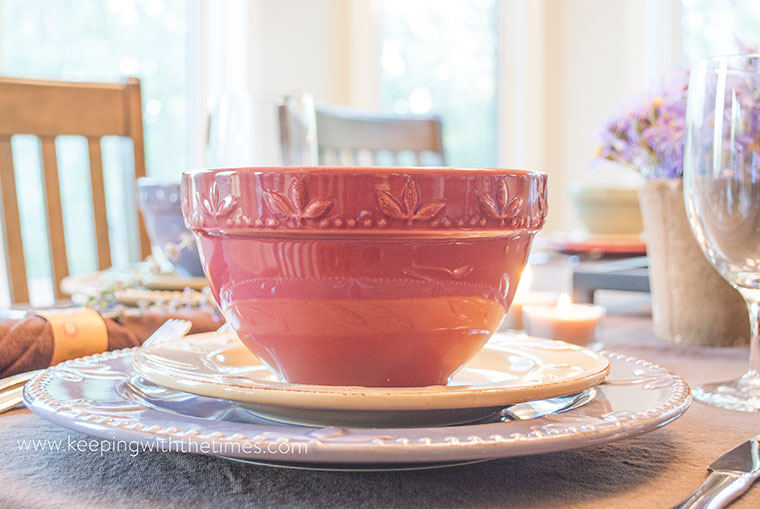
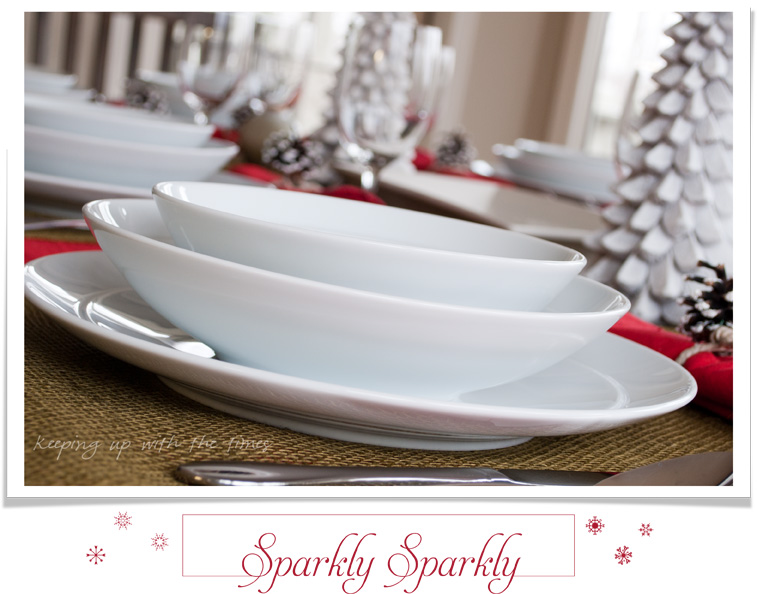
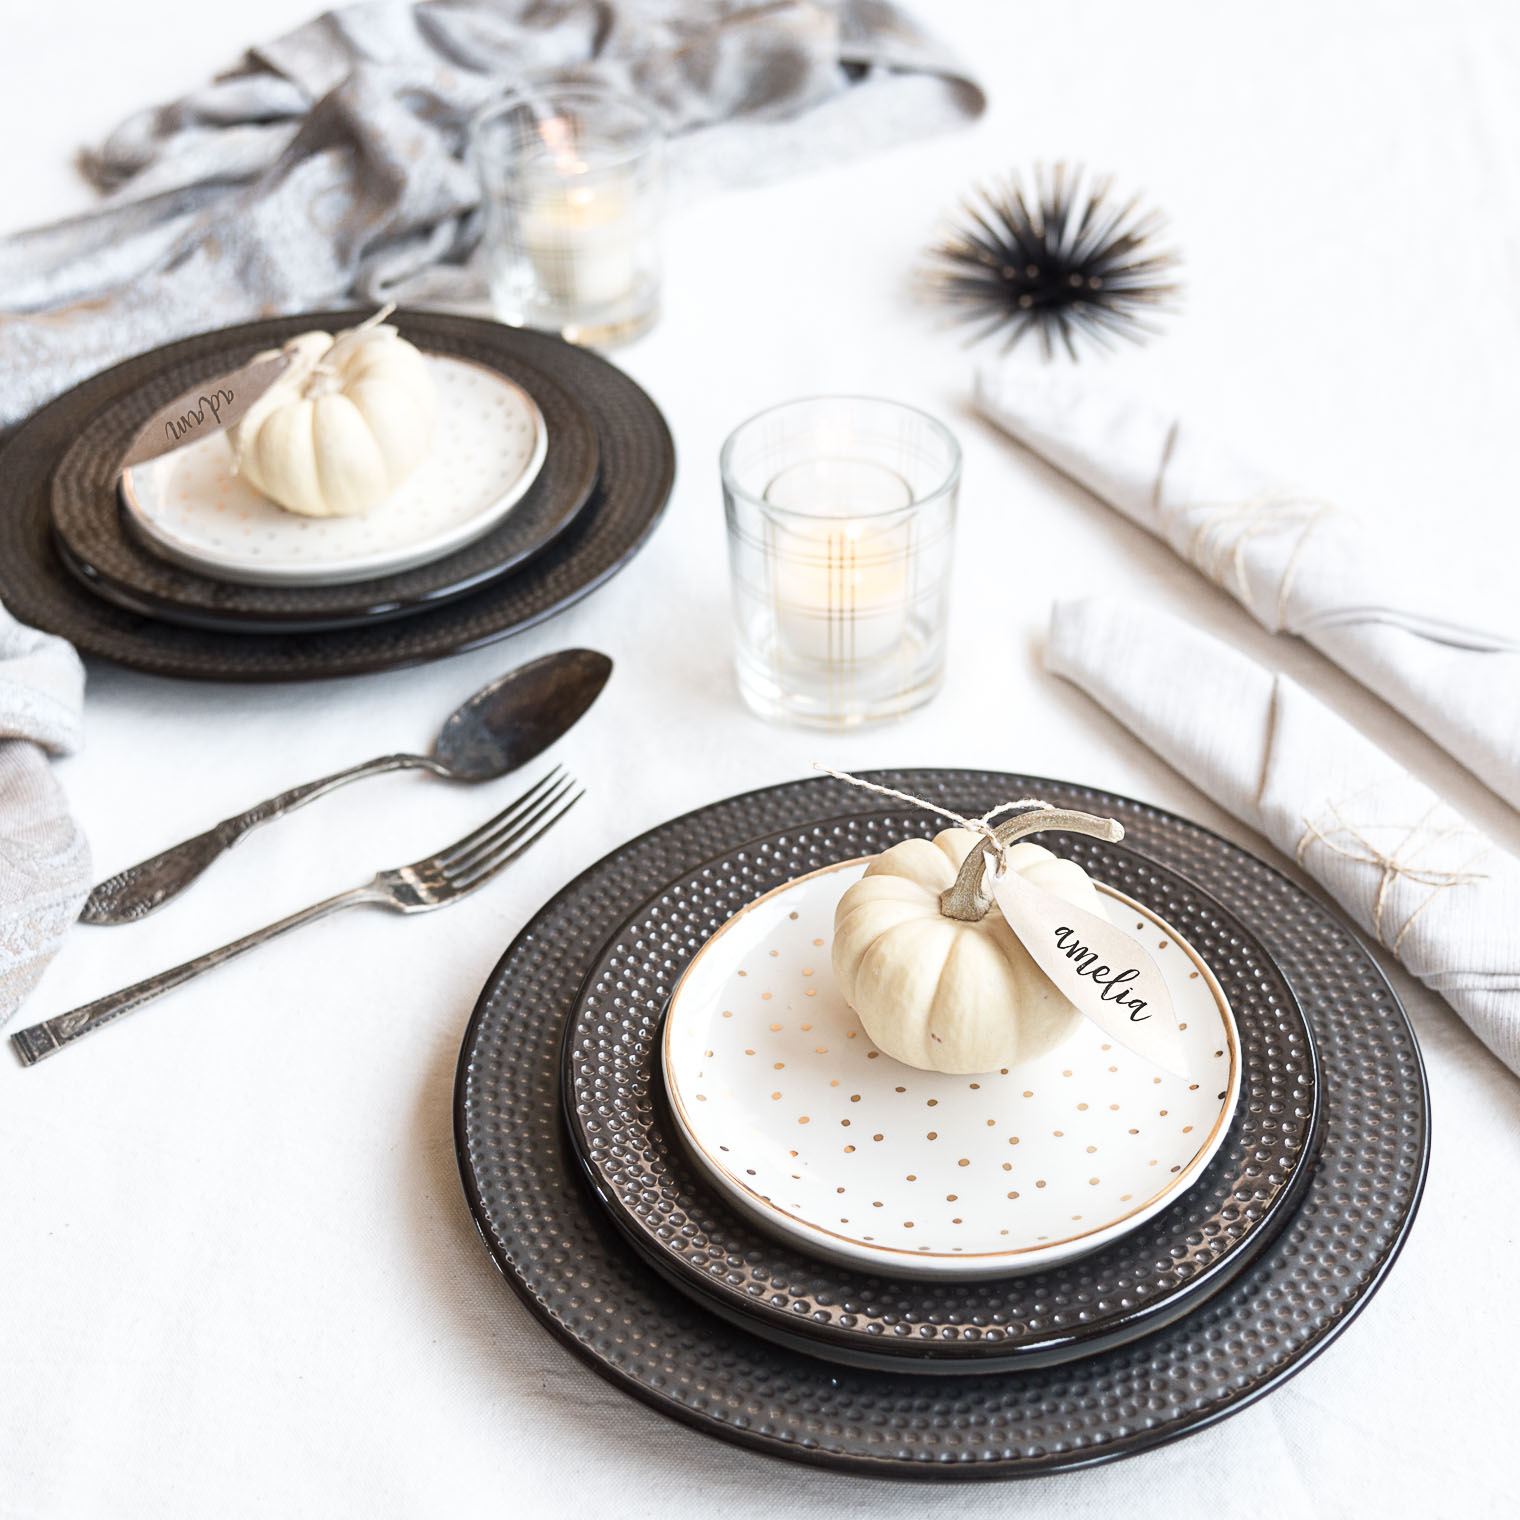
To achieve a rich looking holiday tablescape, my best advise is to use layers. I like to have the table set when my guests arrive, and I pile it on.
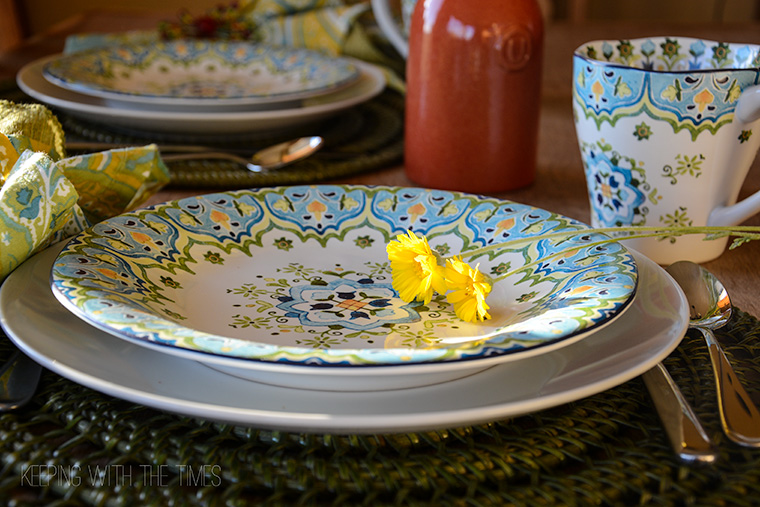
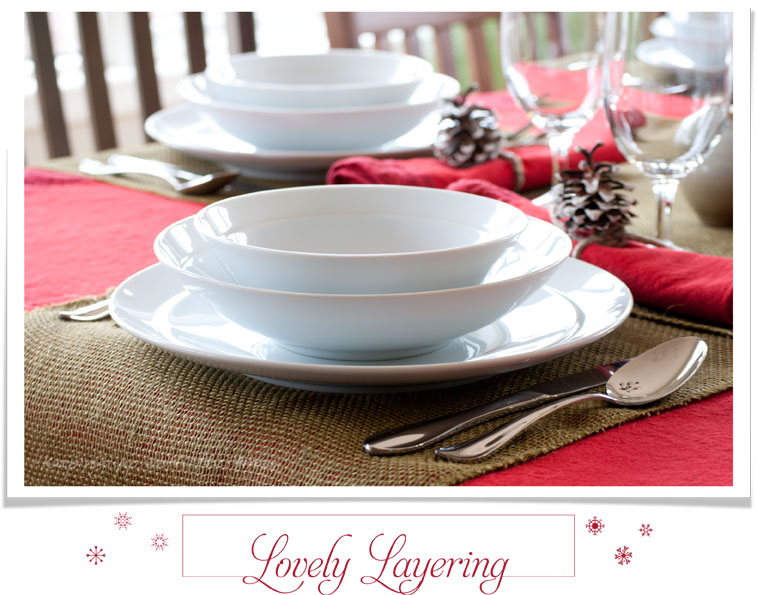
Again, I pile it on!
You may not actually be going to use all the plates, and probably not the accent plate, but who cares? we’re going for the wow factor here. Guests will not be aware whether you used such and such a plate ;) or not! Some day I’m going to pile on even more plates if I can find varying sizes.
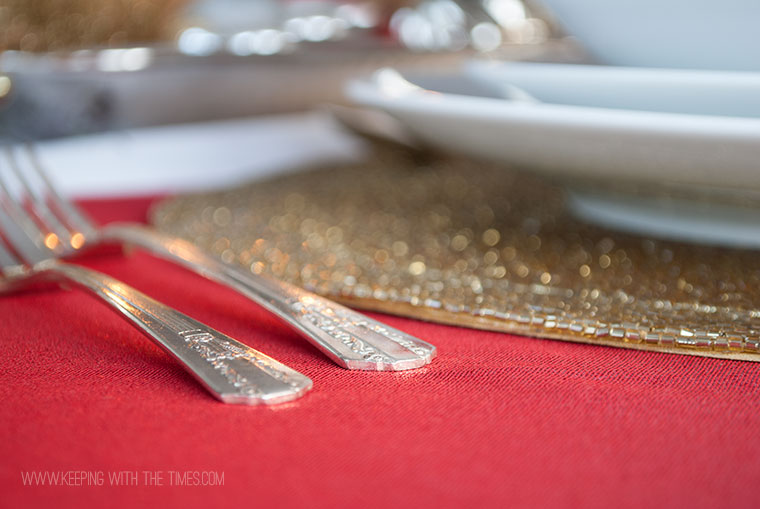
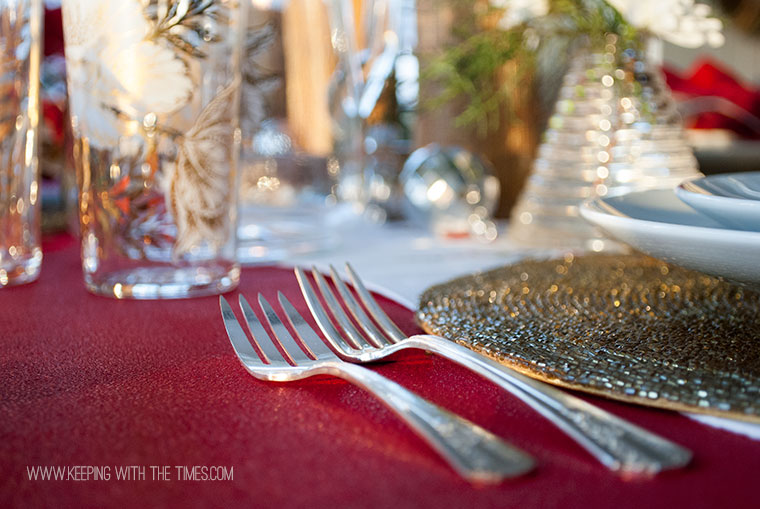
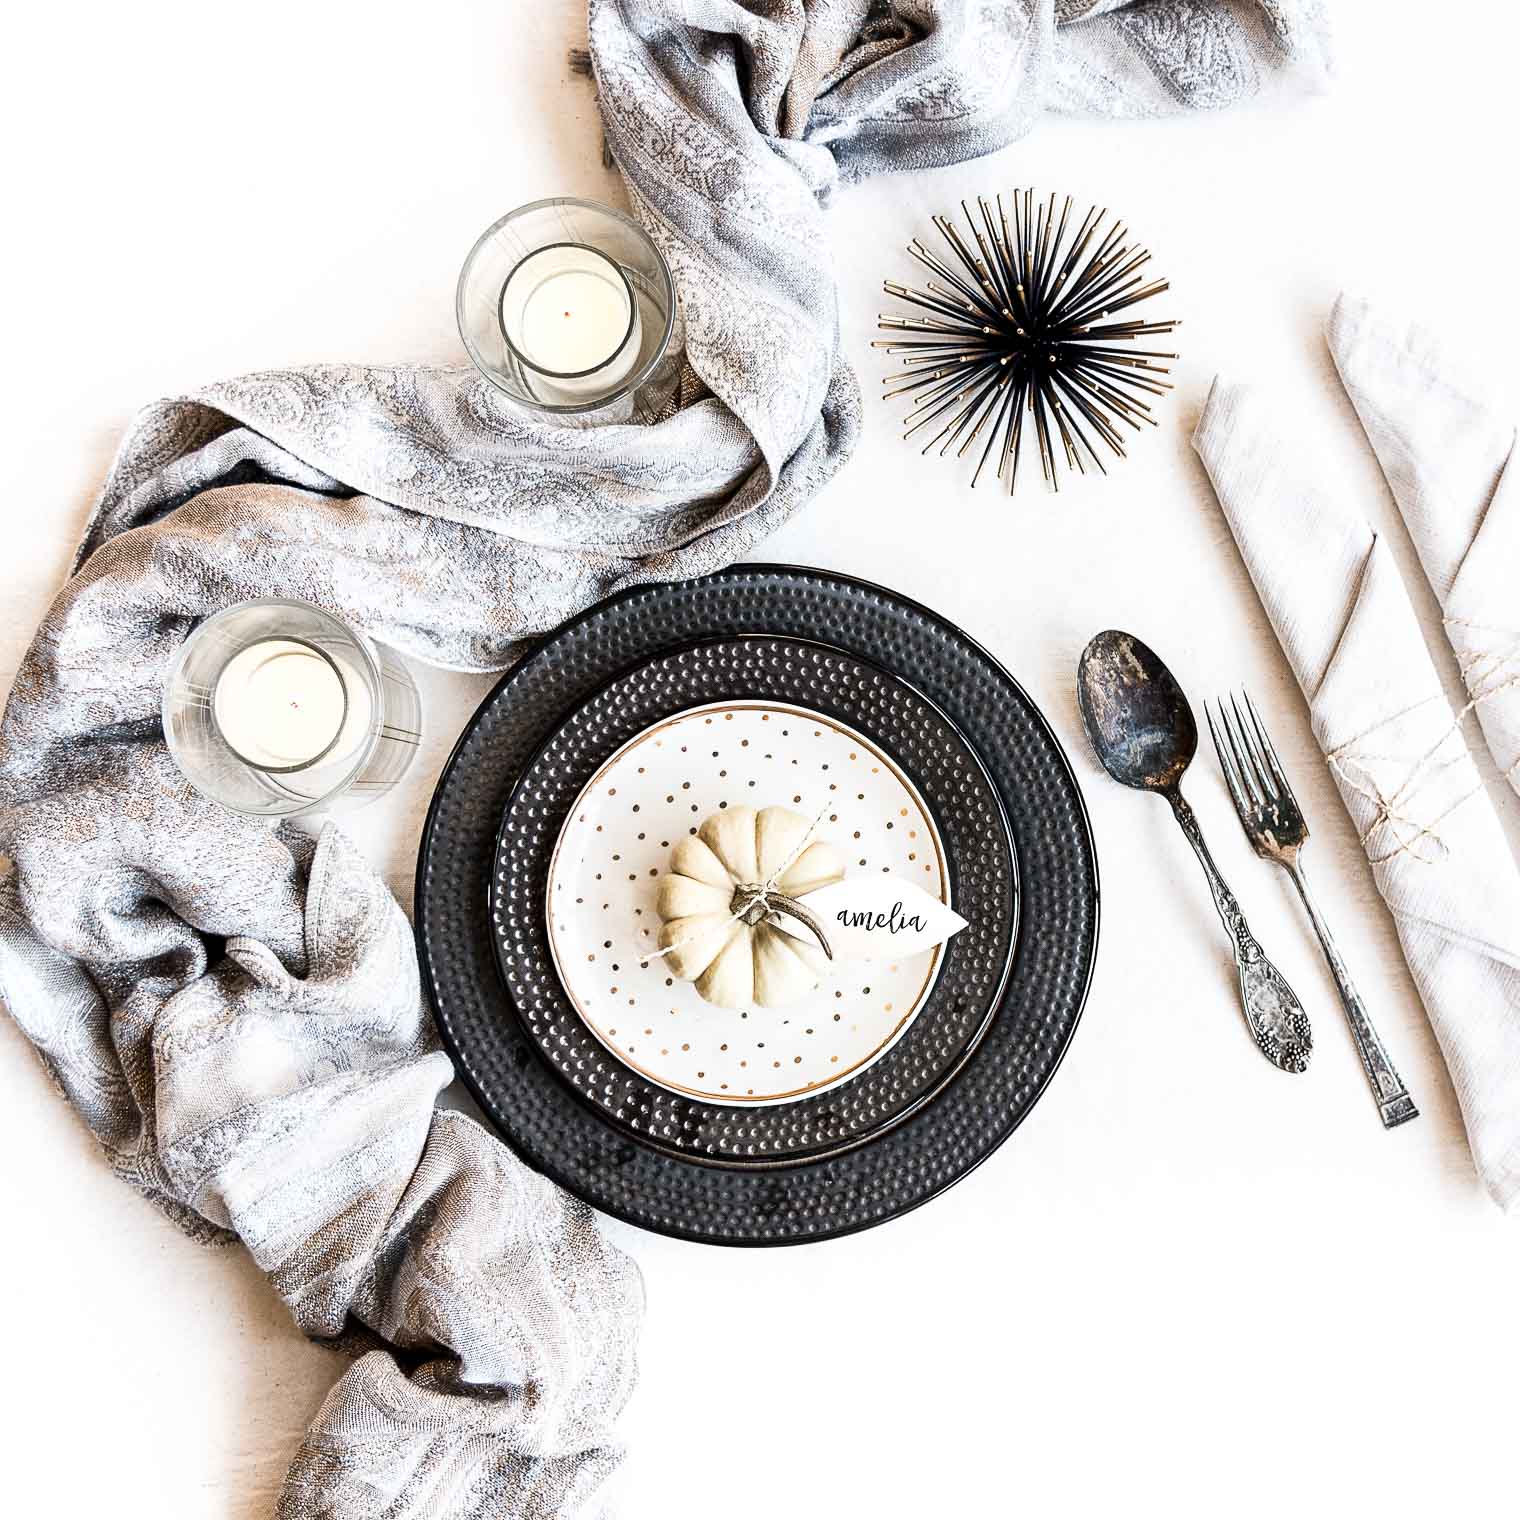
Start with a gorgeous charger like this natural beaded charger I’m using here. Add layers of plates and top with one small accent plate to add sparkle and interest.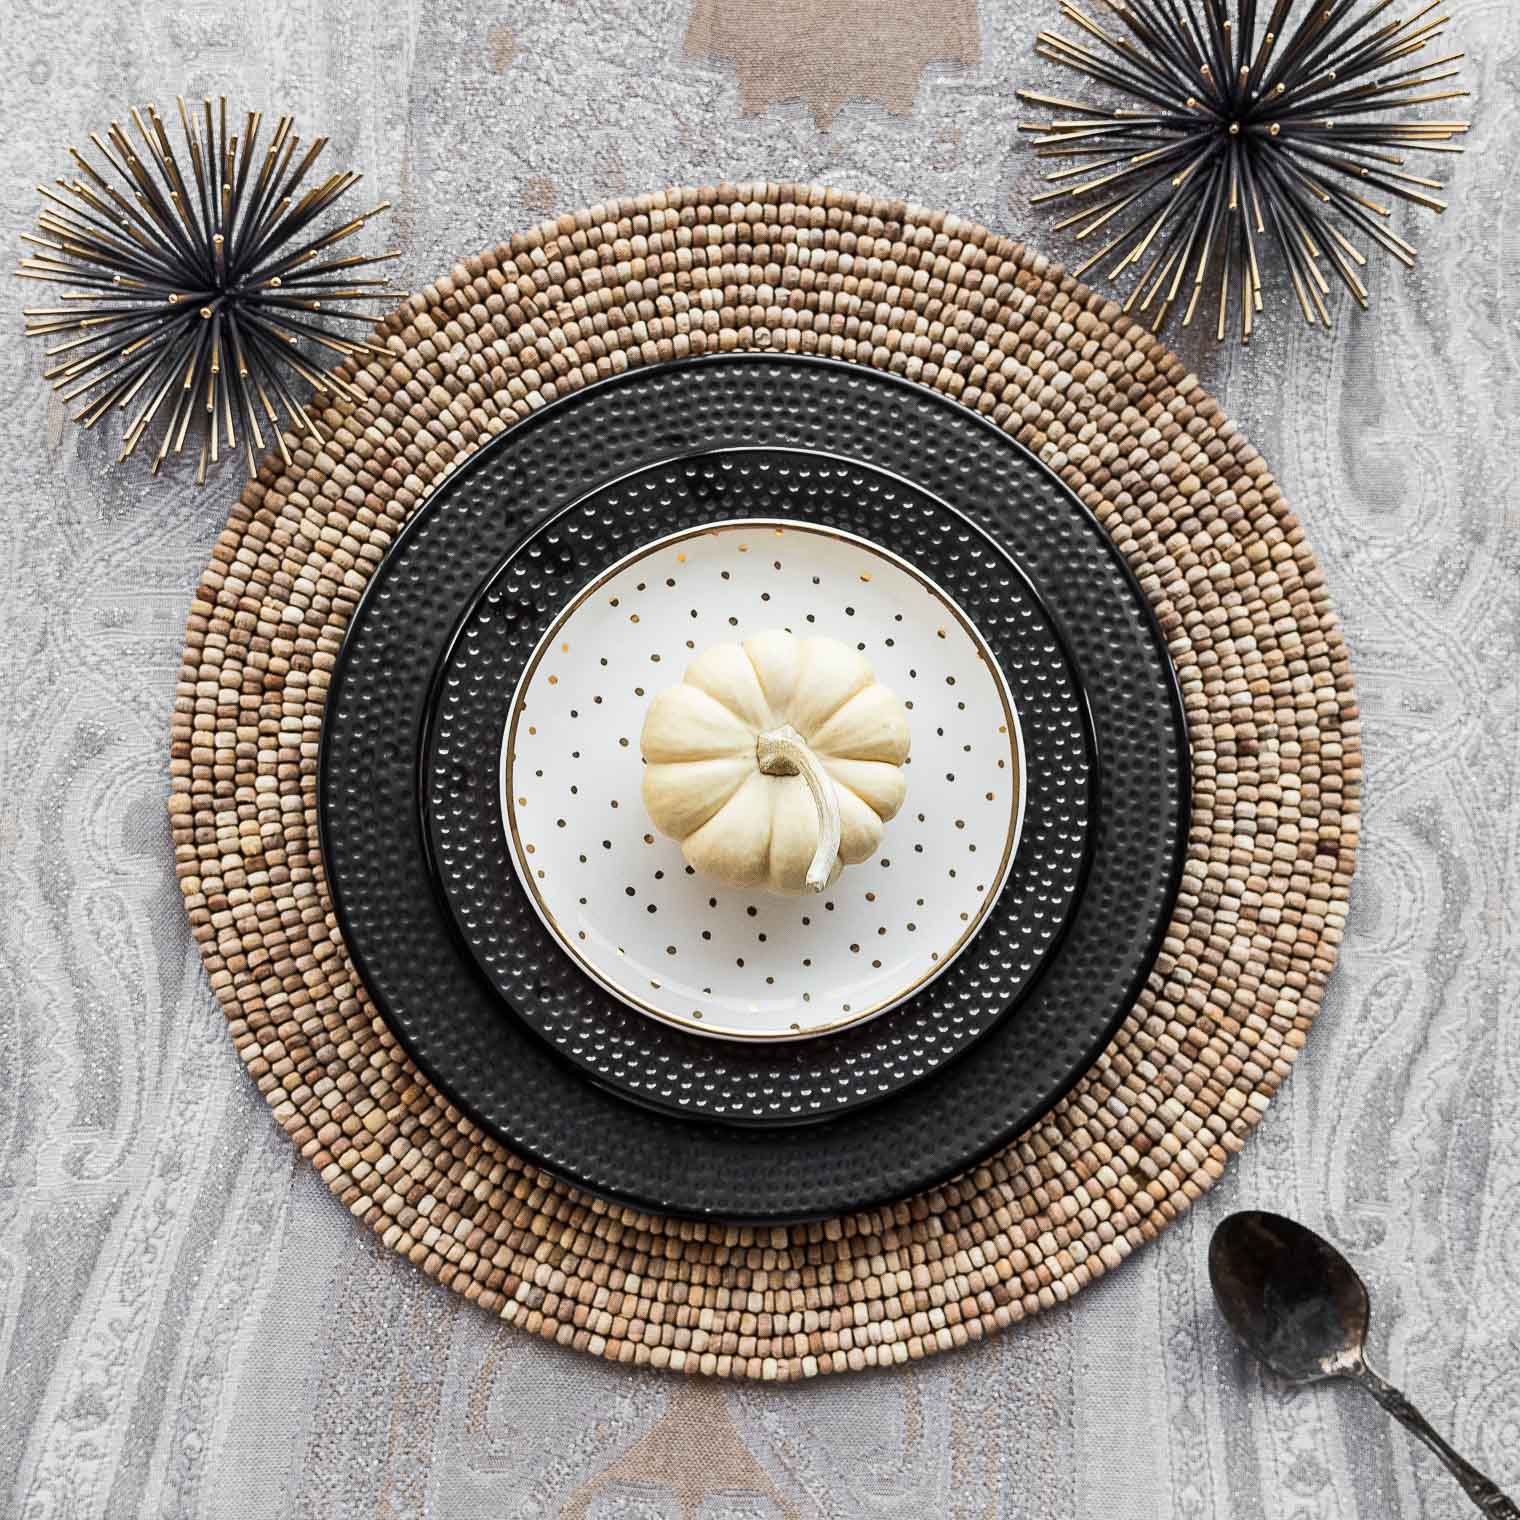
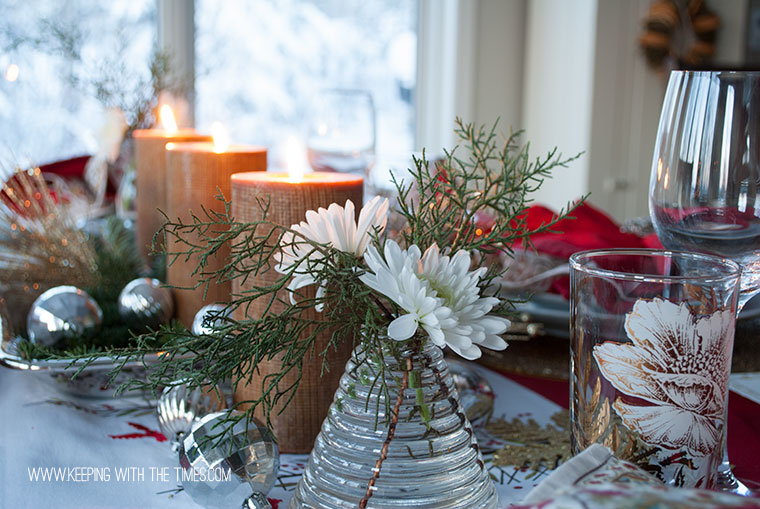
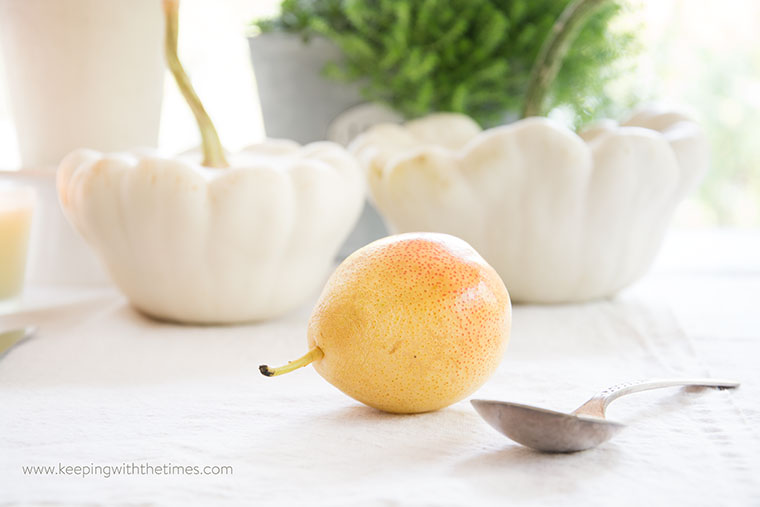
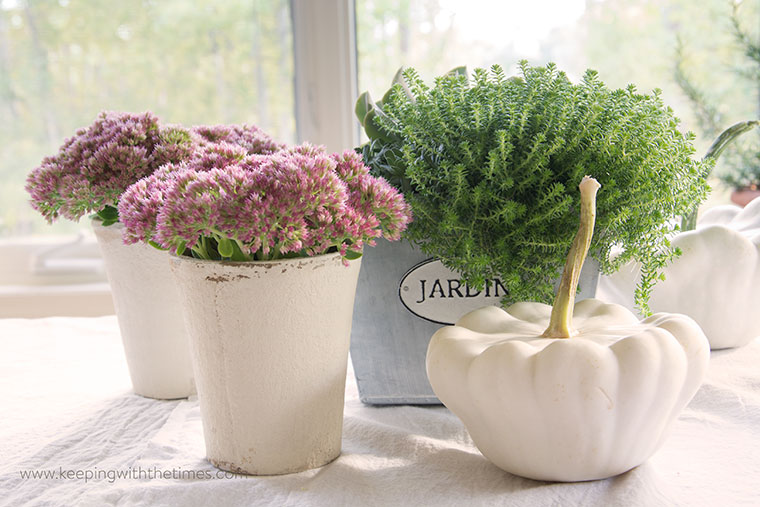
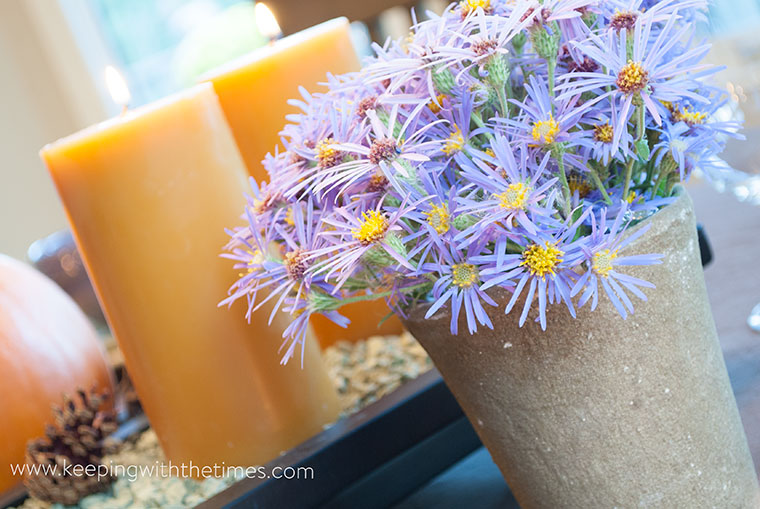
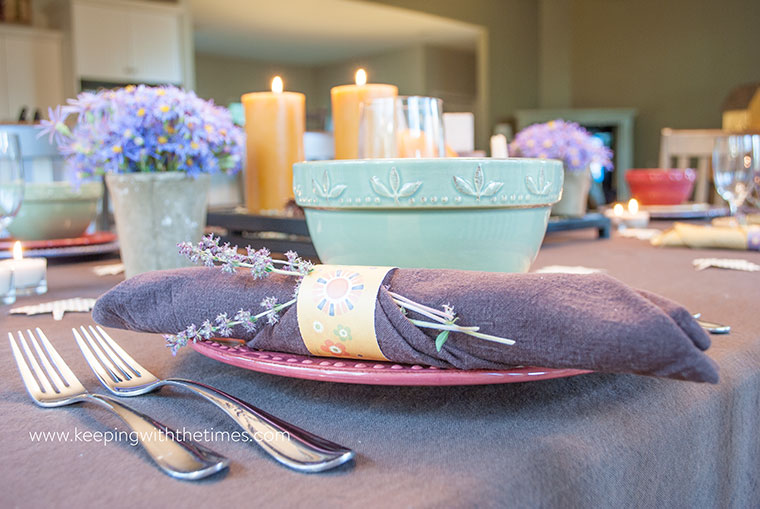
For a Thanksgiving tablescape you cannot go wrong with the teeny white pumpkins that are everywhere this time of year. Cut out a few leaf shapes out of card stock, spray with gold paint, and use as placecards. Pull a few flowers from the main bouquet and place them in tiny bud jars around the table.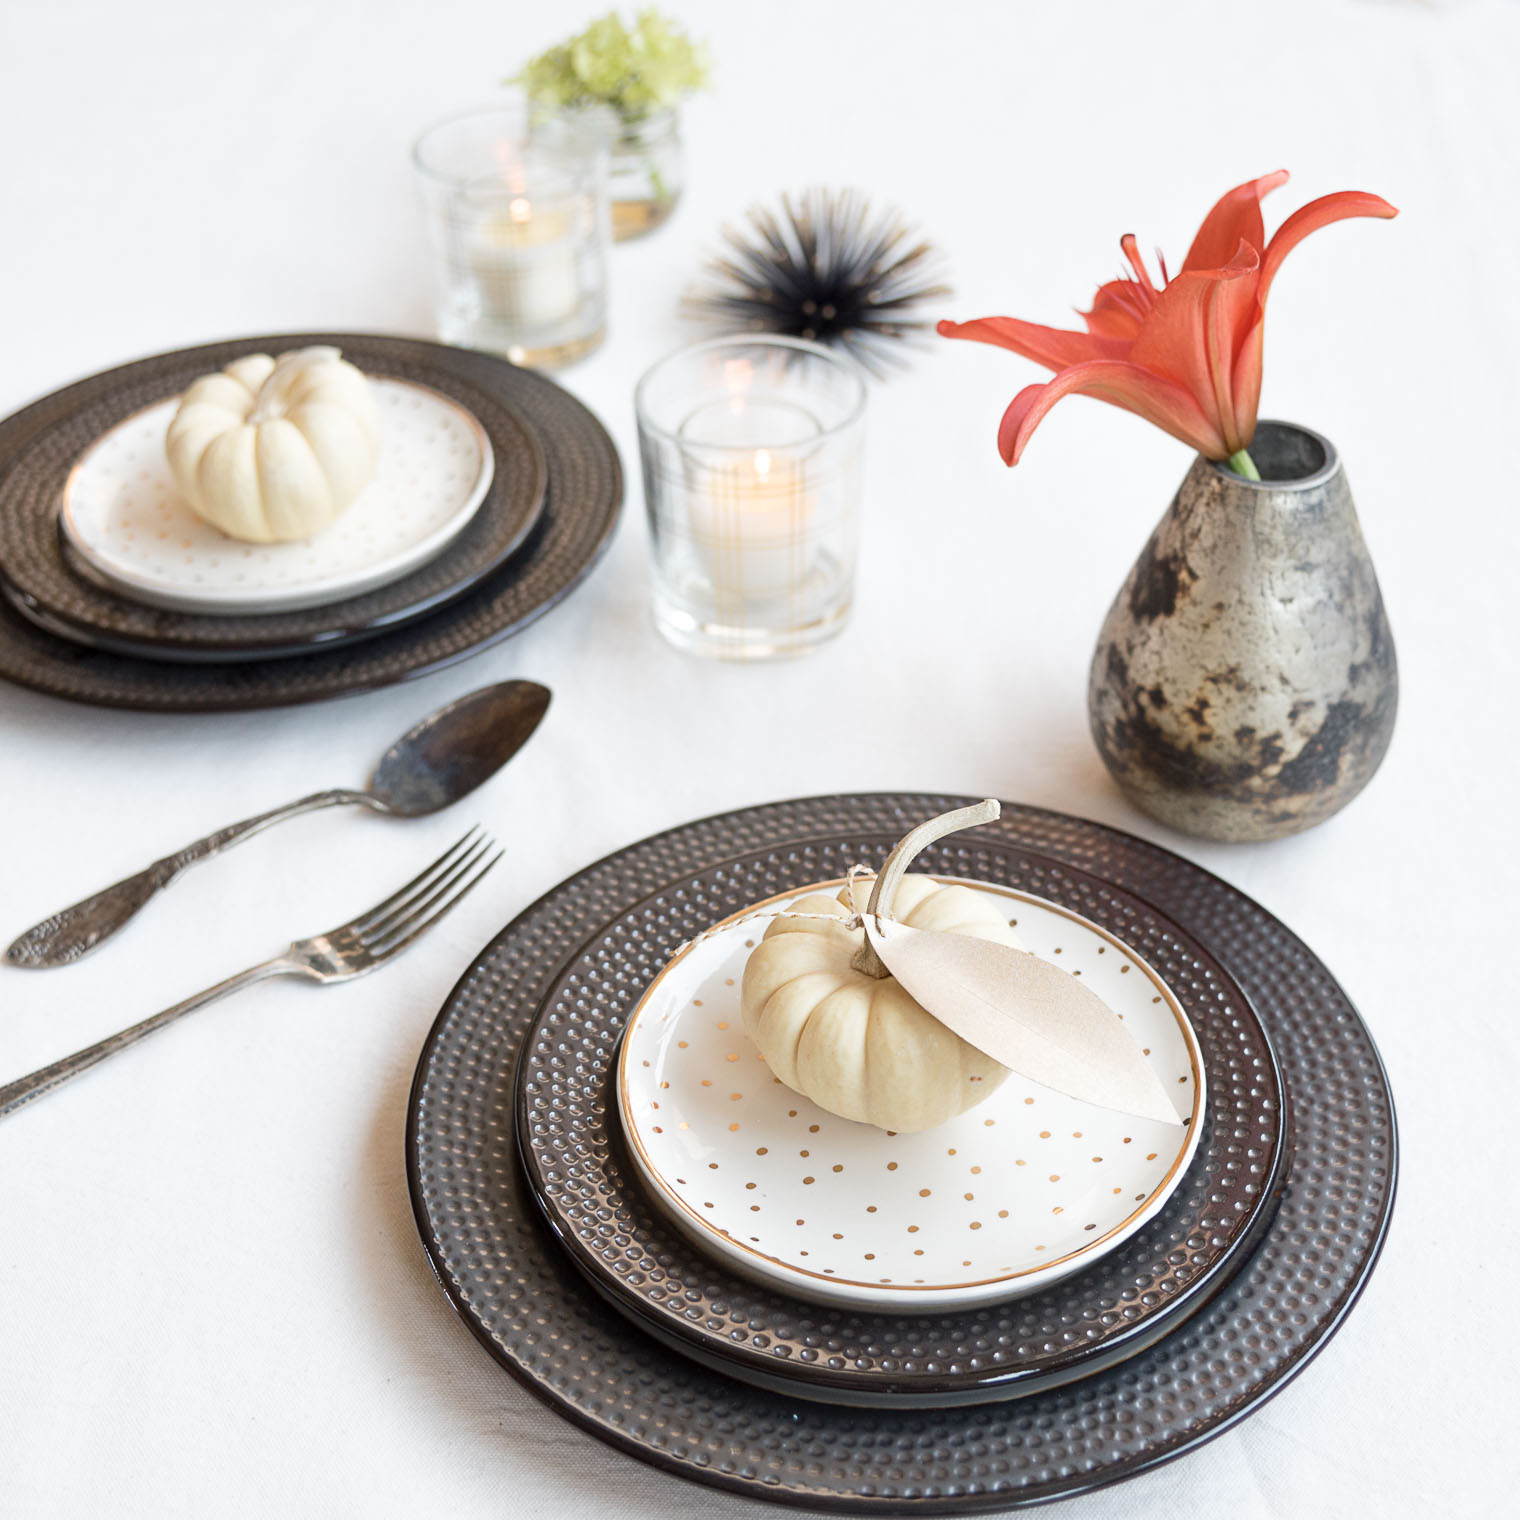
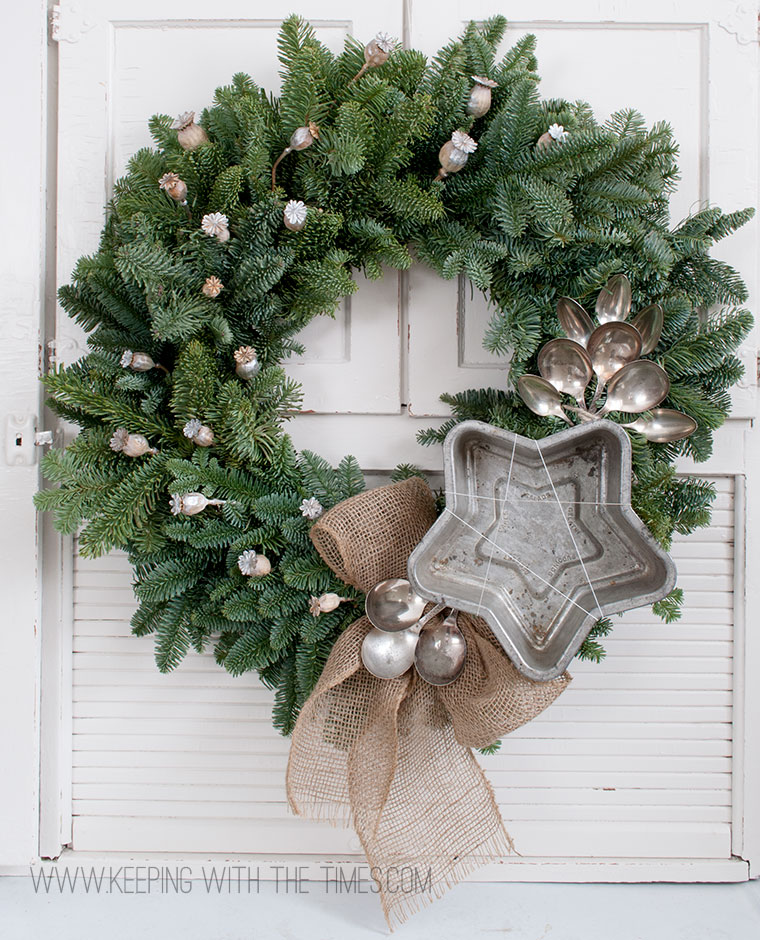
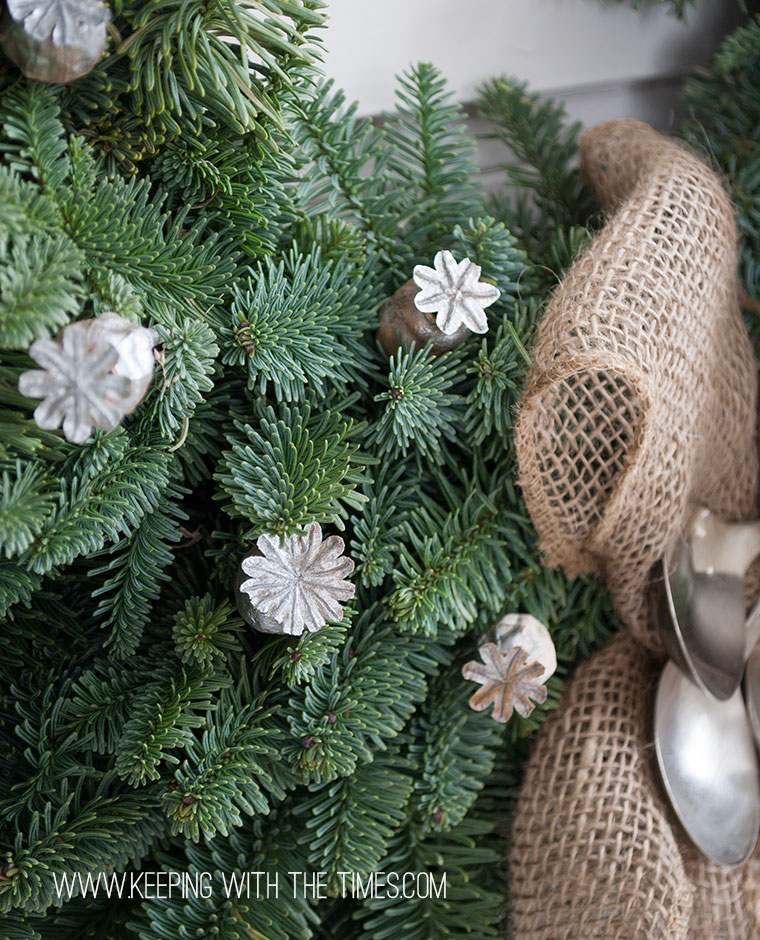
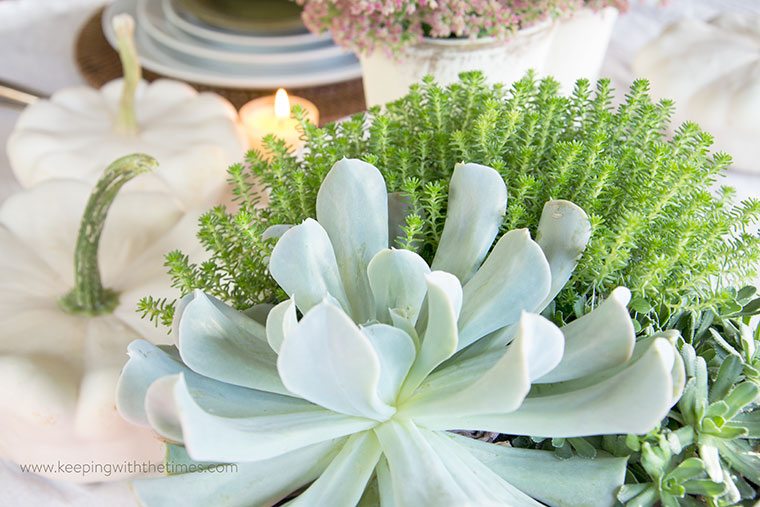
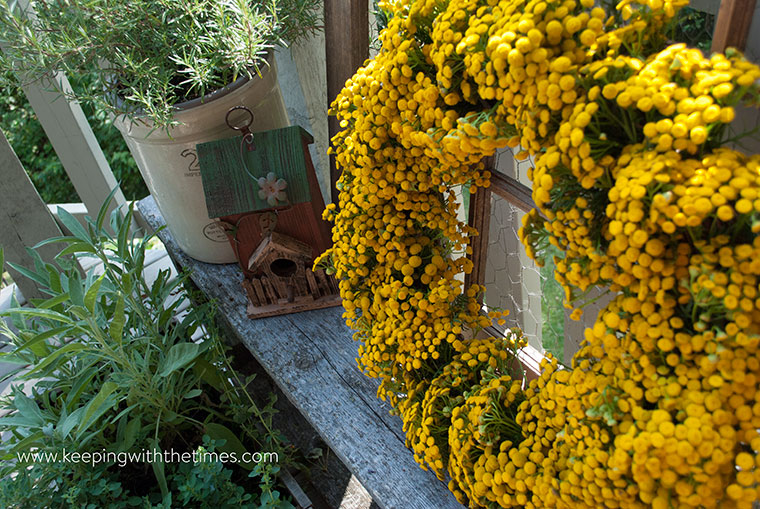
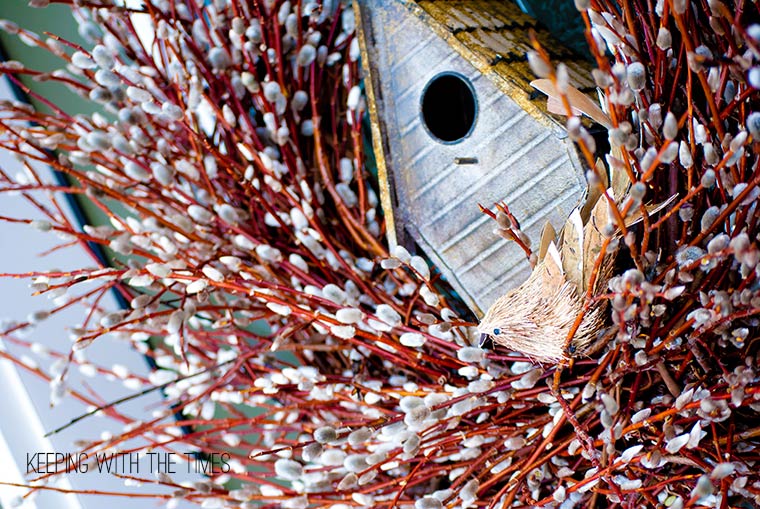
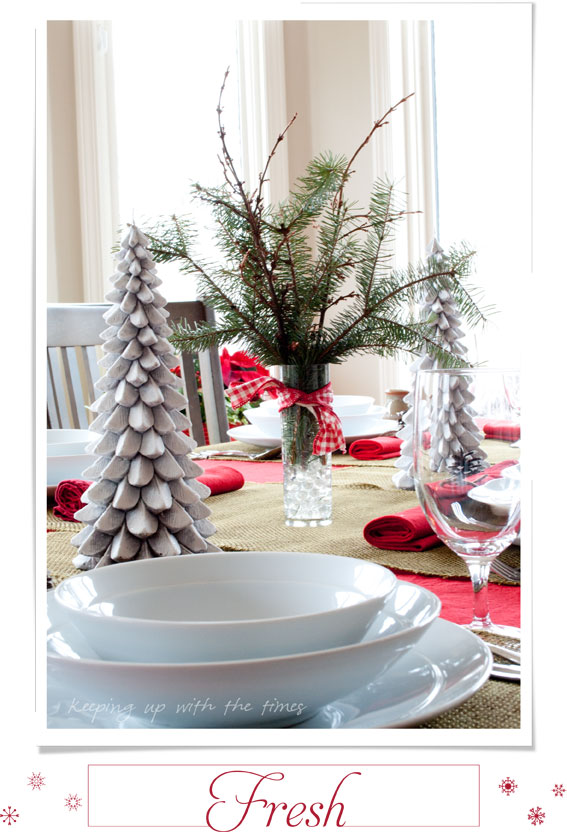
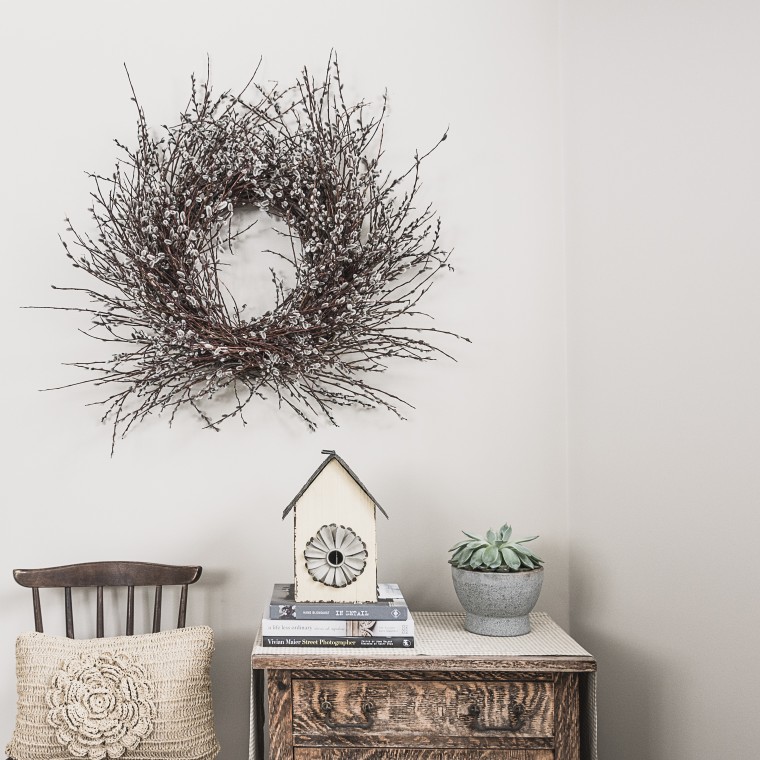
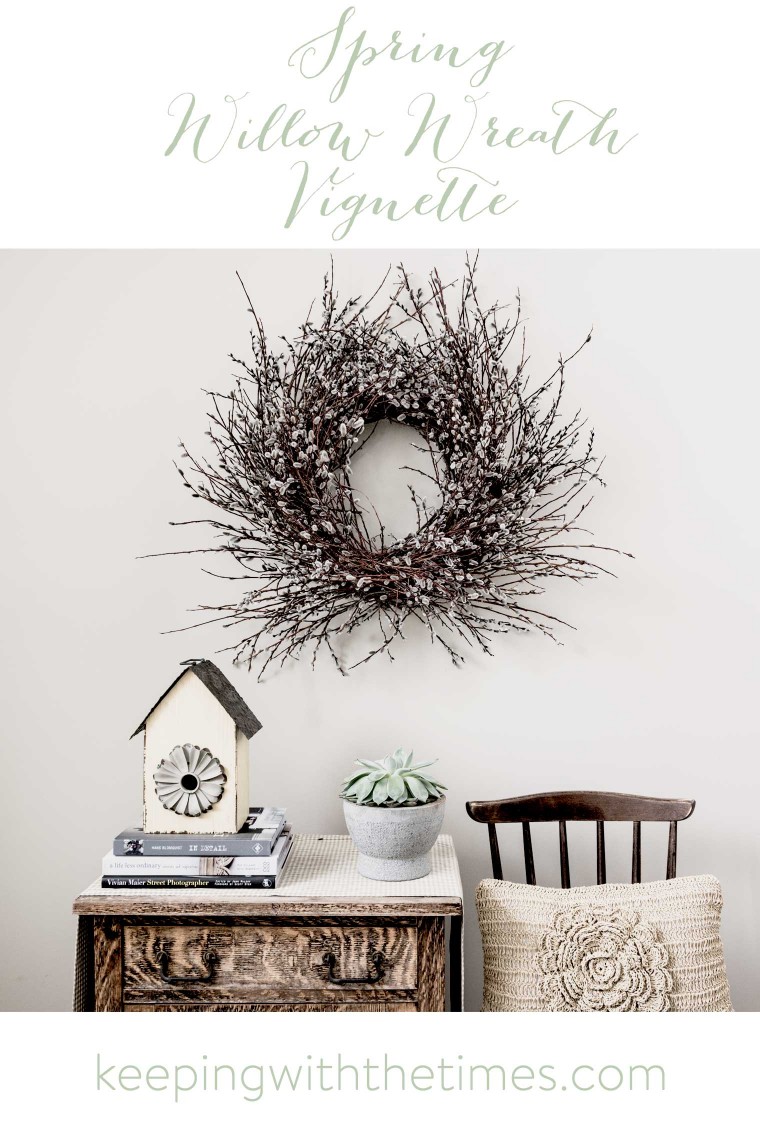
At Christmas, replace the pumpkins with a little willow wreath that you can purchase in any craft store. Or try using a bunch of fresh herbs such as rosemary and thyme tied together with gold ribbon.
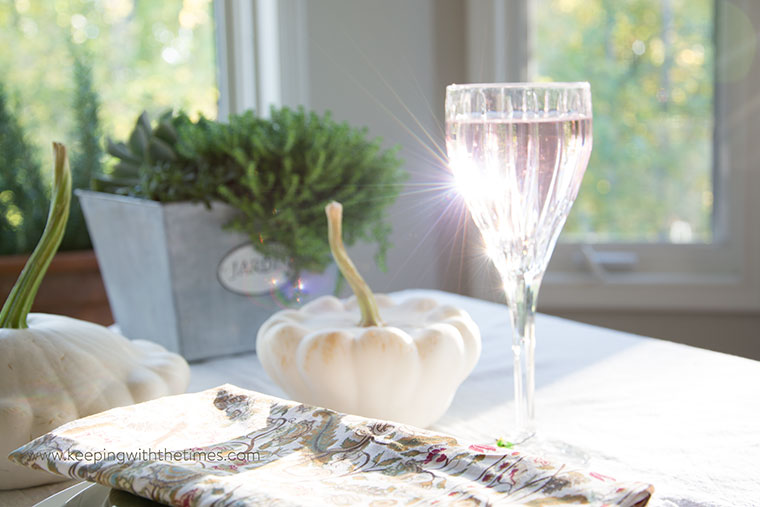
Instead of tall taper candles which may compete with a large bouquet, opt for small tea lights and place in pretty glasses. I love these simple, gold-striped water glasses, and with the tealight inside … well, again, can we say layers? and sparkle sparkle!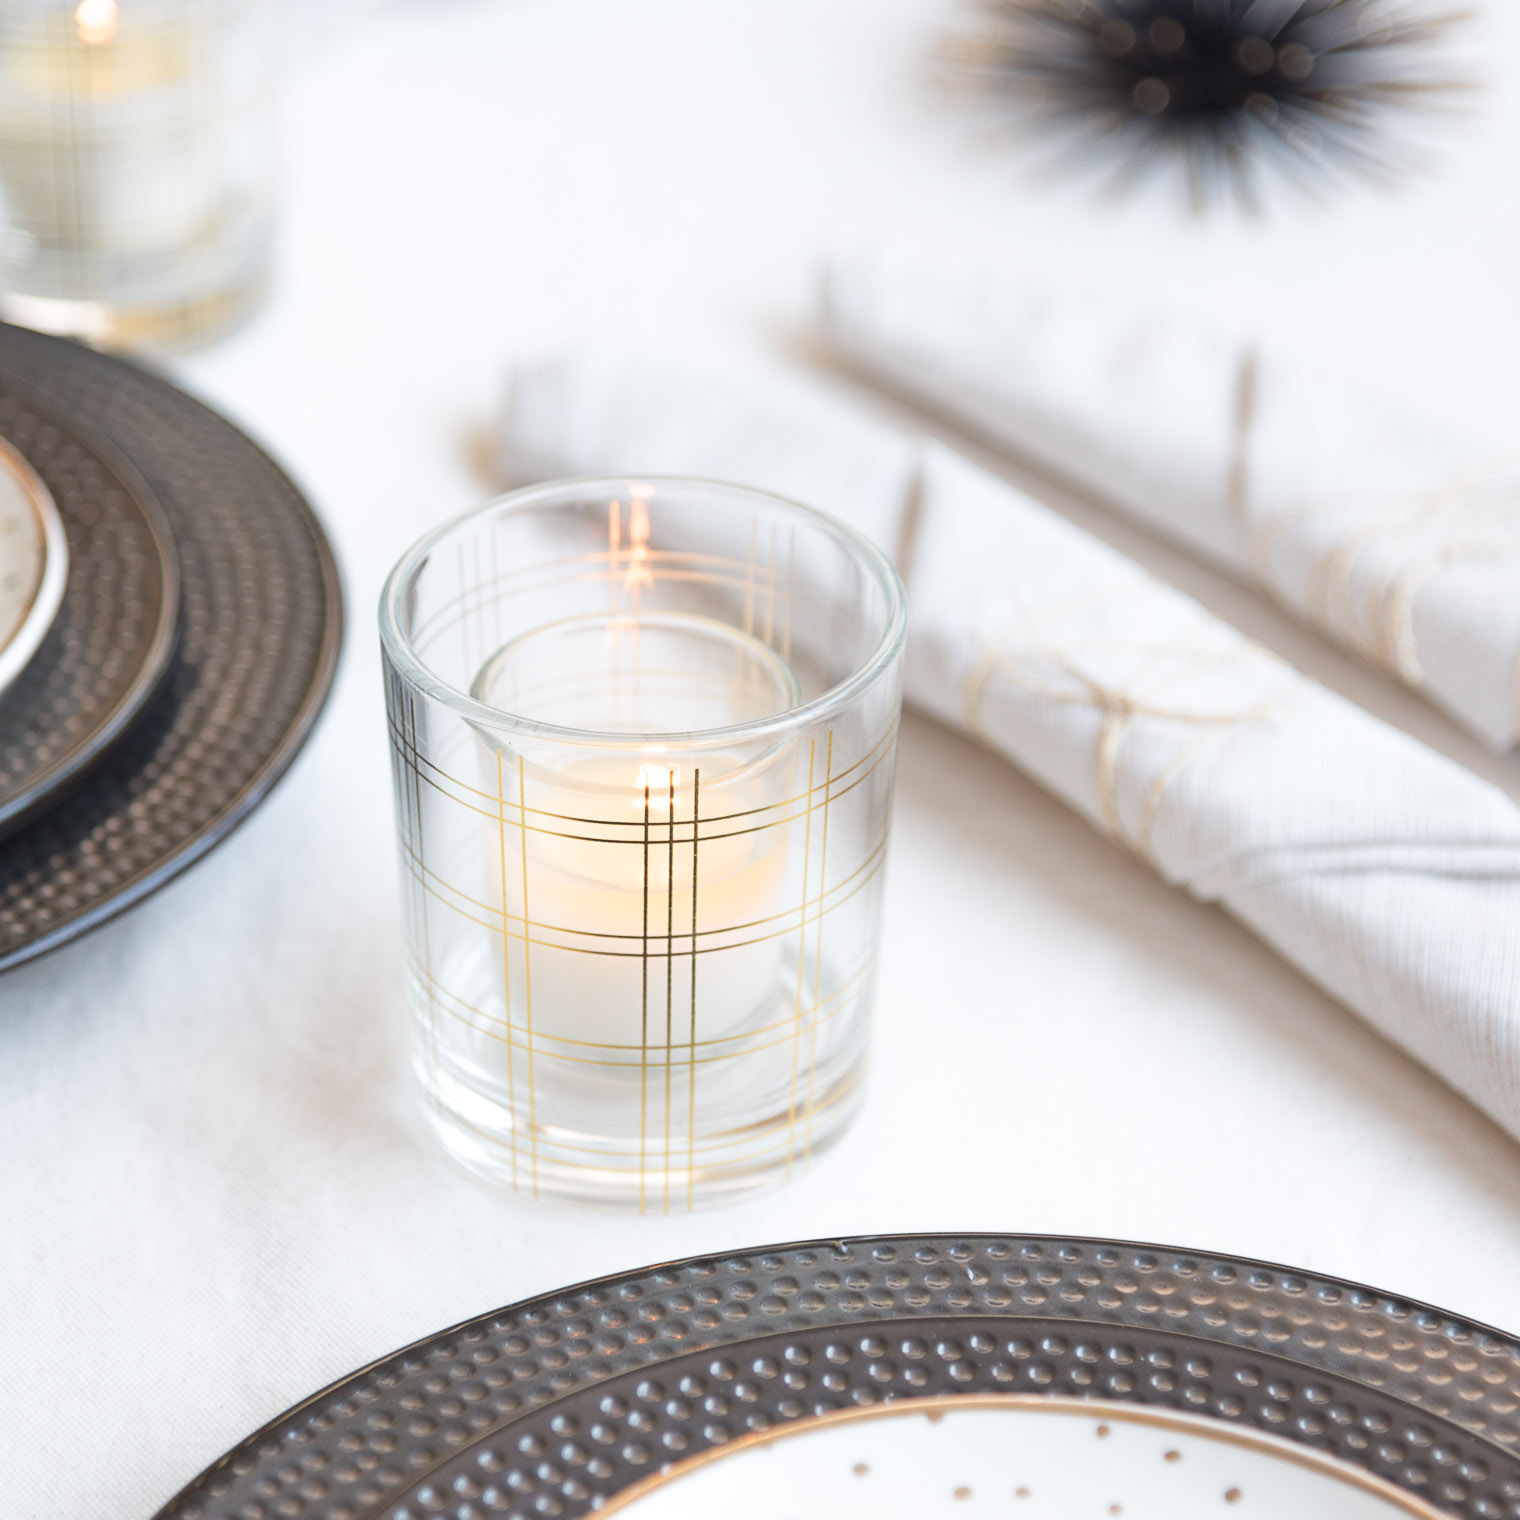
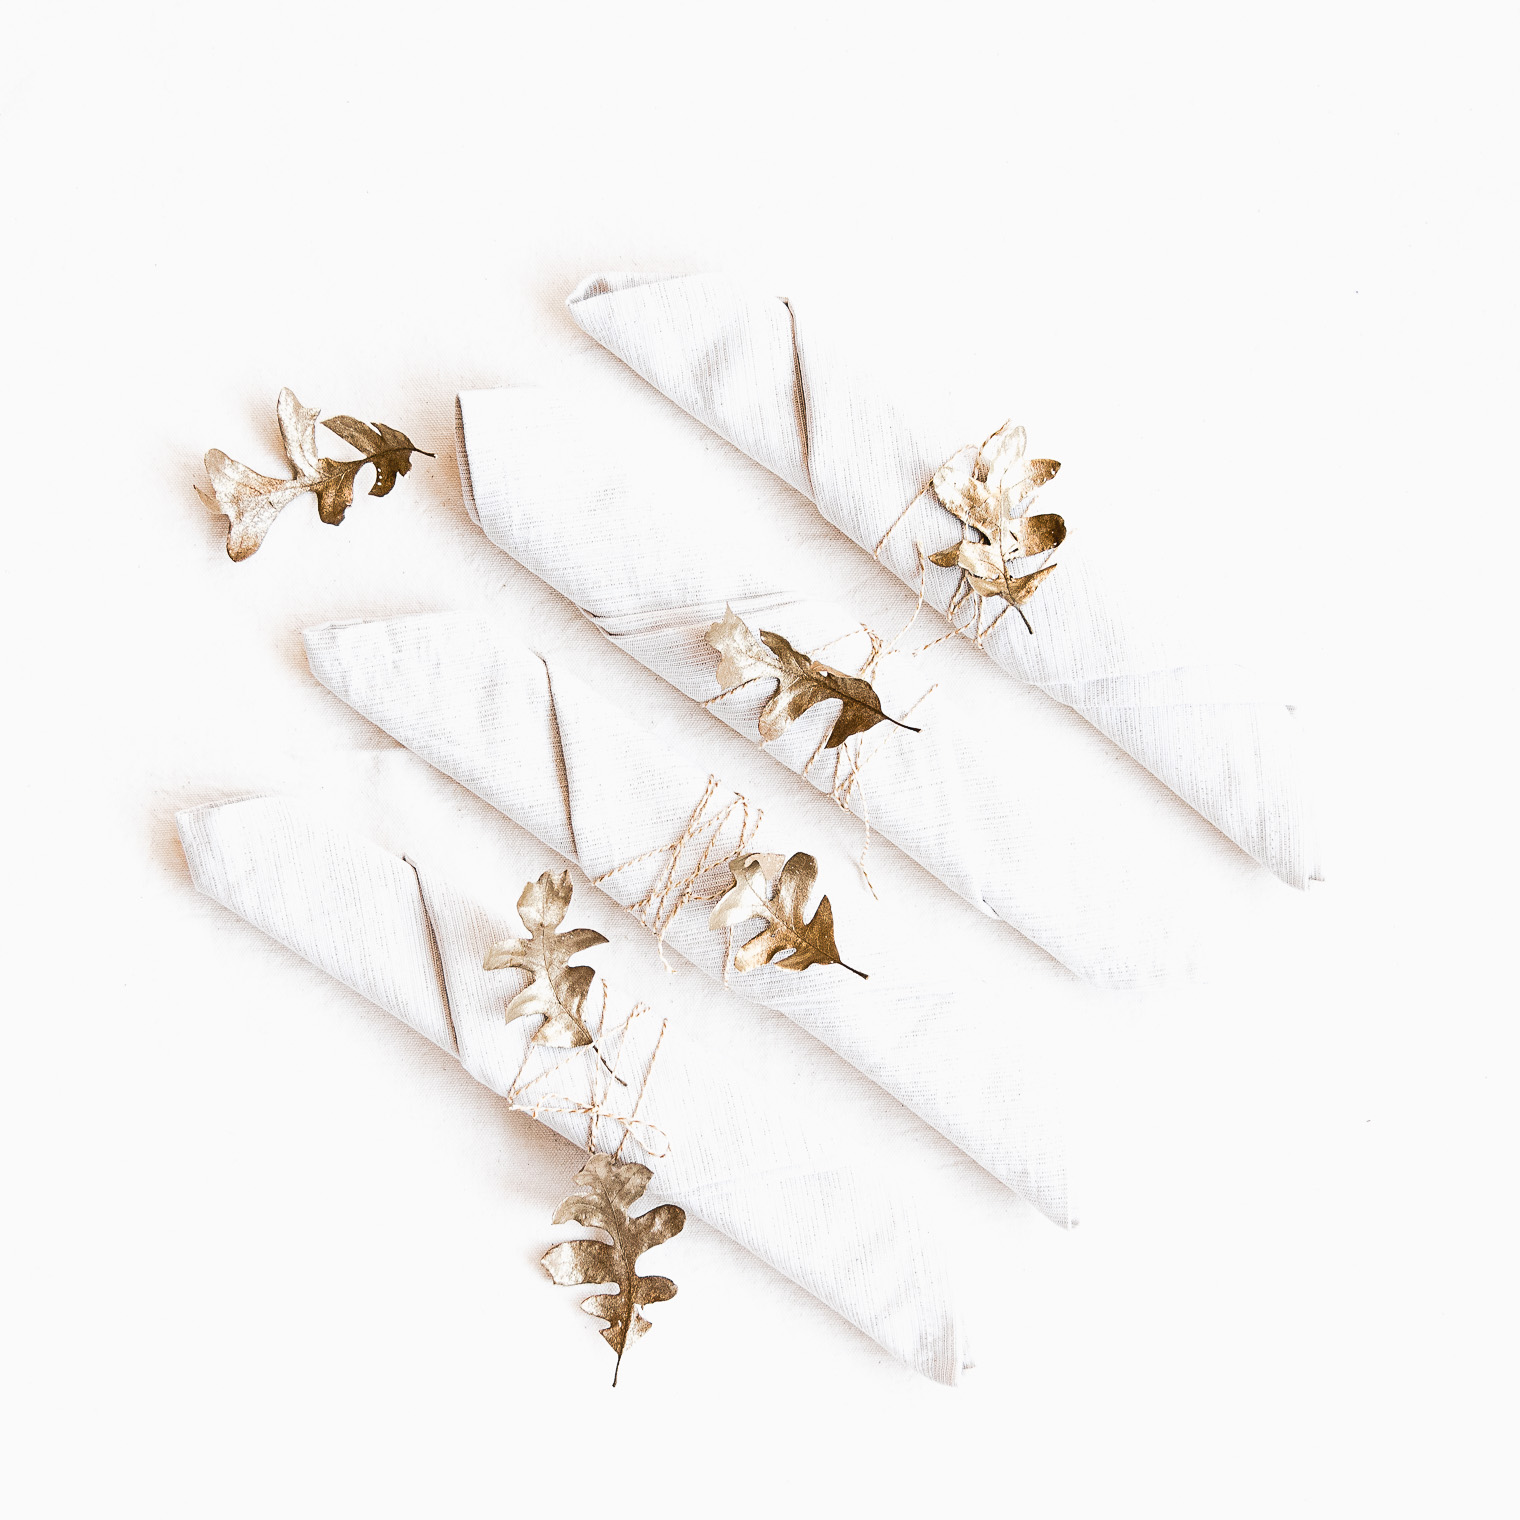 This time of year, gold spray paint can be your friend :)

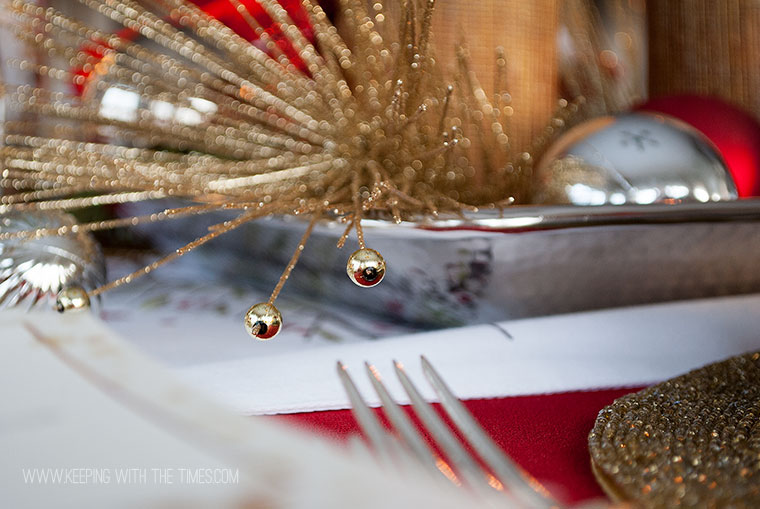
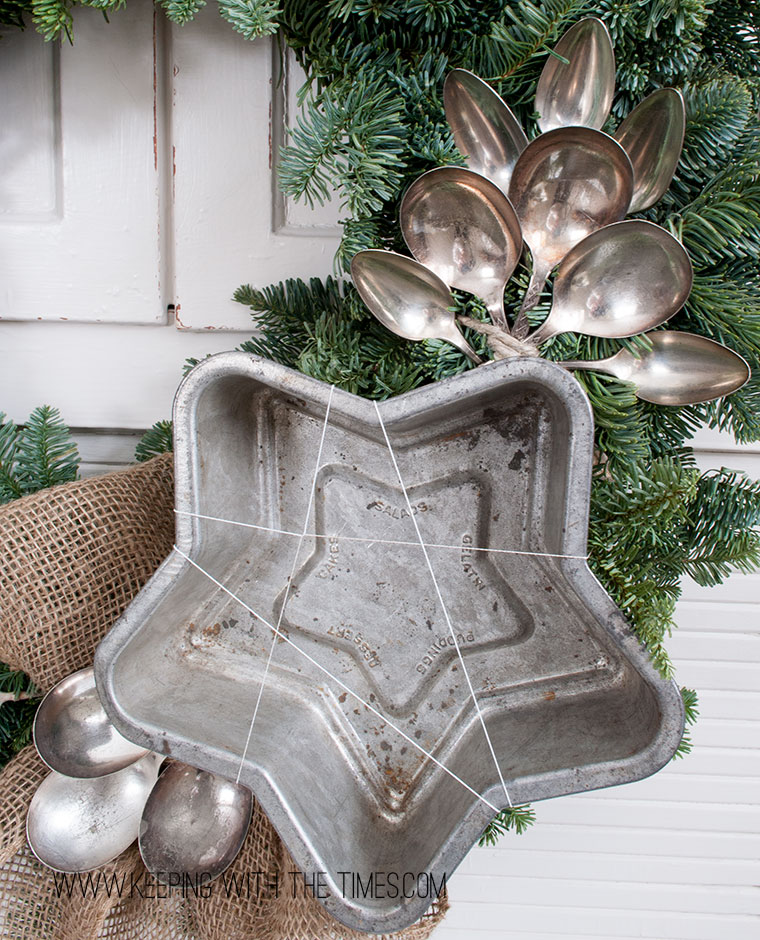
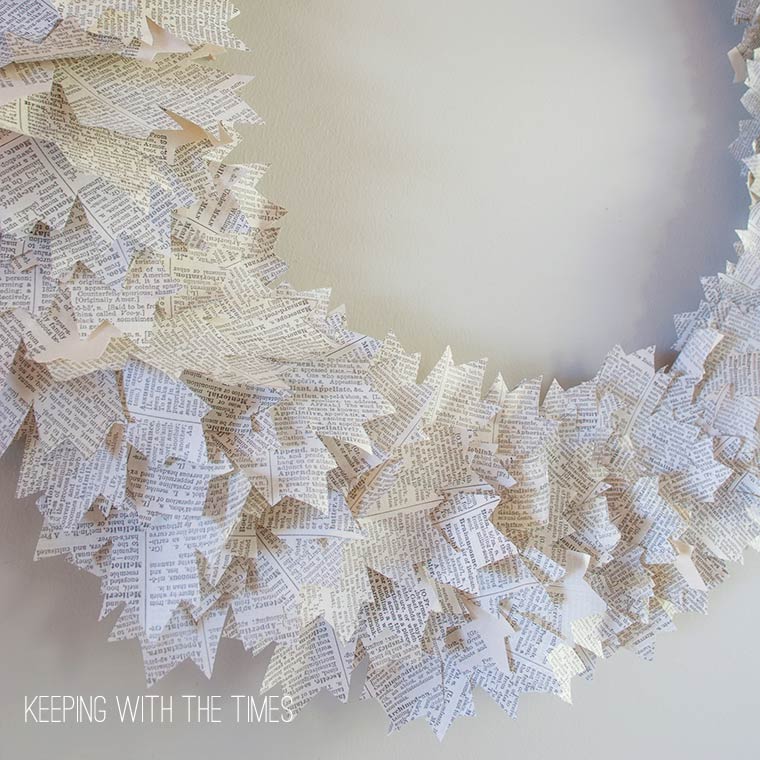
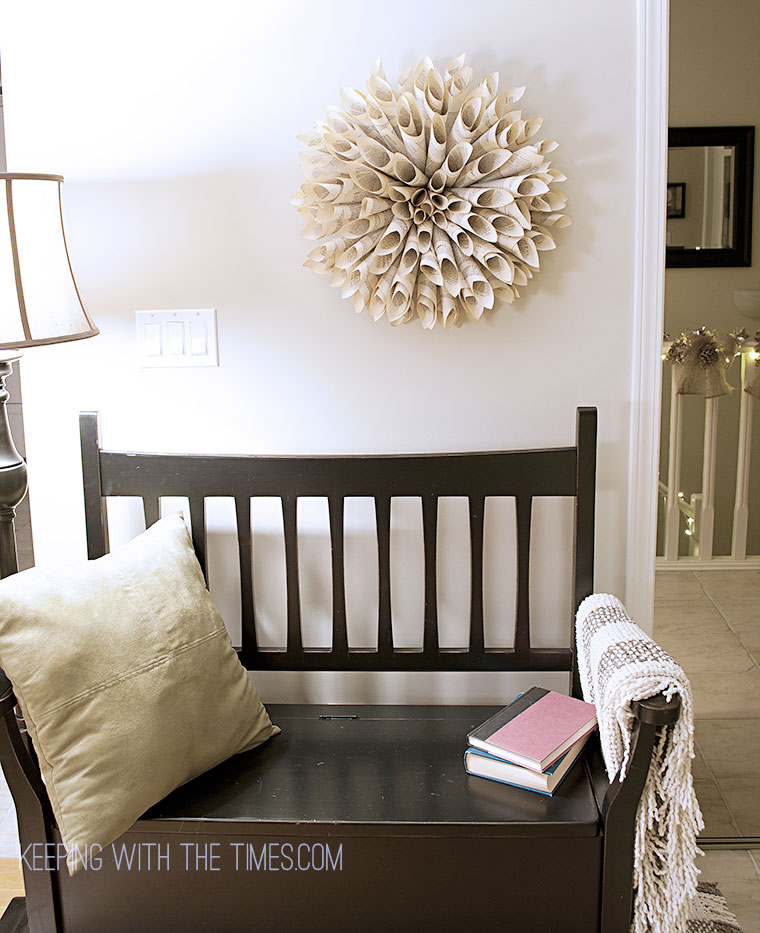
I couldn’t resist these fun, spiky accents which were originally intended as wall art …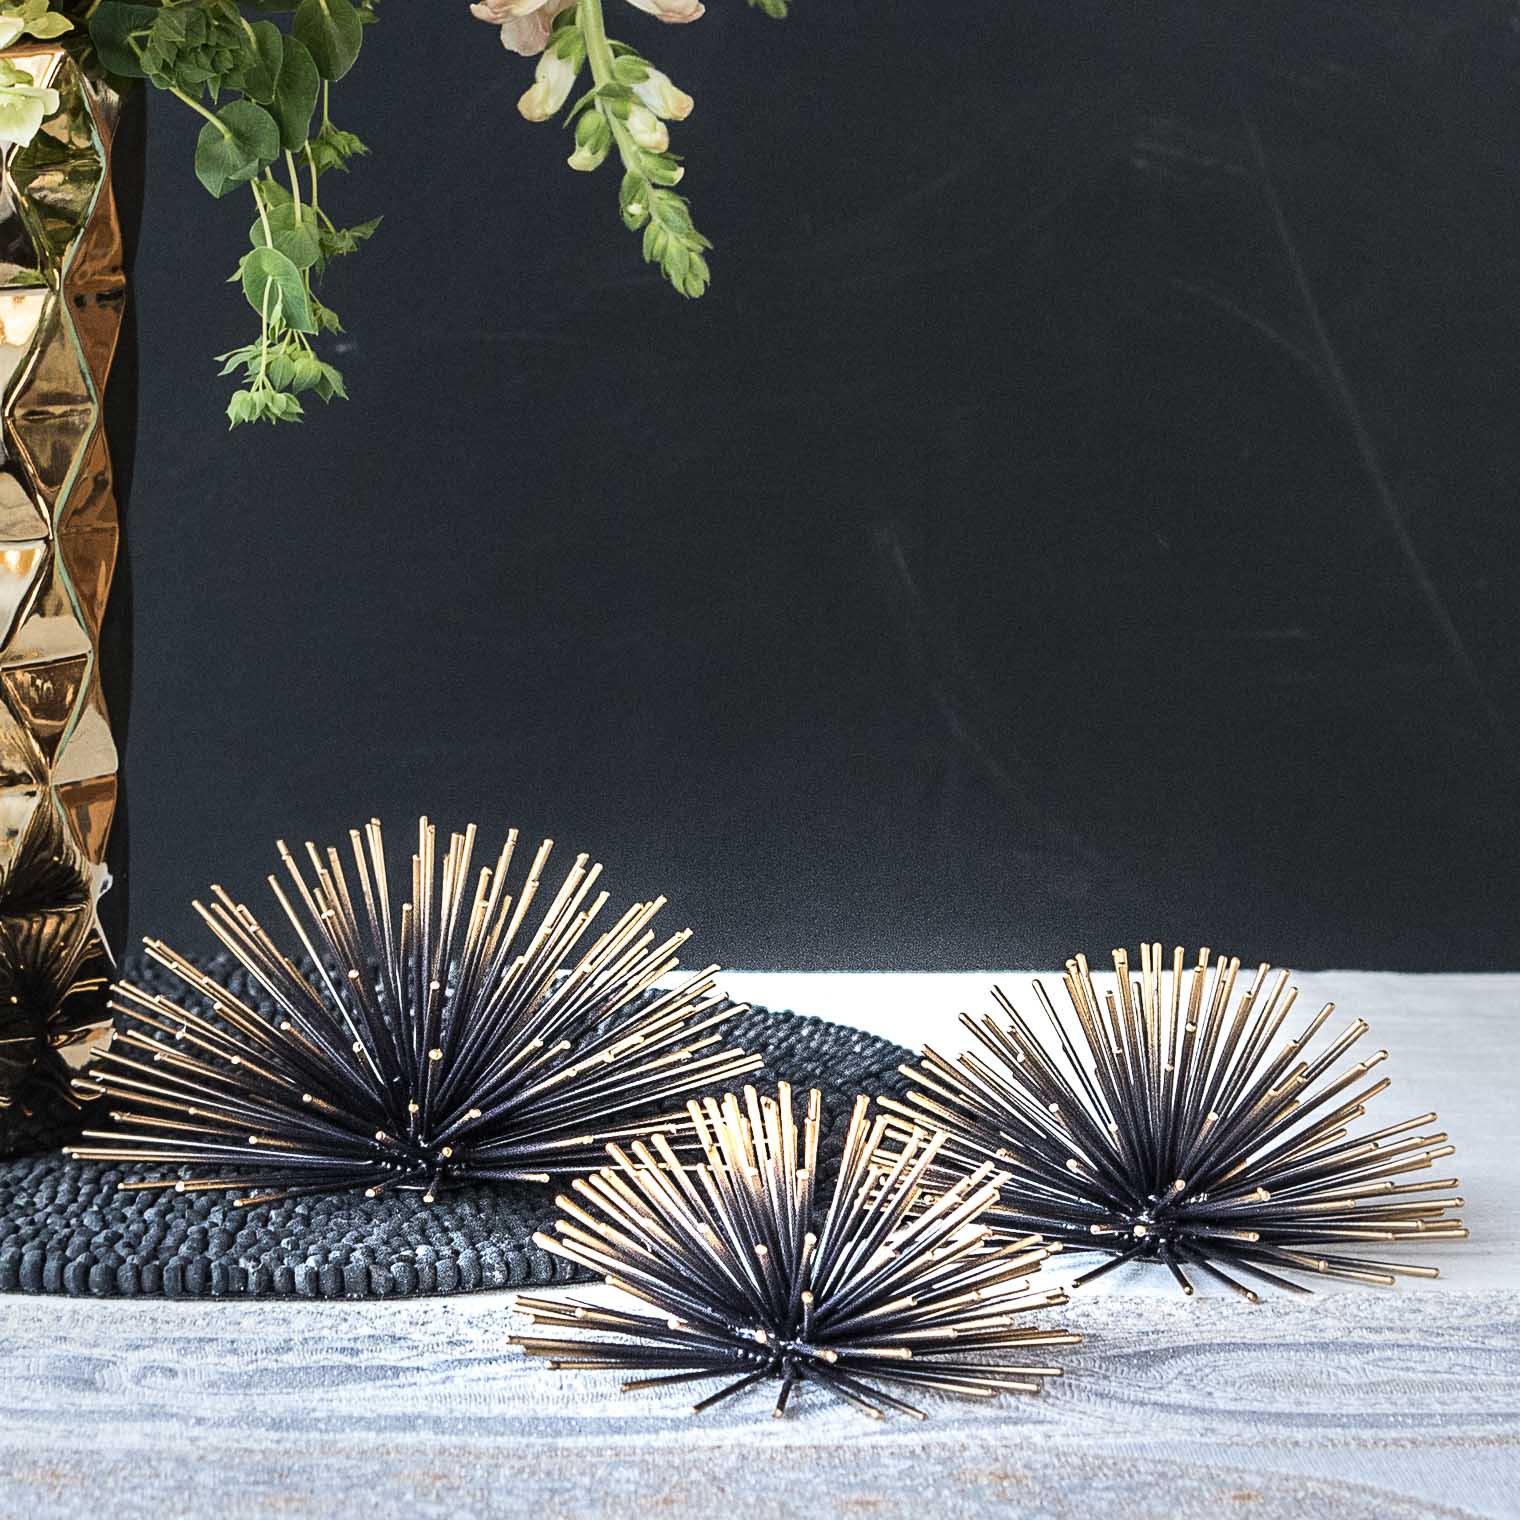


Holiday Tablescape Ideas
- Stack several plates on top of each other to create layers, finishing up with one small accent plate on top.
- The accent plates don’t have to all match. Check your local thrift shops for anything with a bit of gold. Even mismatched teacup saucers would work, especially since you are going to set some small item on top, such as a tiny pumpkin, or a leaf, or a handmade wreath made of herbs.
- Obviously we all don’t have black walls, but we could all very easily use a black tablecloth.
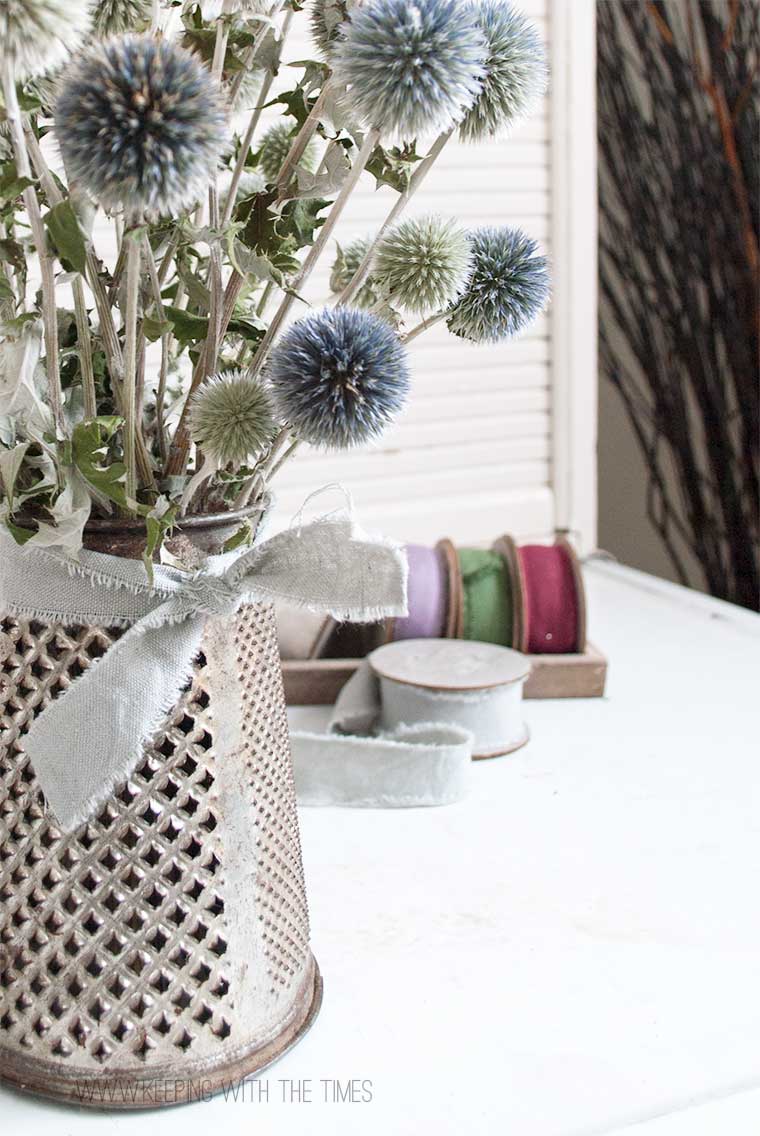
- Use table runners in creative ways. When I couldn’t find the exact runner to match my table, I used a scarf! Or, you could purchase bargain bin fabric and tear it into strips.
- Use pretty drinking glasses to hold tea lights. It adds to the layer effect and adds extra sparkle.
- If your floral arrangement is tall, try setting it a one end of the table, then position place settings across from each other. That way, the bouquet will not be in anyone’s line of vision. Alternately, you could move the bouquet to a side table during dinner (in full view of guests of course ;)
Disclosure: FTD generously offered to provide me with a holiday bouquet for this post, but all photos and opinions are my own, and I am truly very impressed with the quality and service from FTD. I wouldn’t say so if I wasn’t!!


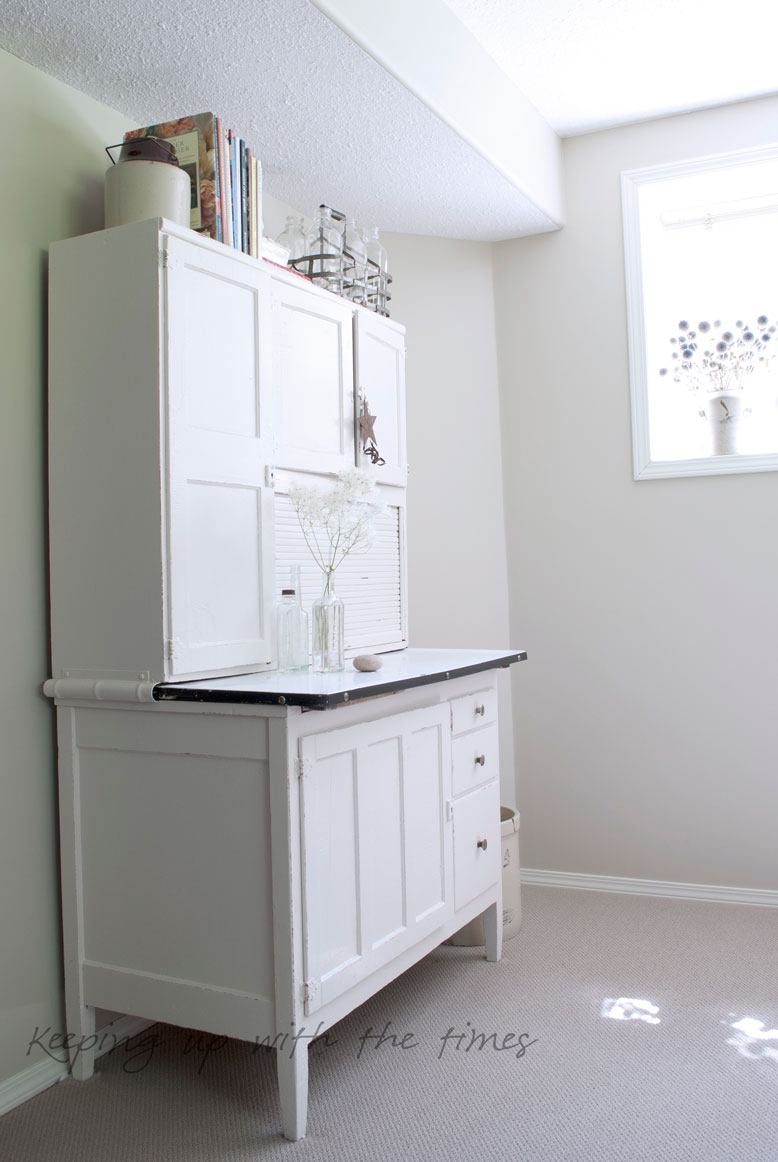
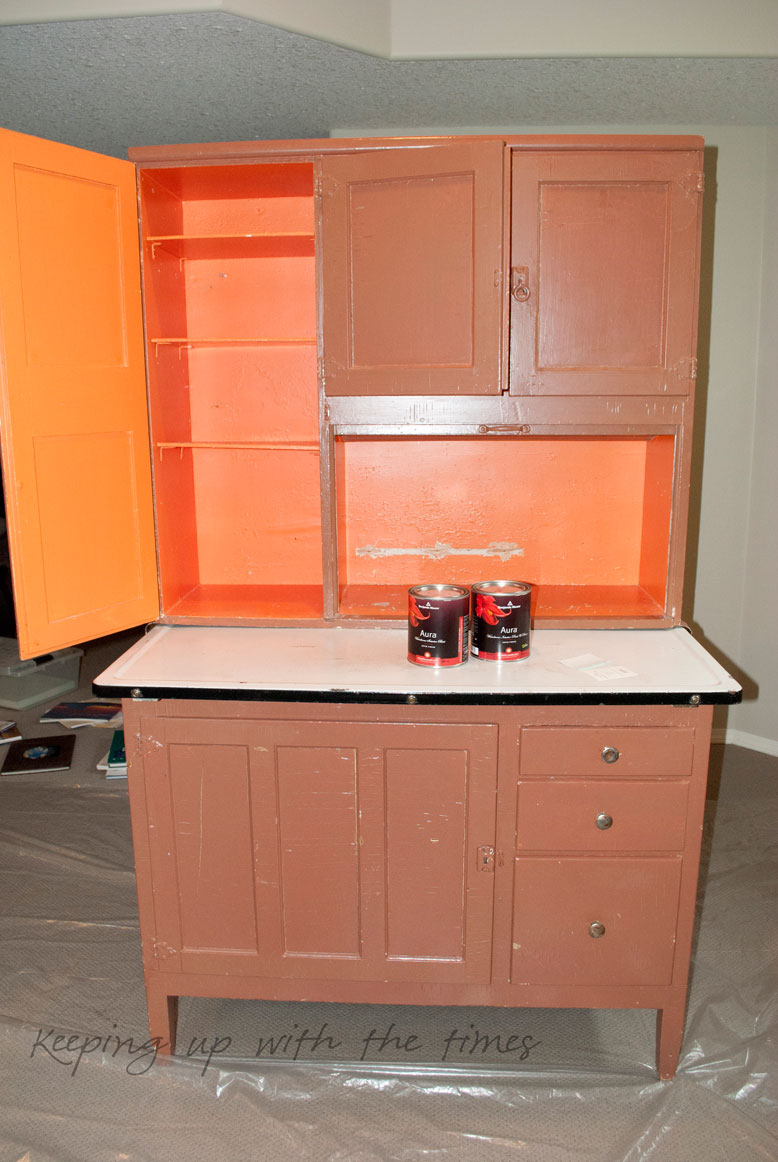
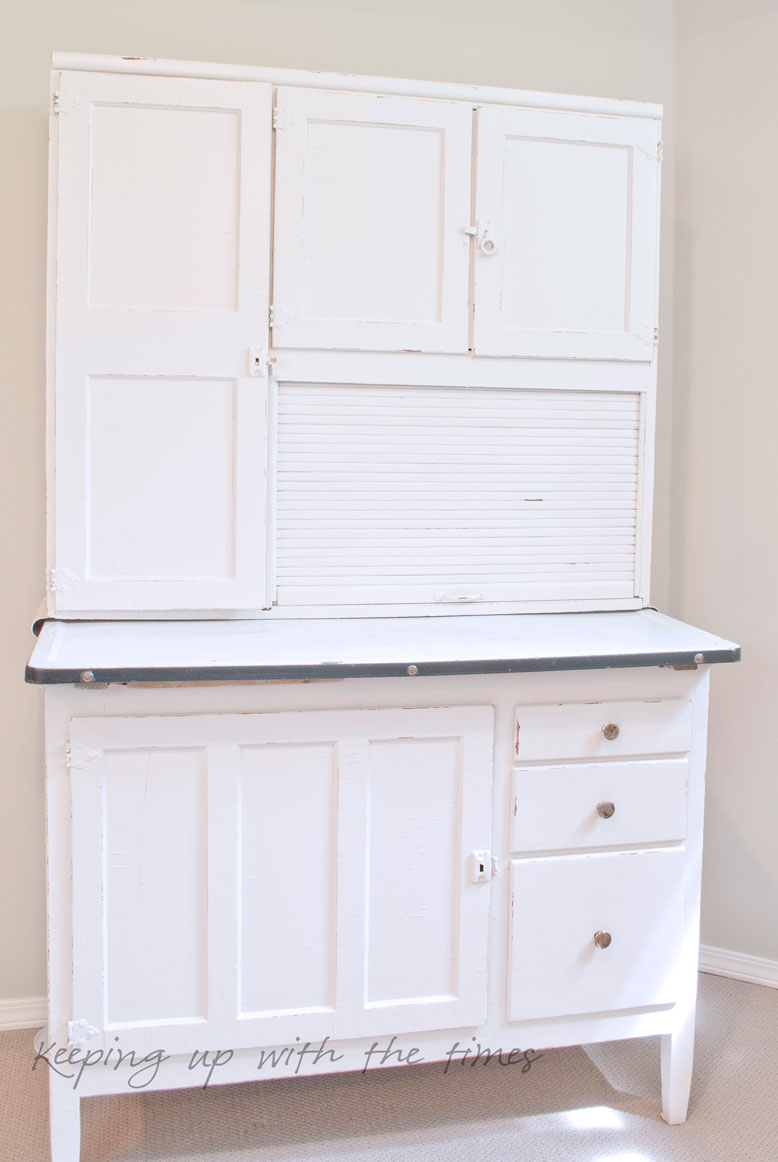
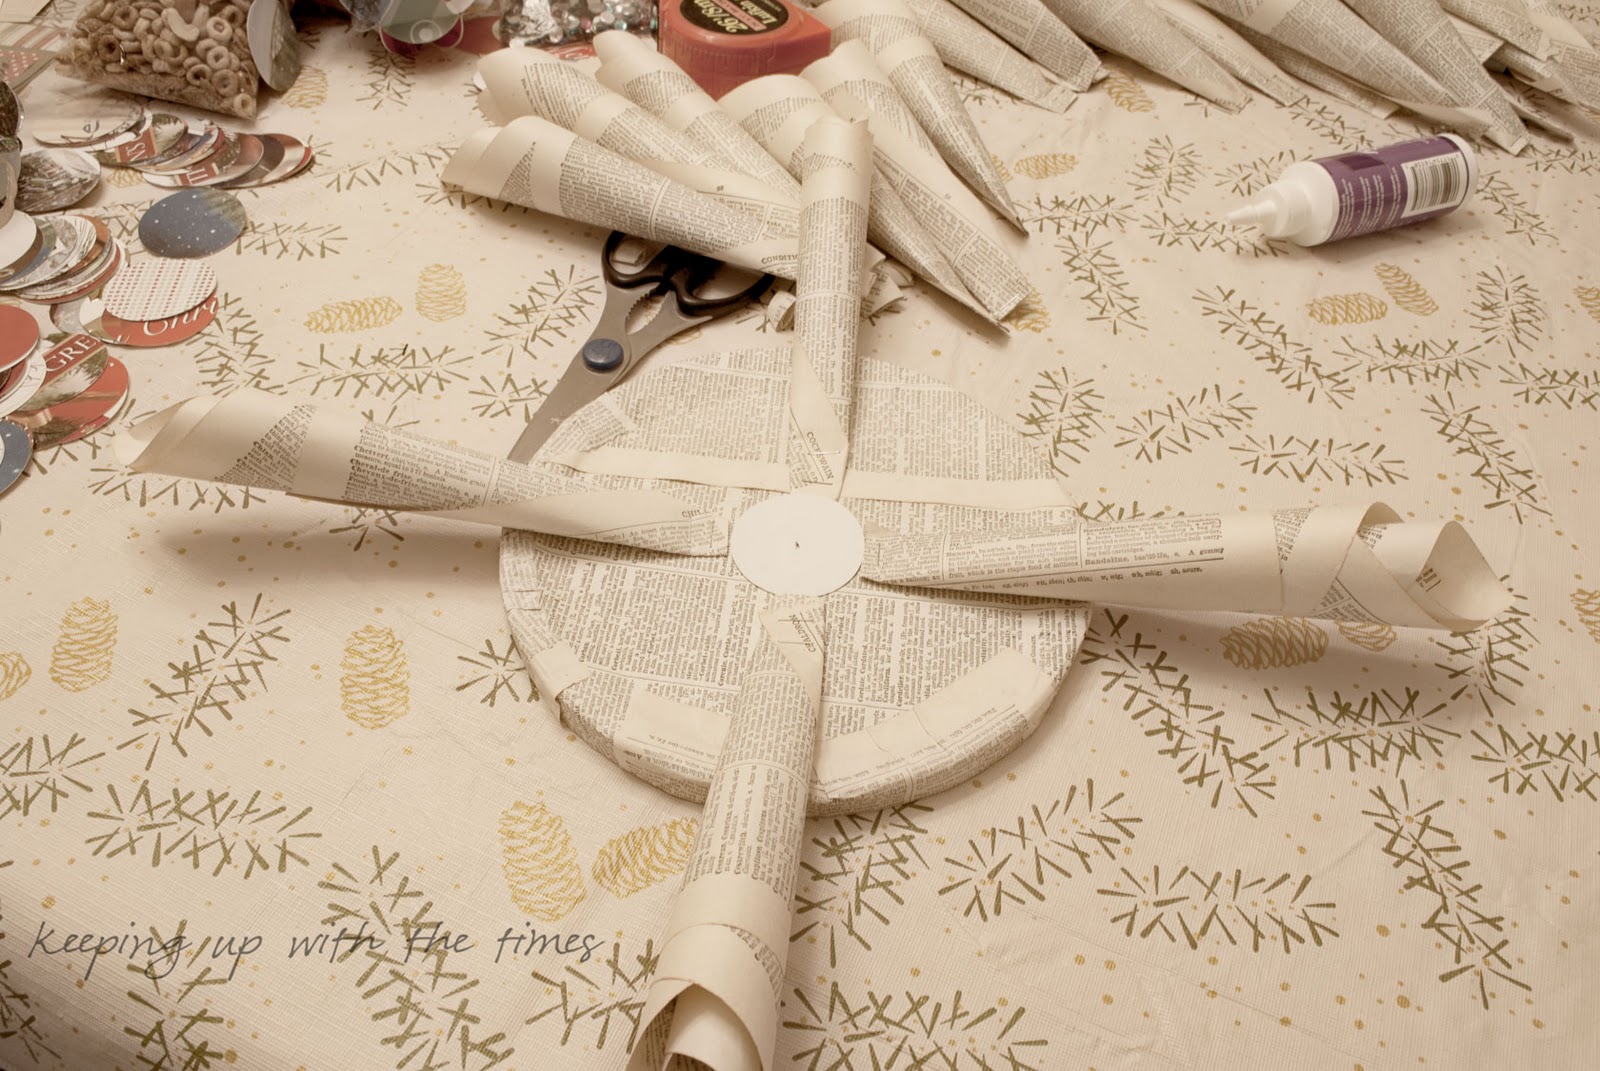
 Proof that it doesn’t have to be expensive, or complicated …
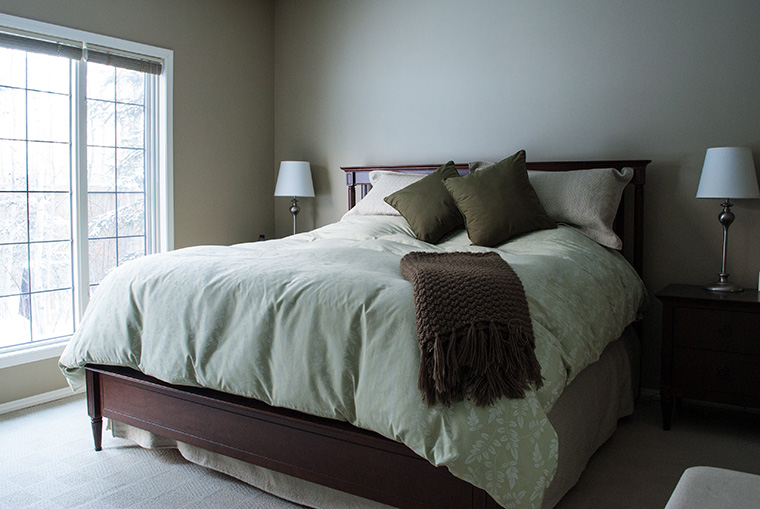
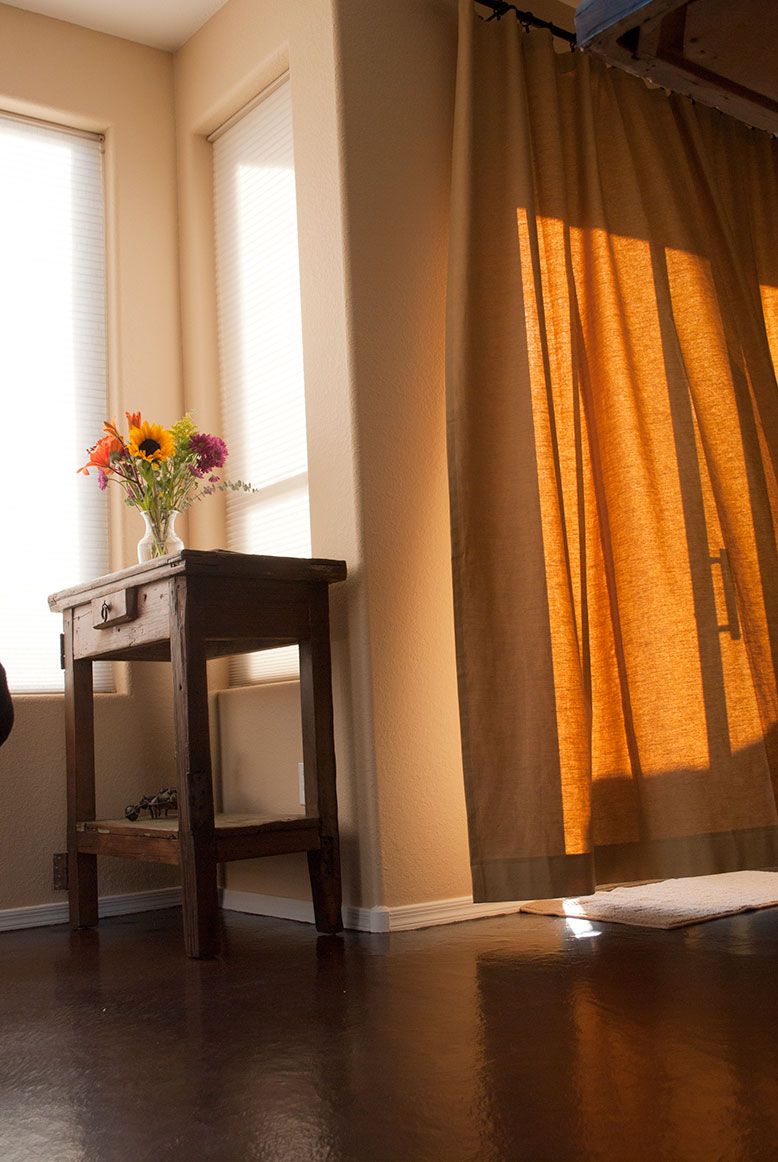
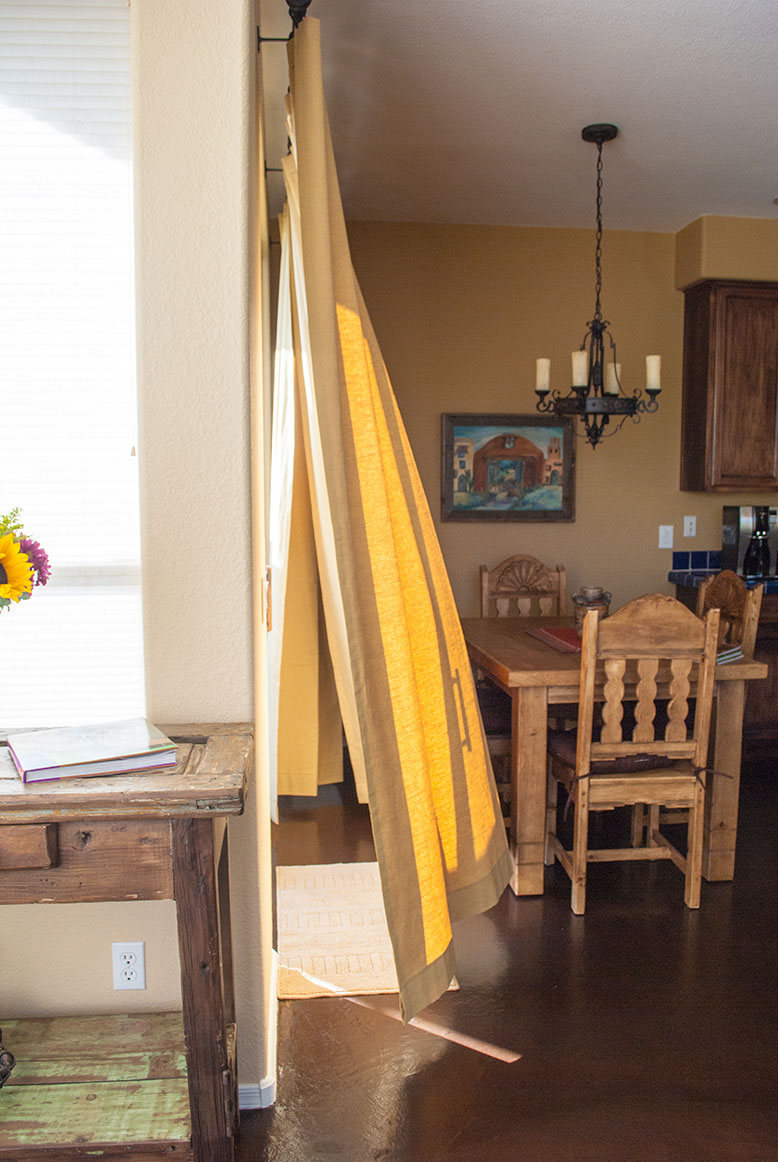
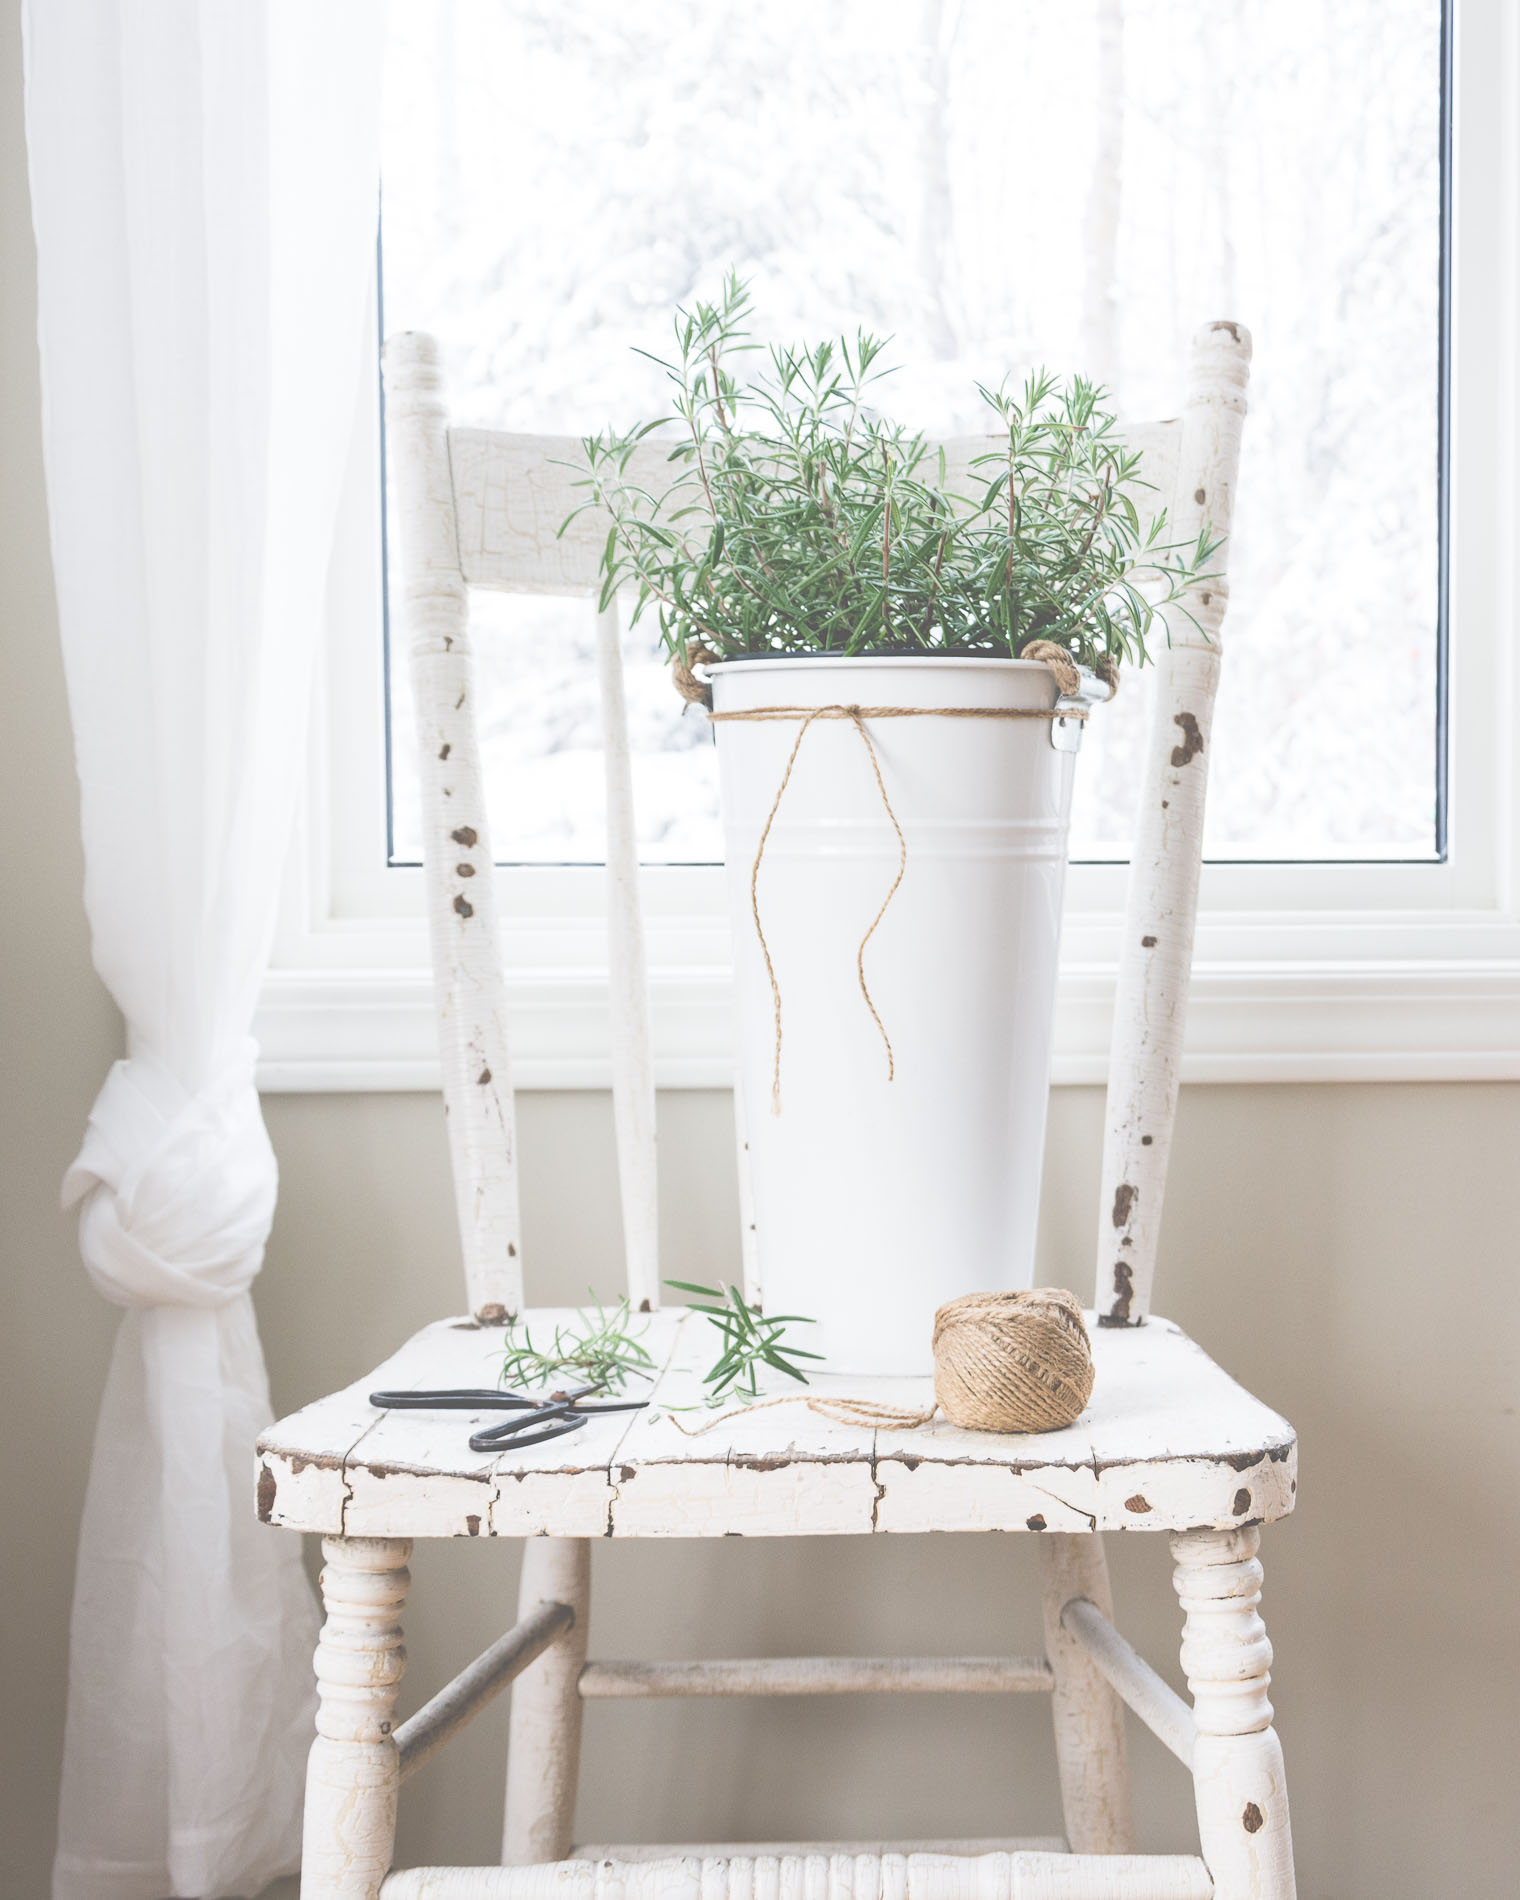 When open, the panels are wide enough to fit across the entire width of my windows. Of course when they are pulled closed, the bottoms will “puddle” on the floor, which I don’t mind since I will only close them when I’m trying to take photos.
 The decorating started with the ladder … the 10 foot, 6 inch ladder. When I first dragged that thing home, I was petrified as to what the hubs would think, but I knew I could make it work. I knew I had to have it, and I knew I could prove it to be useful.
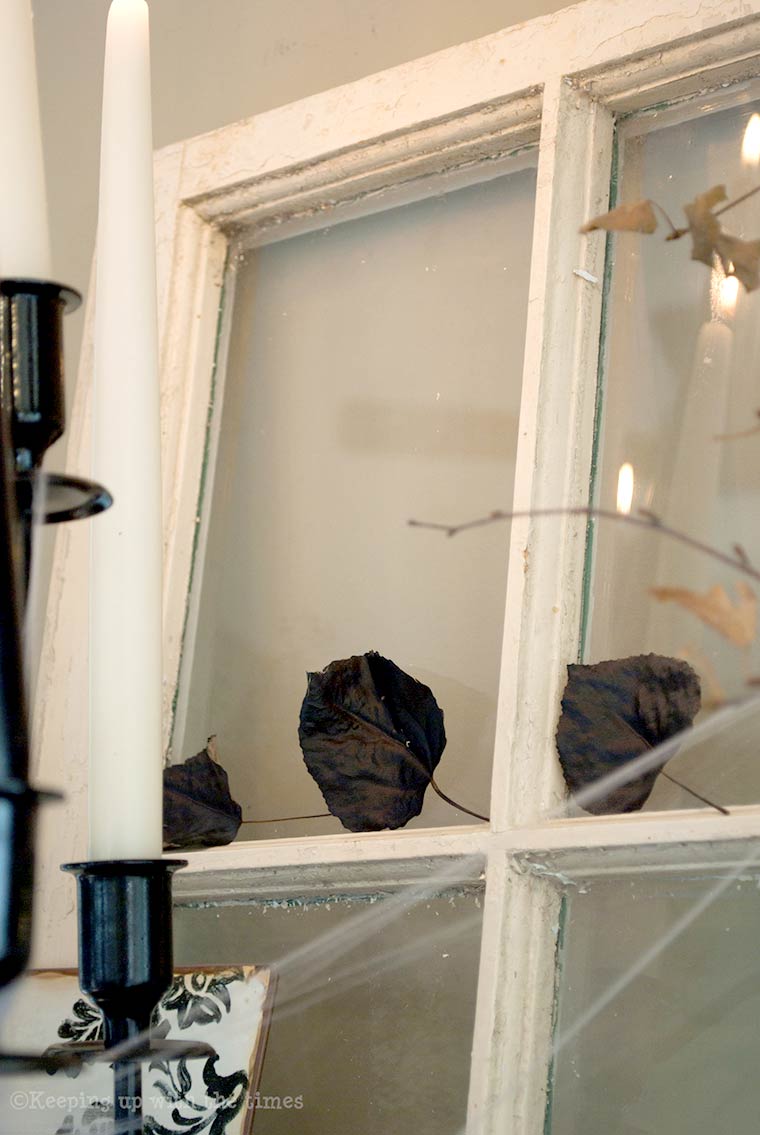
 And then, because what would autumn be without some lovely warm tea? and a few golden leaves …


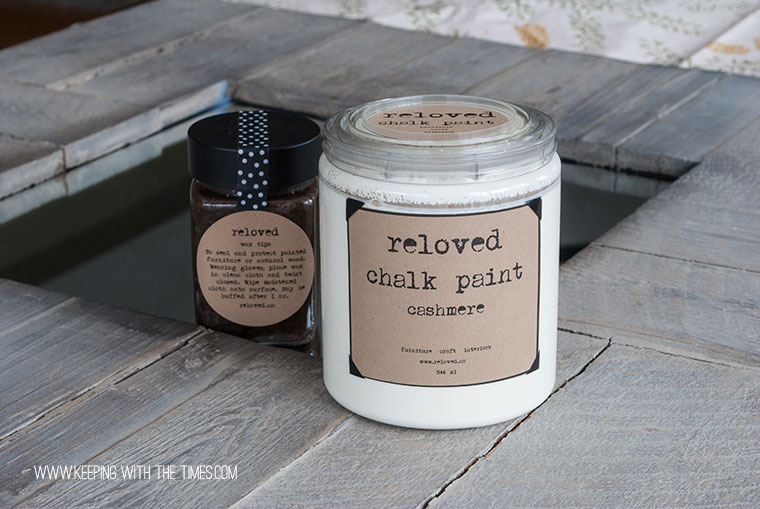
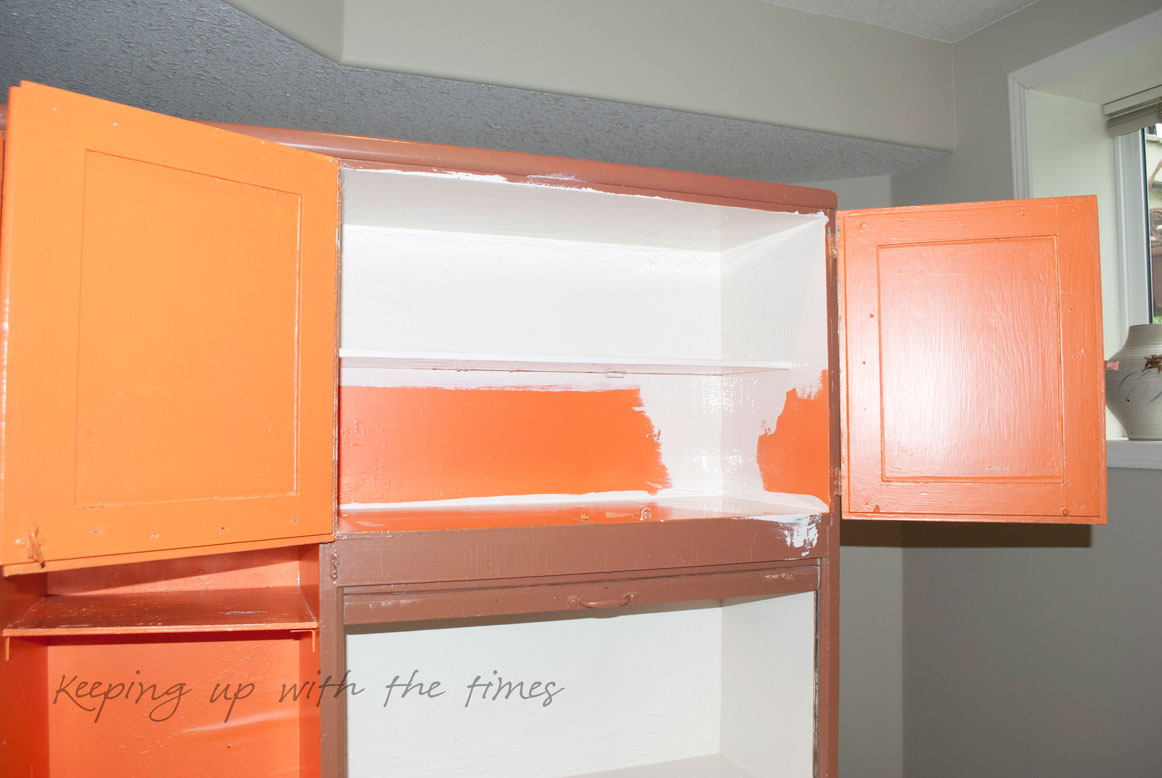
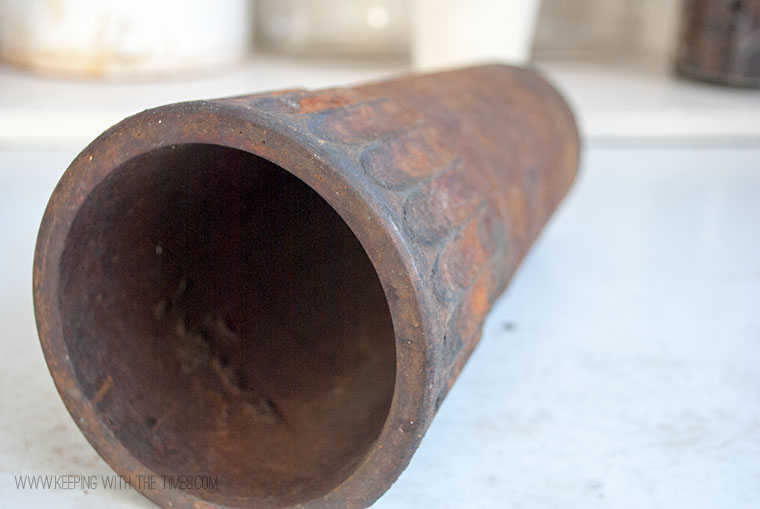 … so, what to do with it?