Here’s a little bath salts DIY for you! I know, I know, there are tons of ideas for bath salts on Pinterest and yes, I even went there myself ;) but every recipe is a little different and I thought I’d add mine to the mix because I actually use and love it (plus I have a label download for you.)
It all started the other day when I was browsing my favourite book store (a bookstore that shall go unnamed) and I came across a display of spa products. They were absolutely delightful and I spent several minutes sniffing my way around the bath bombs and various soaps.
And although I enjoy smelling the smells, I don’t really love using scents myself (strong ones anyway.) So when I spied the bath salts I started to get a bit more interested. The packaging alone was enough to draw me in. But then I saw the price and (gasp) over $20.00 for a little test-tube size bottle (I kid you not!) of what really amounted to Himalayan Pink Salt.
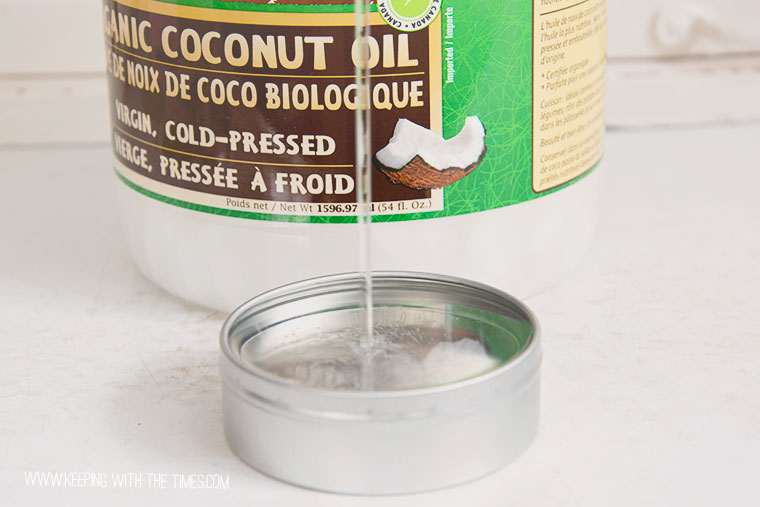
I’ve never used plain old salt for bathing, but I always use Epsom Salt:
Epsom salt, named for a bitter saline spring at Epsom in Surrey, England, is not actually salt but a naturally occurring pure mineral compound of magnesium and sulfate (Saltworks) (this site has a ton of interesting information about bath salts.)
There are many claims made of Epsom Salt and it’s health benefits and I cannot agree nor dispute any of them. I just know that when I use a cupful of these salts in my bath it makes the water feel softer and I’m not squeaking around in the tub ;) so it’s more relaxing. I also throw in a squirt of unscented body wash.
So I’m thinking … I already have Epsom Salt and I also have a bag of Himalayan Pink Salt which I picked up at a discount store, and that I use in cooking, and I also have some fresh Rosemary still growing in the garden. Time to get my DIY on!!

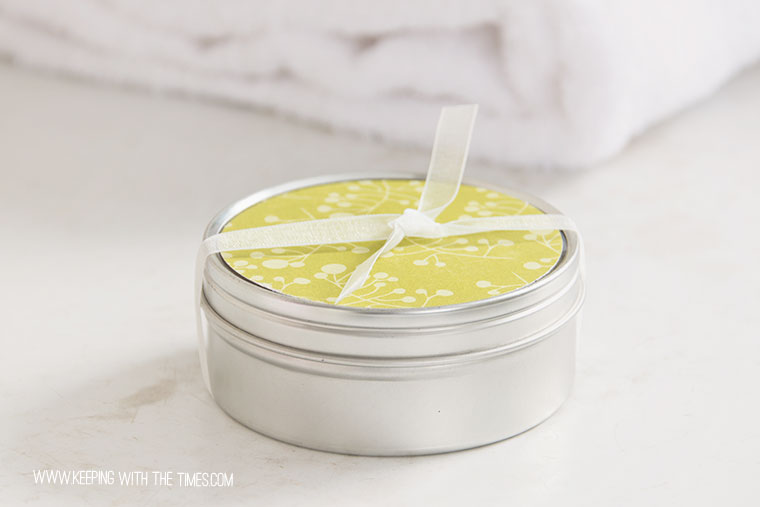
DIY Bath Salts with Rosemary
- 1 cup Epsom Salt
- 1/4 cup Himalayan Pink Salt
- 2 tablespoons rosemary, chopped finely (if you don’t have fresh rosemary, just leave it out)
- Combine and throw into your bath as the water is running. Add a squirt of your favourite body wash, ease into the bathtub, and enjoy!
This would make an awesome hostess gift or dare I say (Christmas) gift! Just don’t put any fresh herbs in the bottle if the salts are not going to be used right away.
You could include a small potted rosemary plant with the jar of the salts and when packed in a pretty jar with a hand printed tag like mine * your recipient will love it (you:)
Include directions on how to use them together.

*Please feel free to download the tag (for personal use only please :)
There are two versions: one with rosemary, one without.
Pin for later ;)

 And how cute is that terra cotta pot?


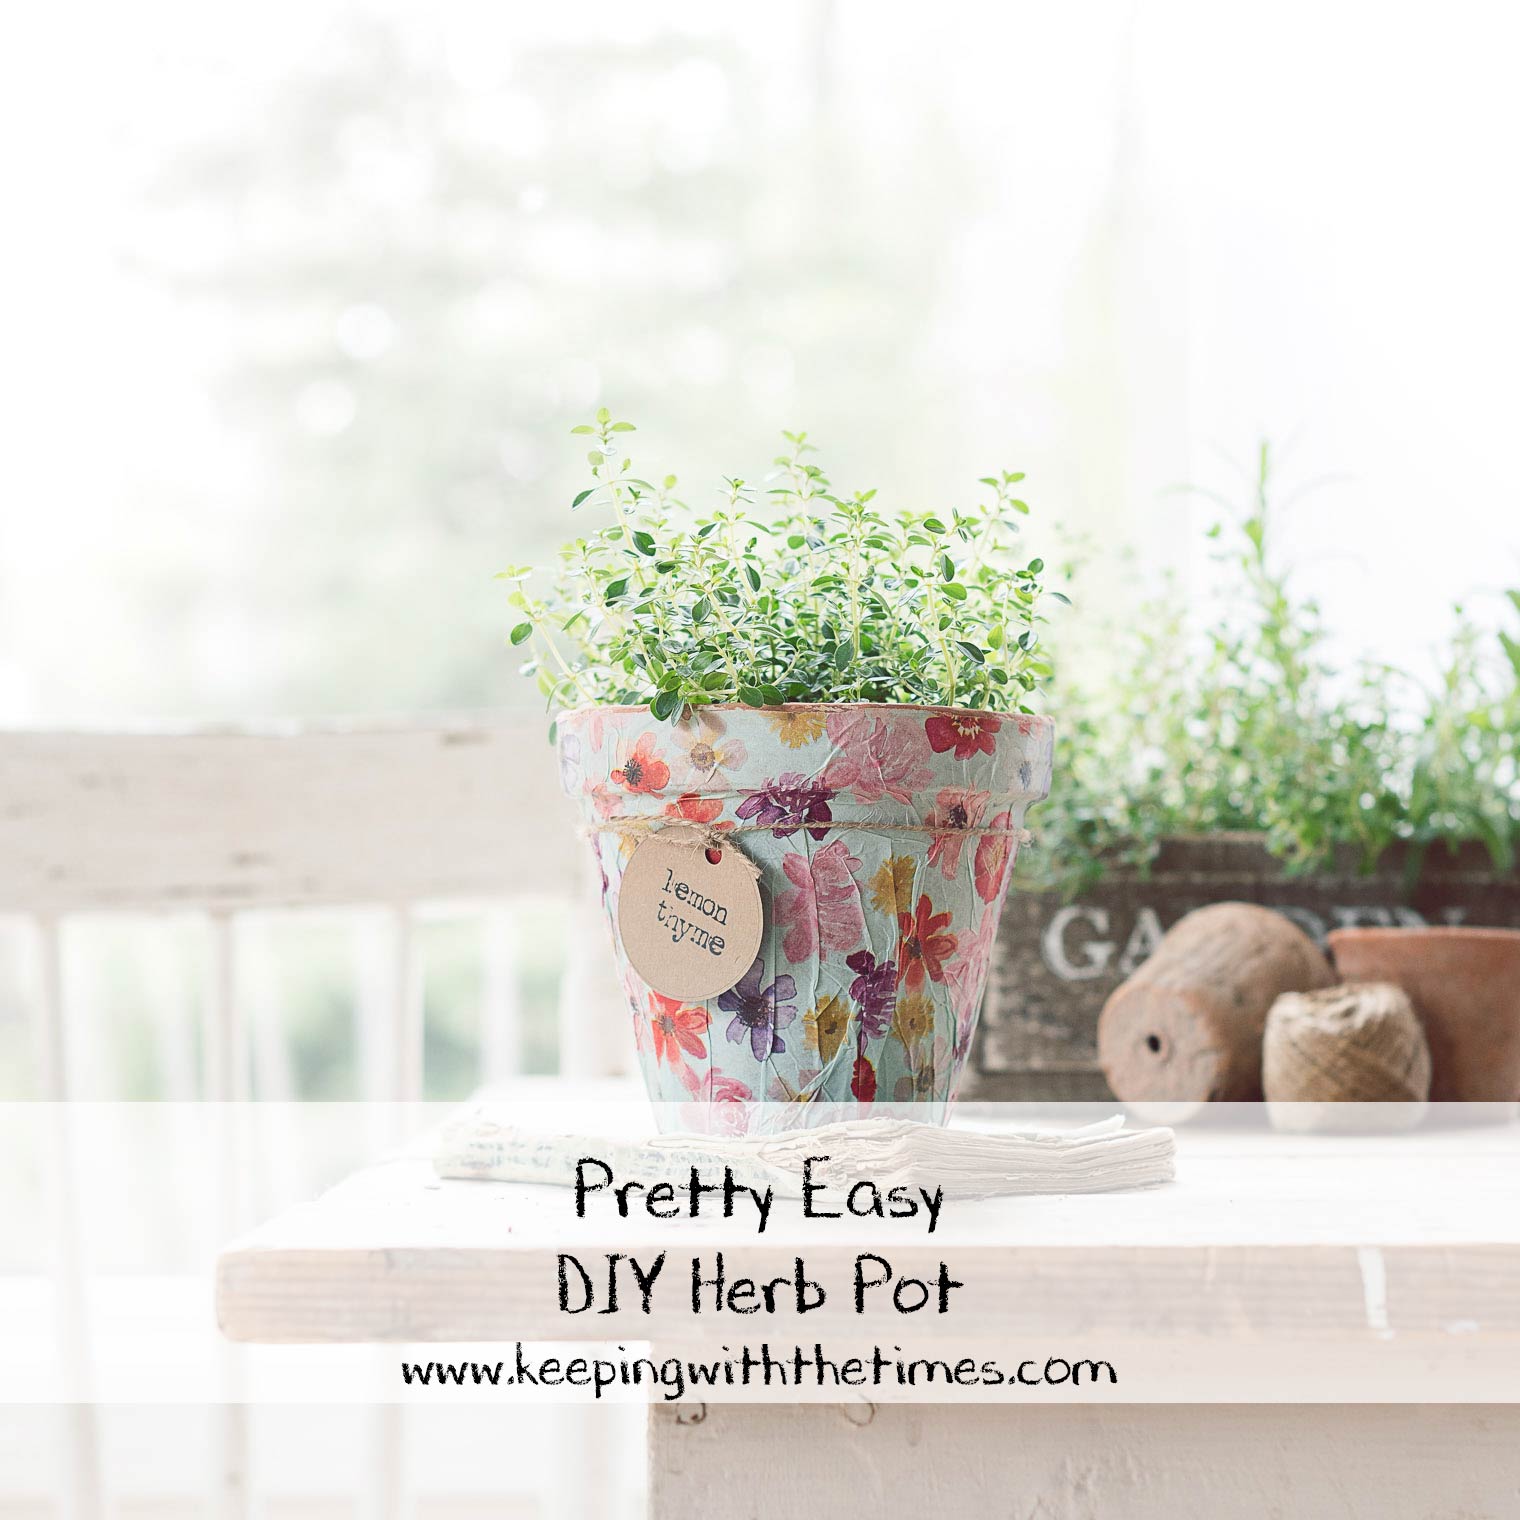
 It’s the addition of the handmade plant markers that really makes this gift special. These are so inexpensive they’re practically disposable!
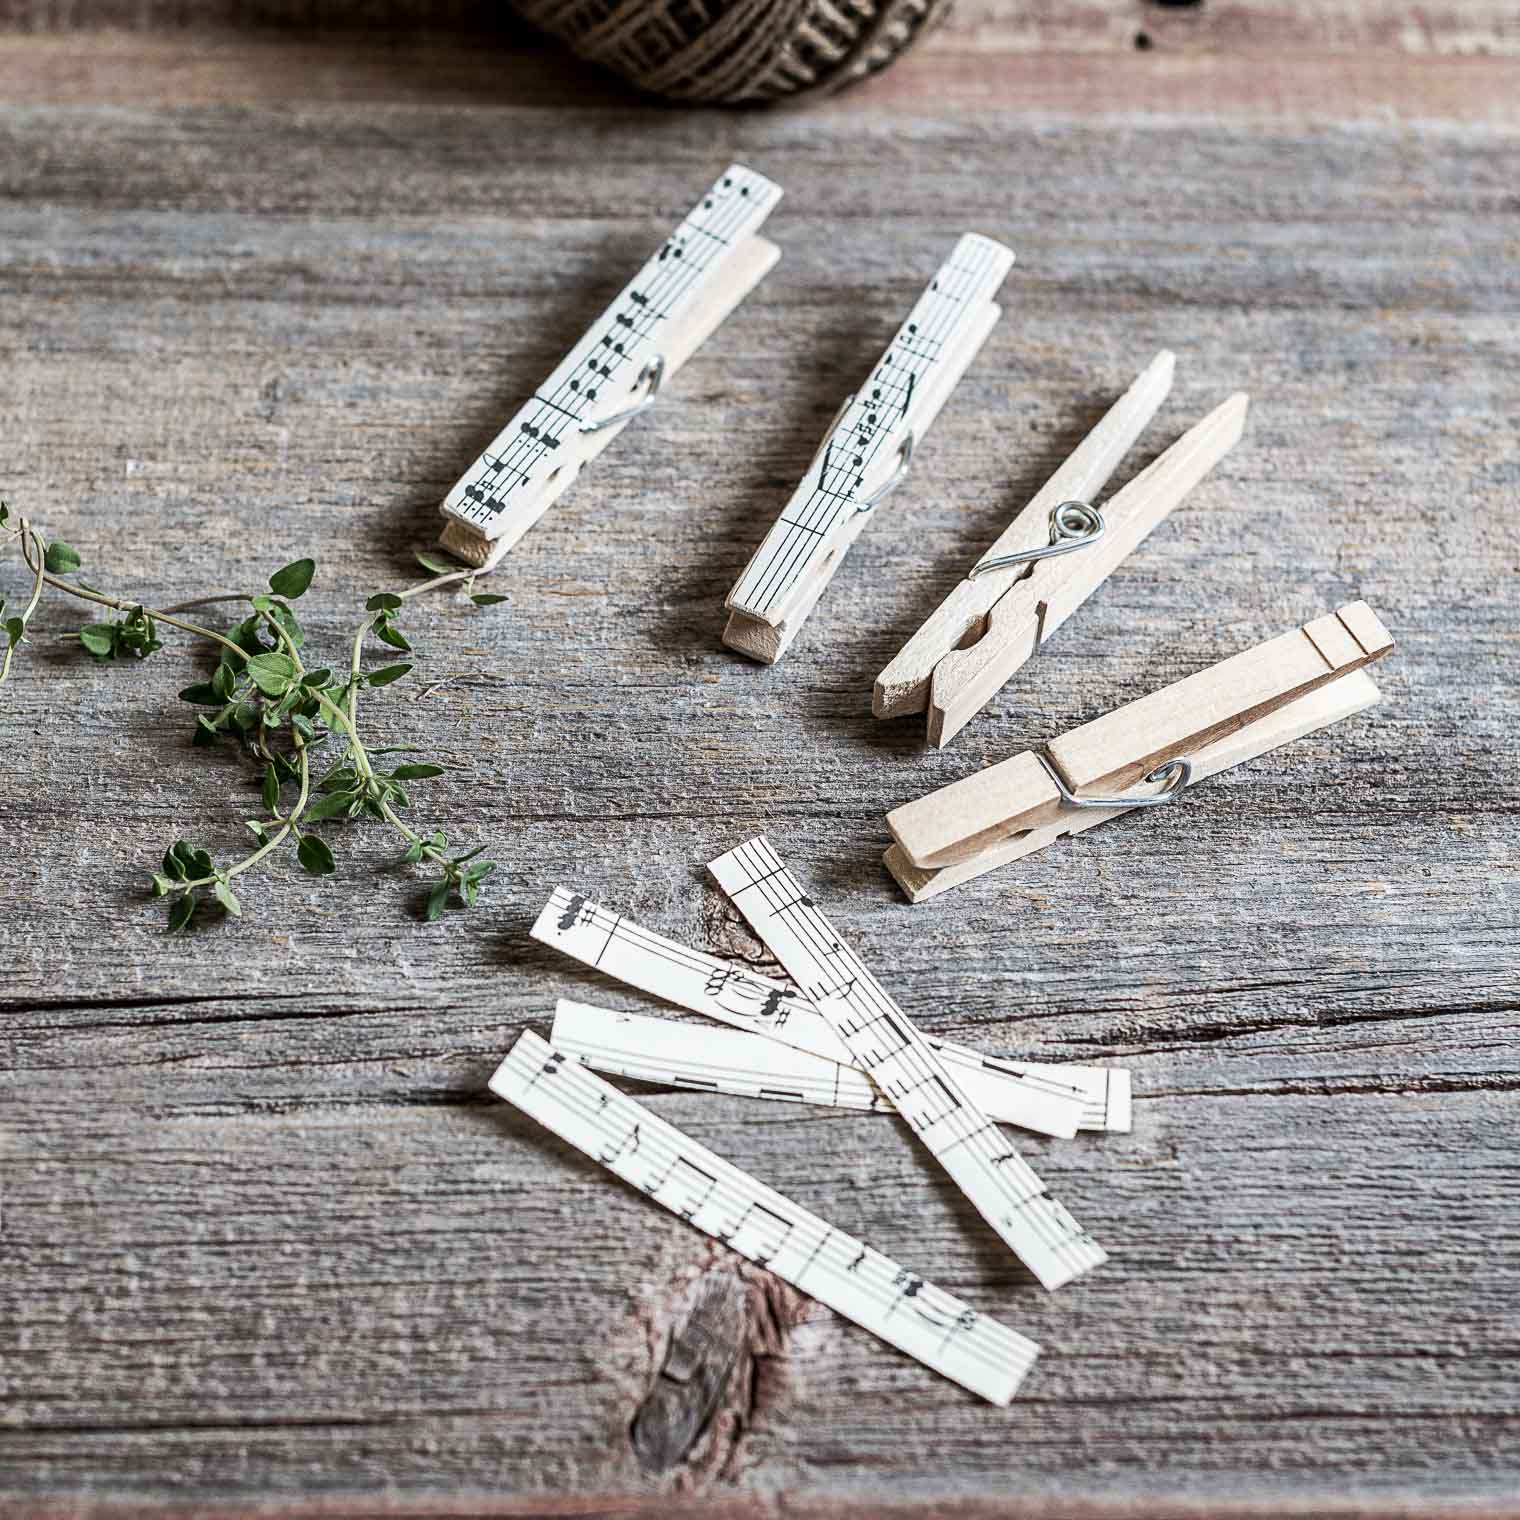 Use alphabet stamps and scrapbooking ink to add the names of the herbs to little brown paper flags, clip them to the clothespins, and voila!
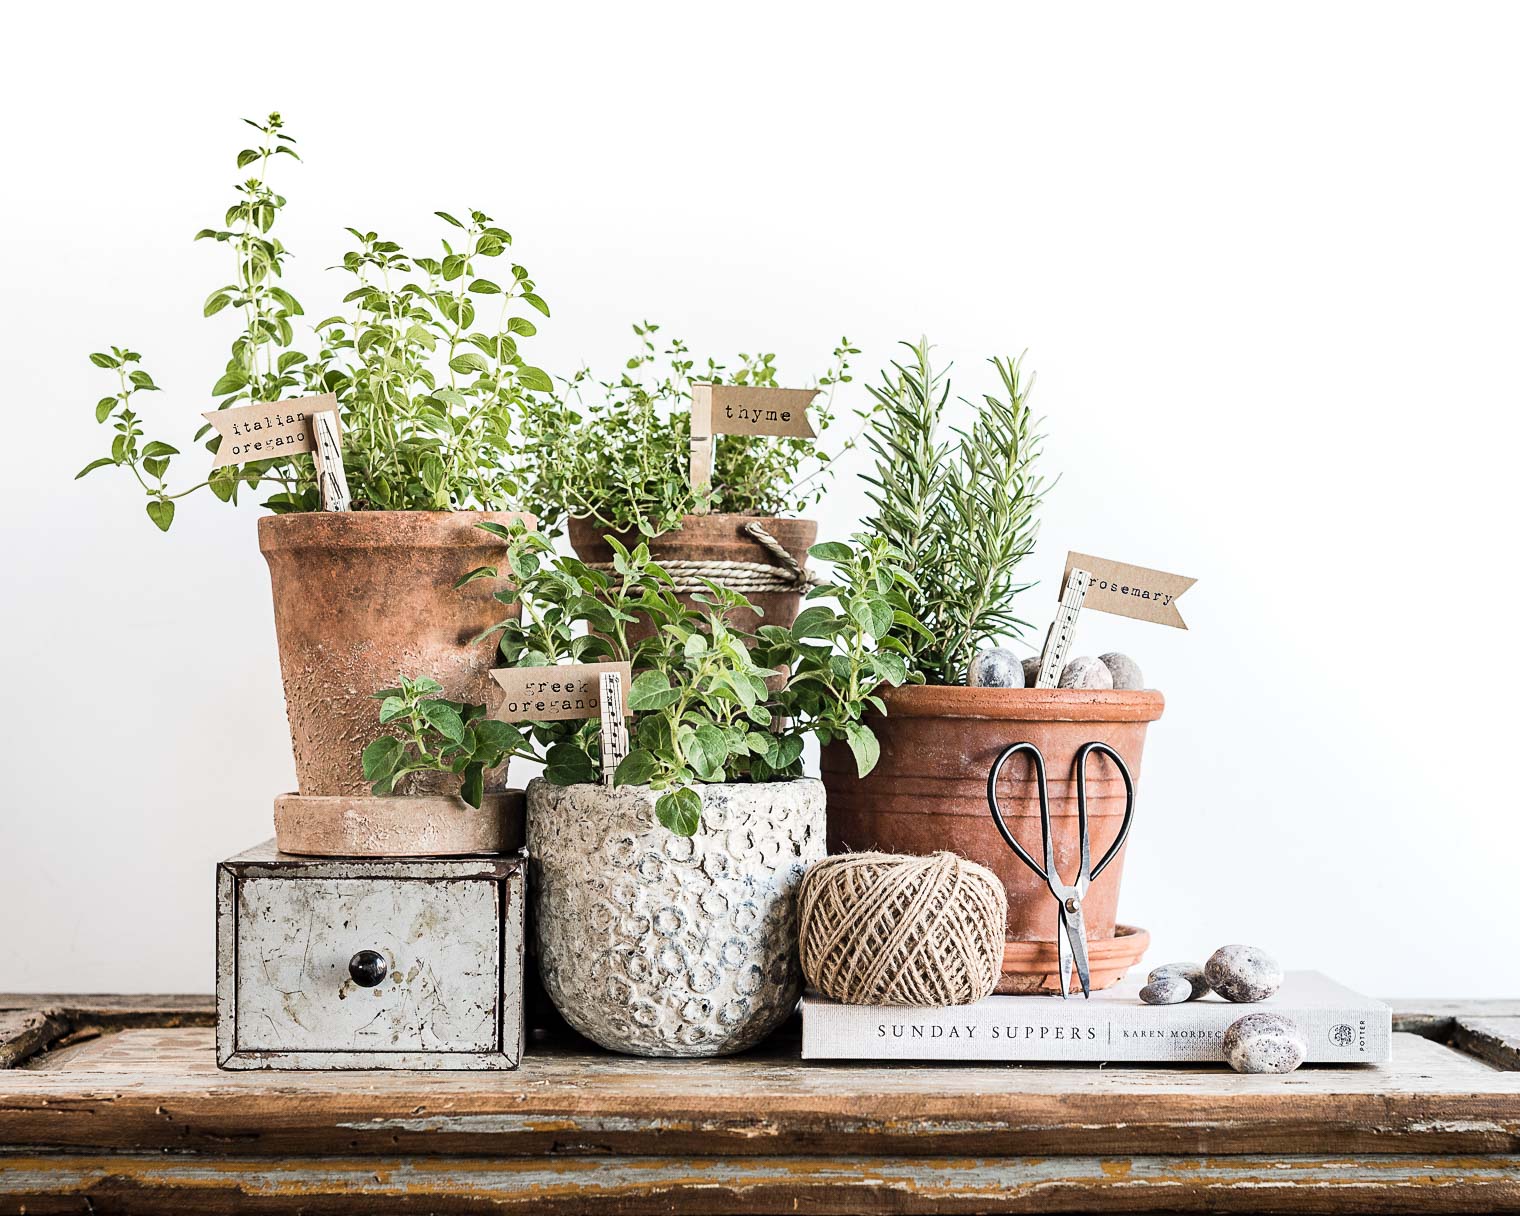


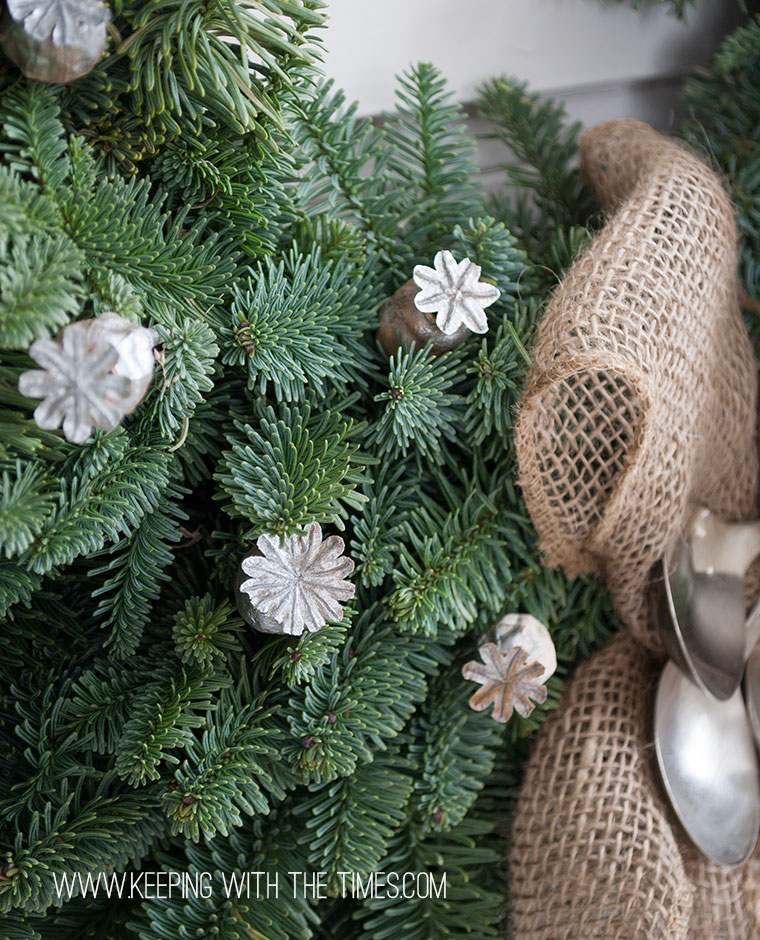
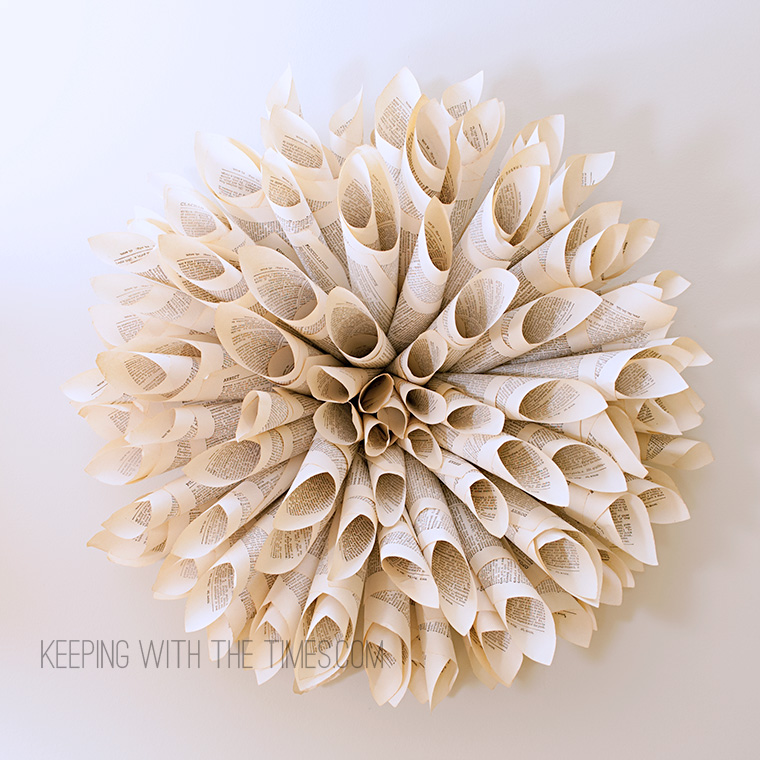
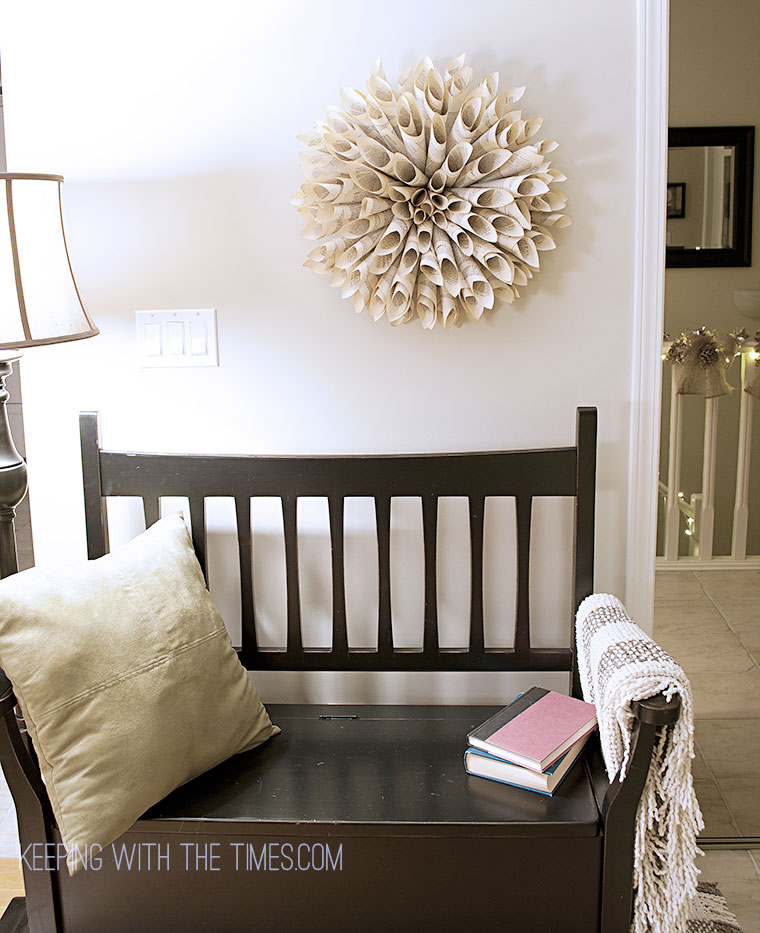
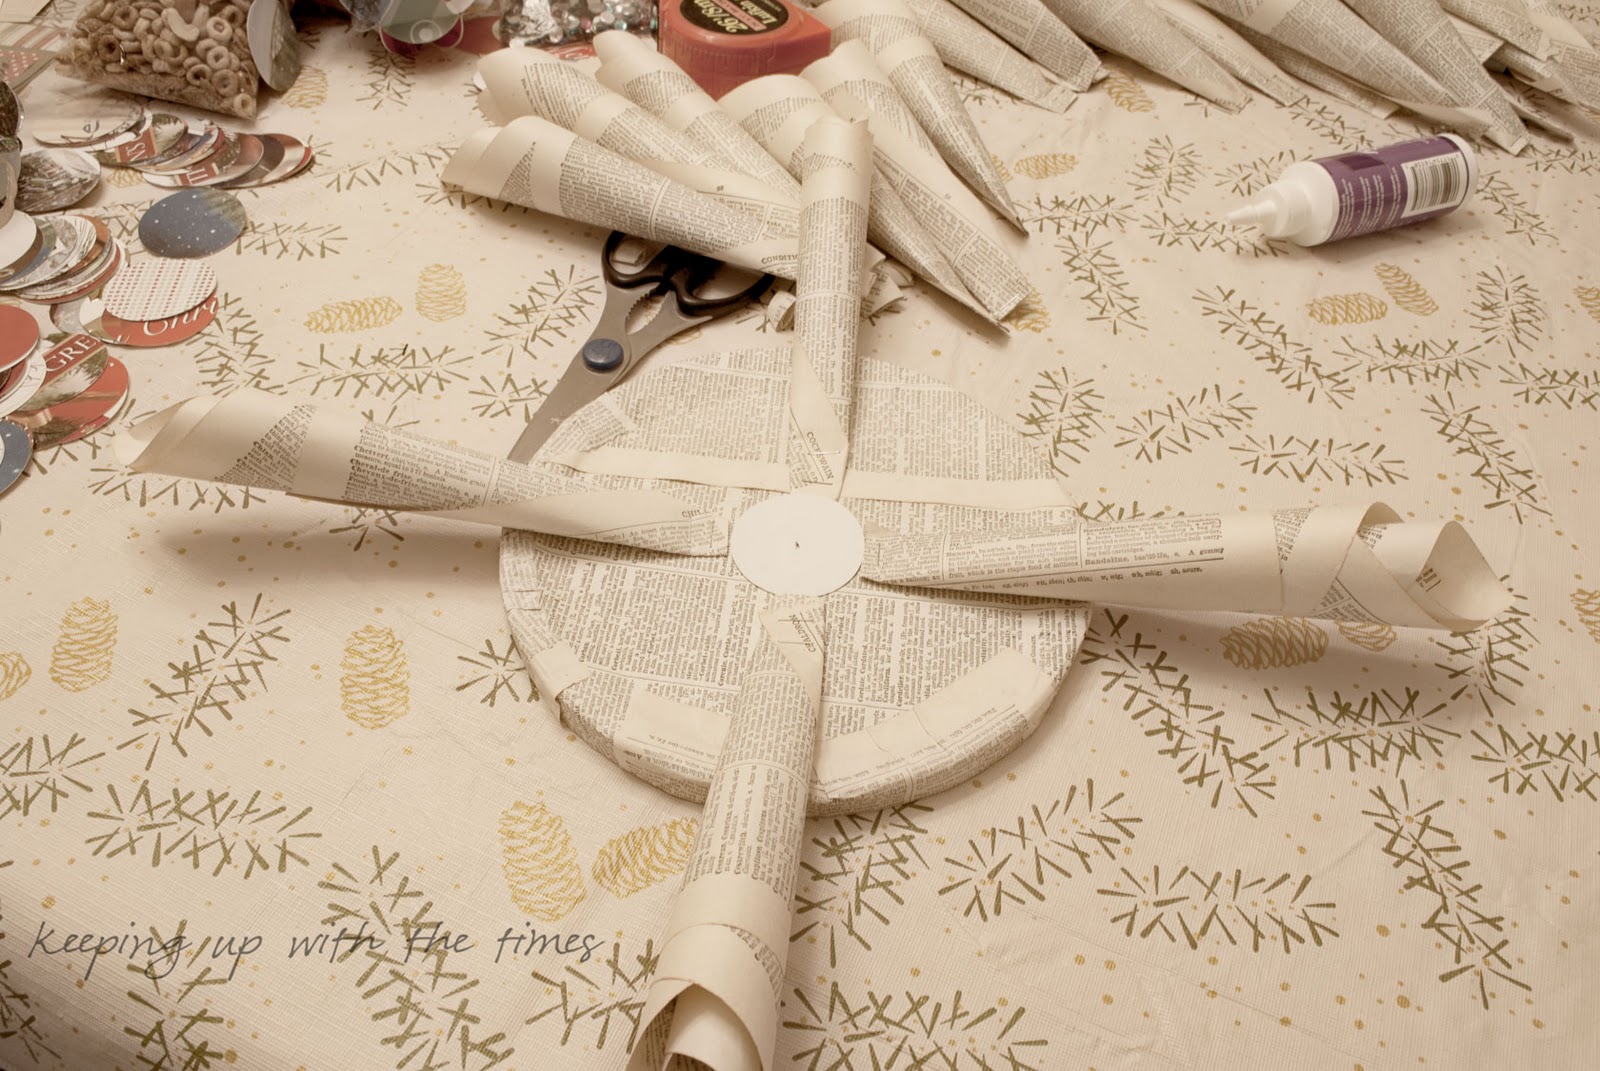
 Then I got to thinking, what could I do with these tiny mini-me wreaths?

 Doesn’t everyone leave side table drawers open? with linen serviettes hanging out of them :)
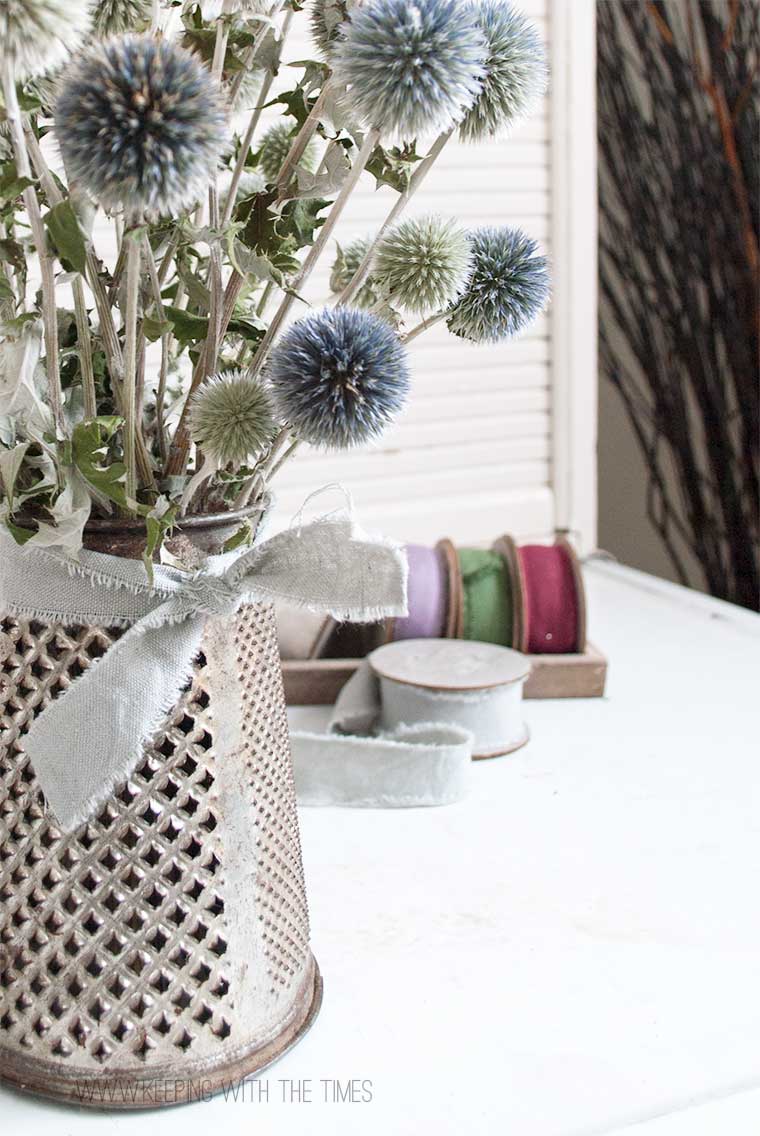
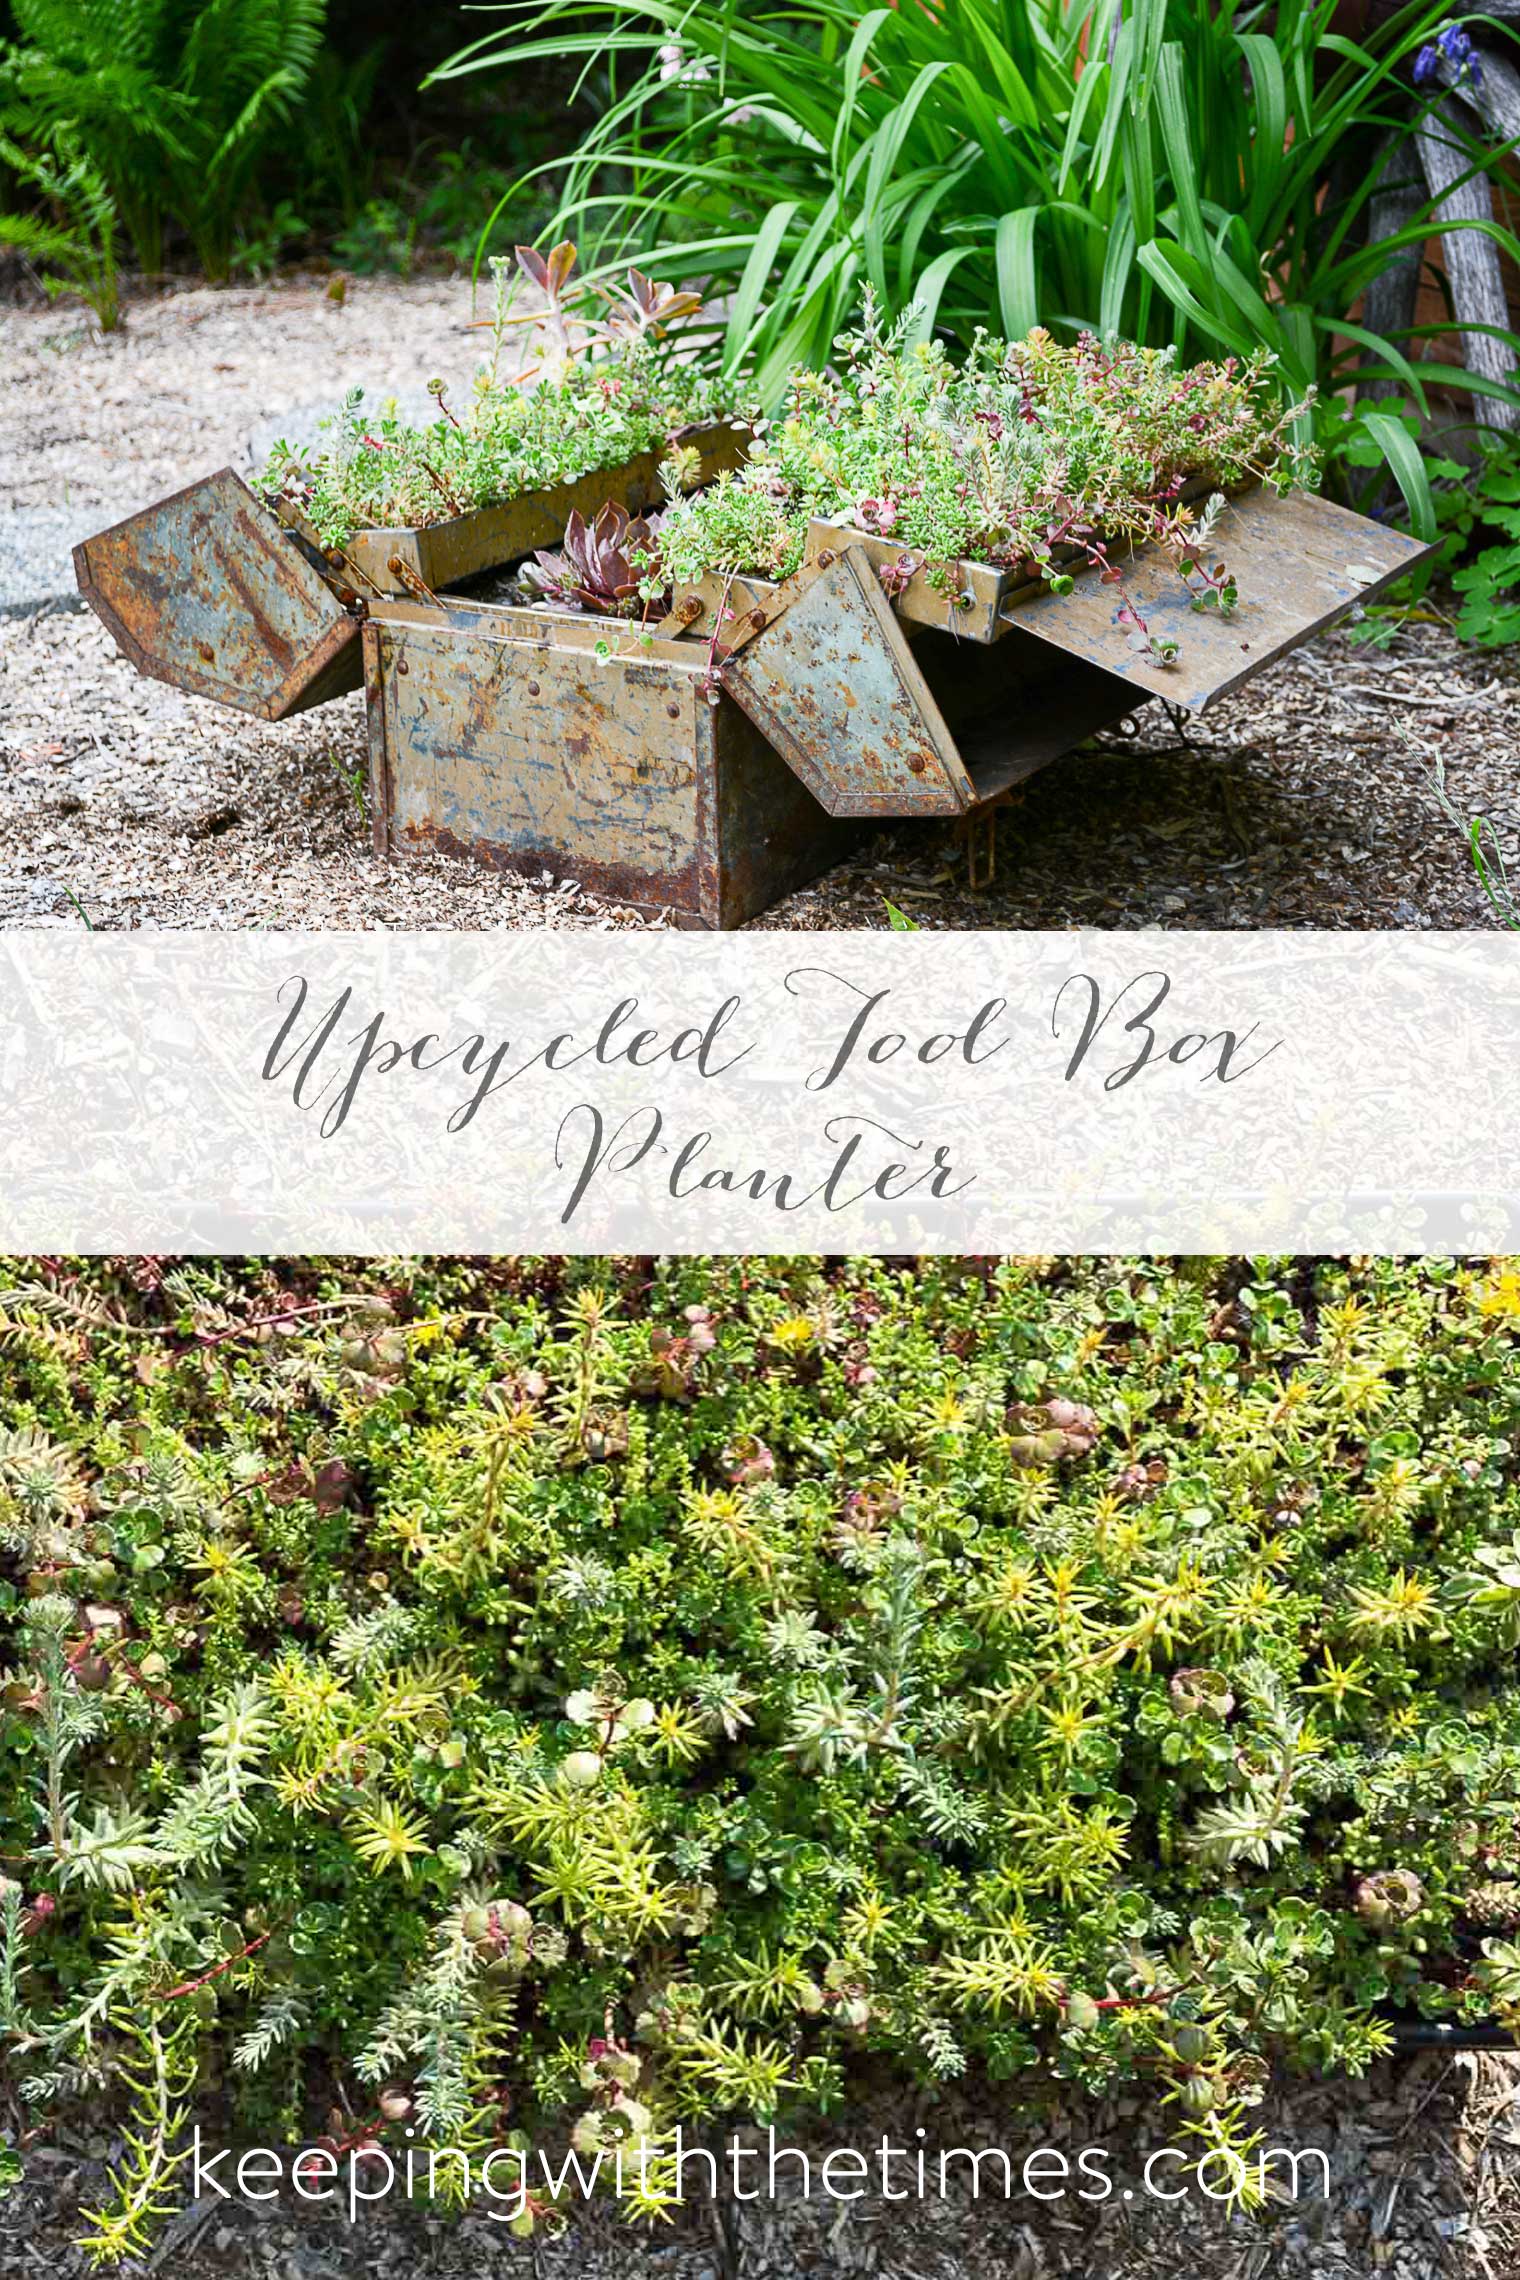
 As I mentioned, succulents look good in just about any pot and I especially love them in glass containers filled with rocks or pebbles.


 It’s funny how things go … I needed a craft idea, not for any other reason than I was missing working with my hands, and voila, it appeared, seemingly out of nowhere. And did you know that March is National Craft Month? how cool … and serendipitous …
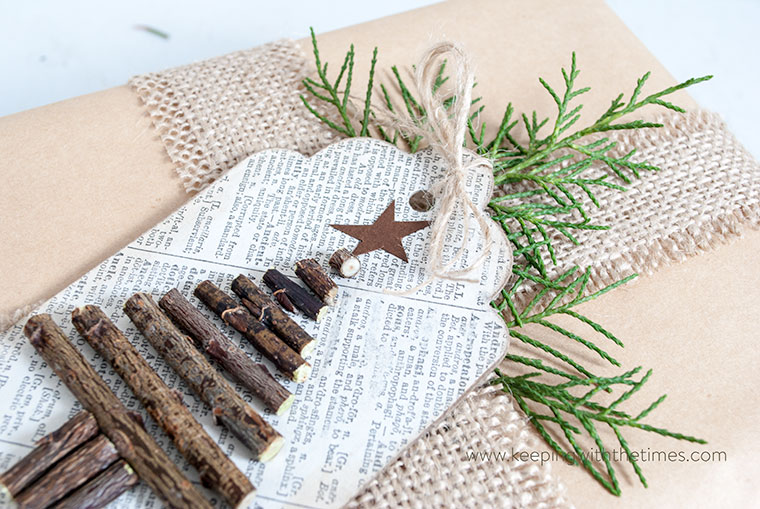
 I thought they’d make lovely toppers for presents …
 I purchased a tiny cardboard box from Michaels, tied twine around it, and topped it with a flower …
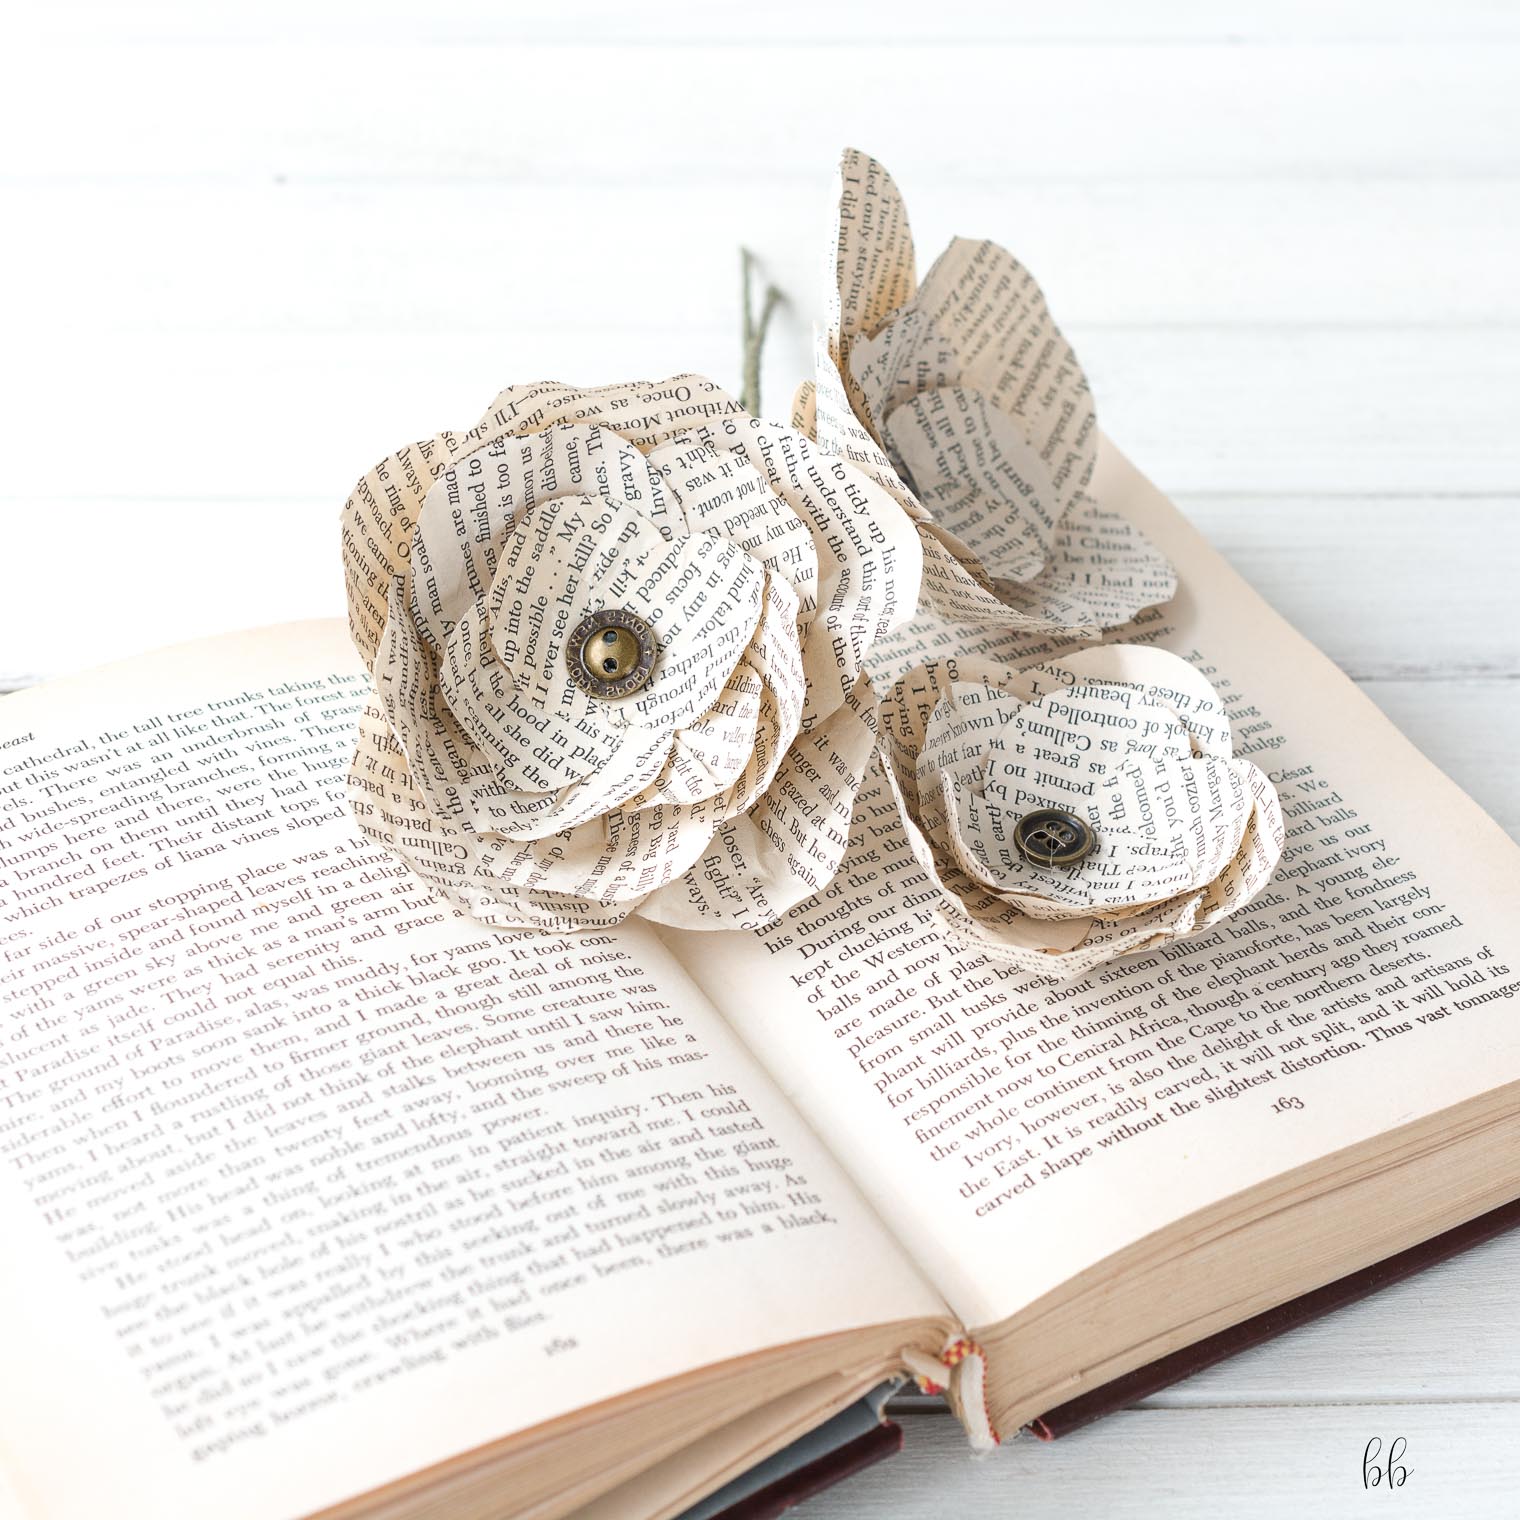
 I love how they look in vintage glass jars. For this flower, I didn’t crumple the petals:
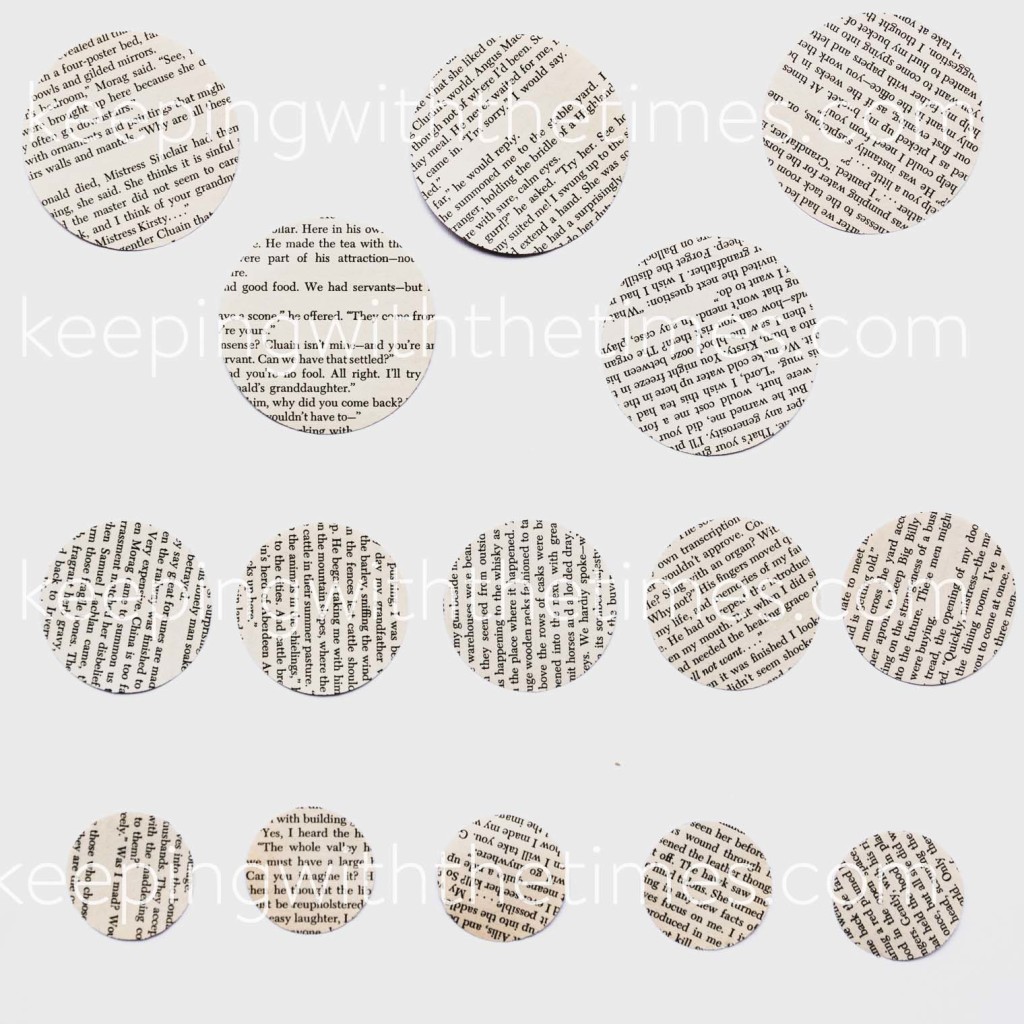 Gently crumple each circle, but be careful because the paper is fragile. Also, you can try making some without crumpling the paper—they’re pretty too.
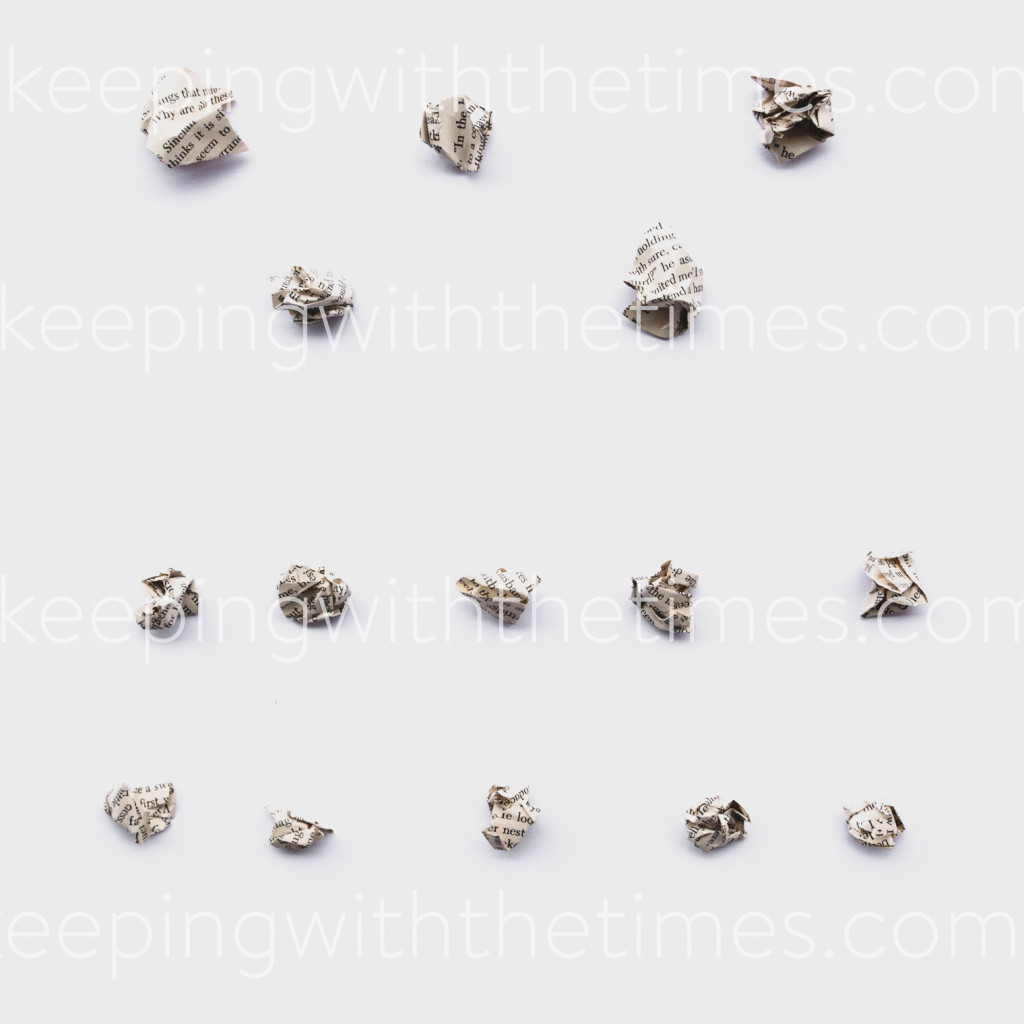 Gently uncrumple:
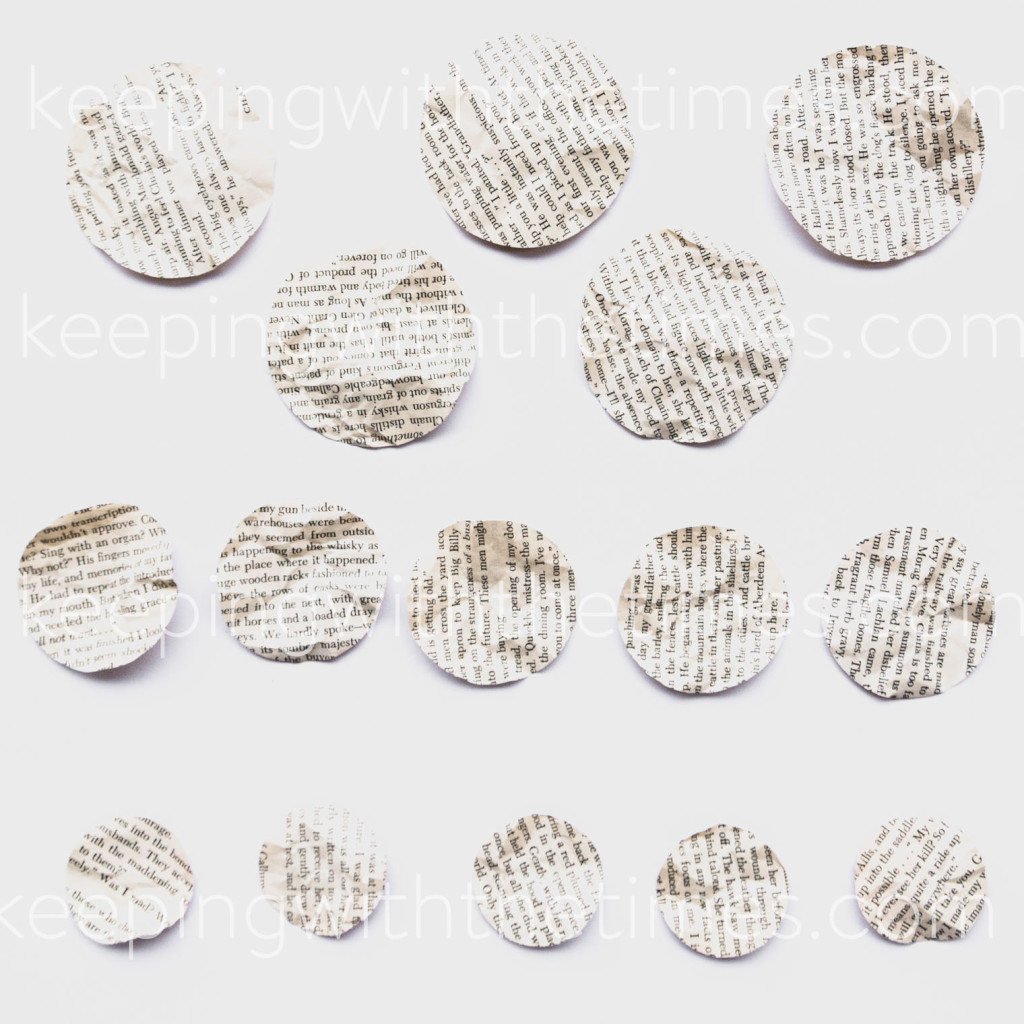 Fold in half, pinching only the bottom of each circle:
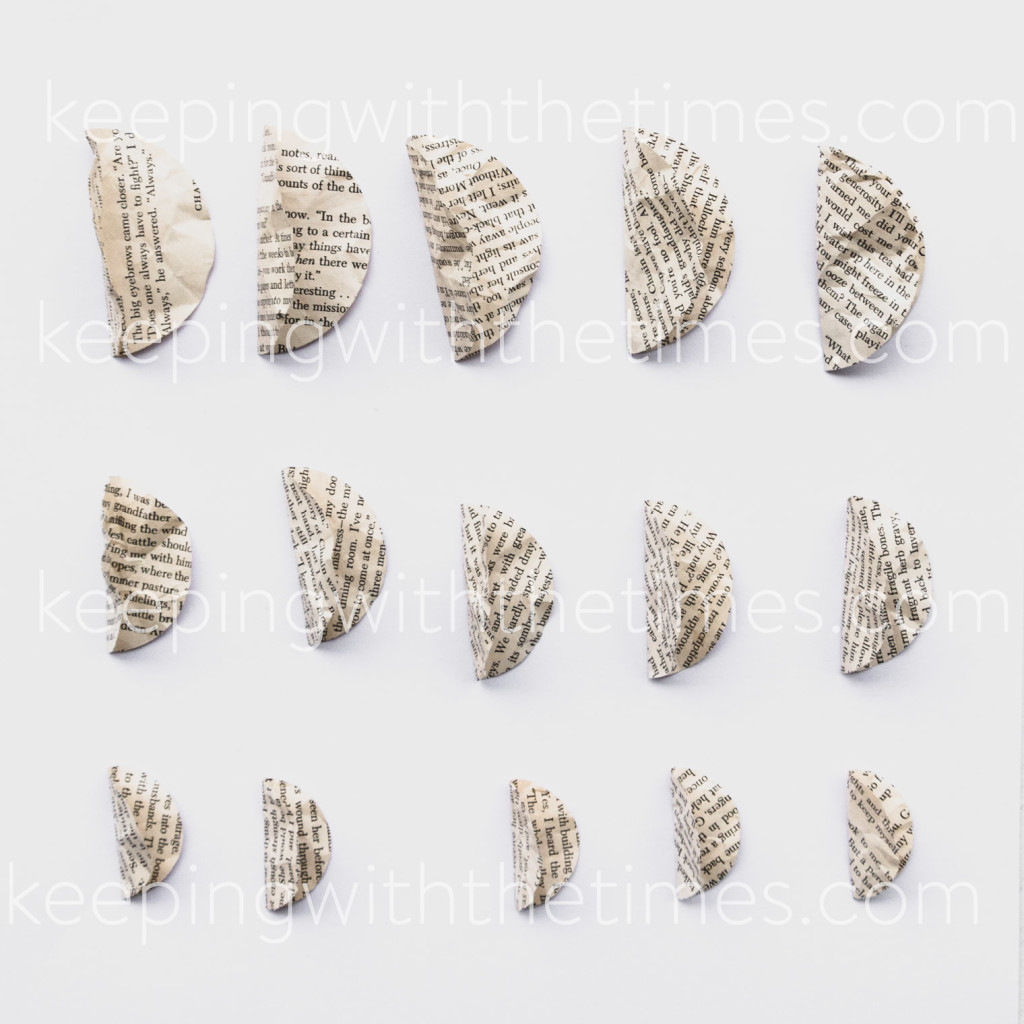 Using white glue, fold and pinch to glue the bottom of each circle together:
 Glue the petals of each layer together. White glue works better than a glue gun since it allows for readjusting the petals:
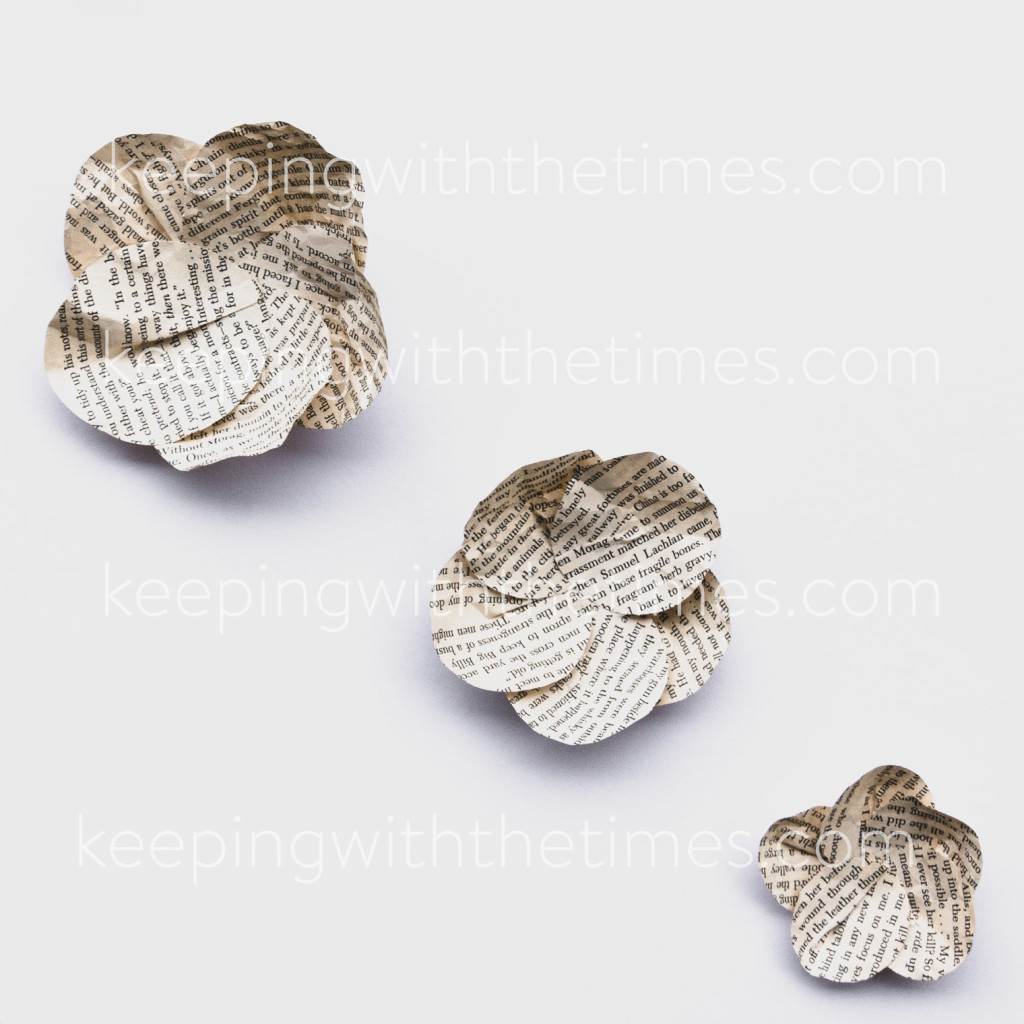 Glue together, off-setting each layer:
 Poke a hole through the middle using a strong toothpick or a skewer. I switched to a wooden skewer which was a lot stronger. Insert a piece of heavy florist wire, and bend the end over to keep it in place. Later, when you add a button with the glue gun, it will secure the wire:
 Wrap the stems with florists tape:
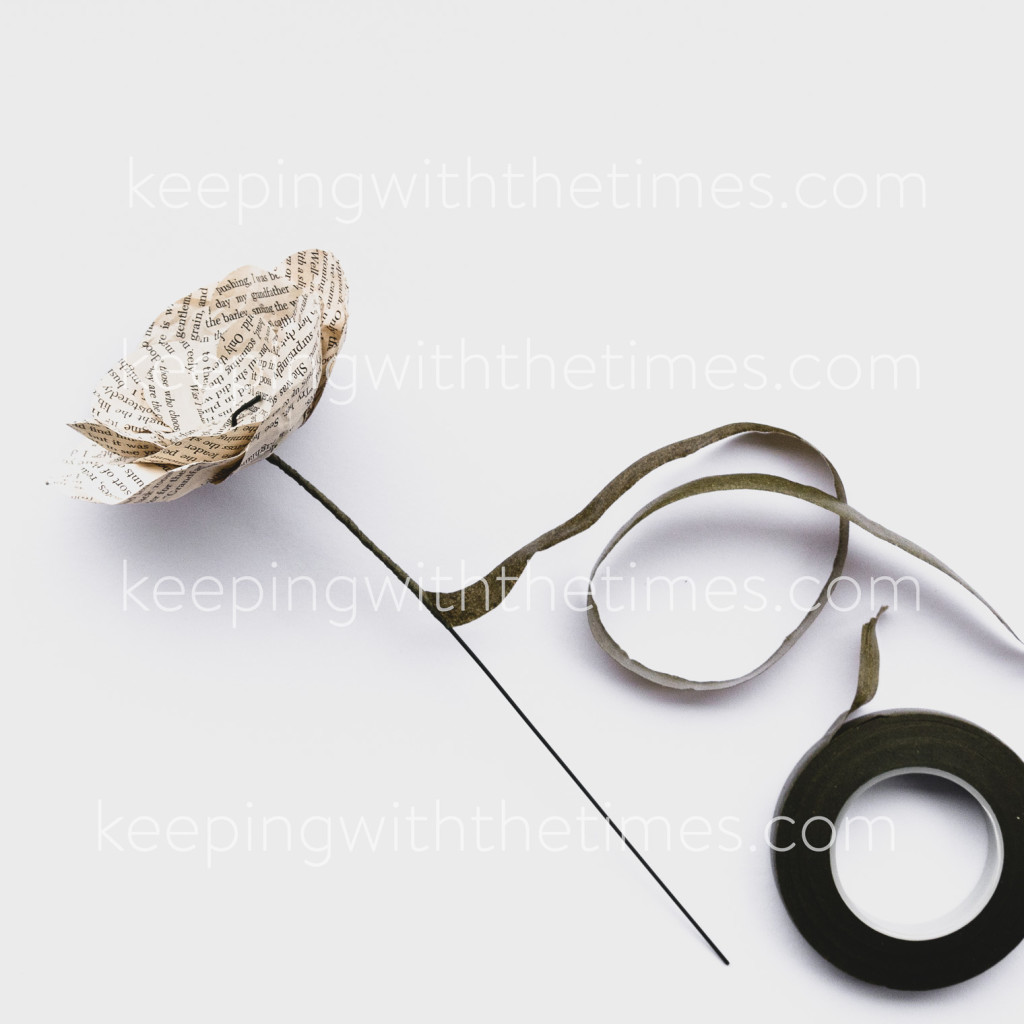 Glue a vintage button onto the paper flowers for the perfect centre:
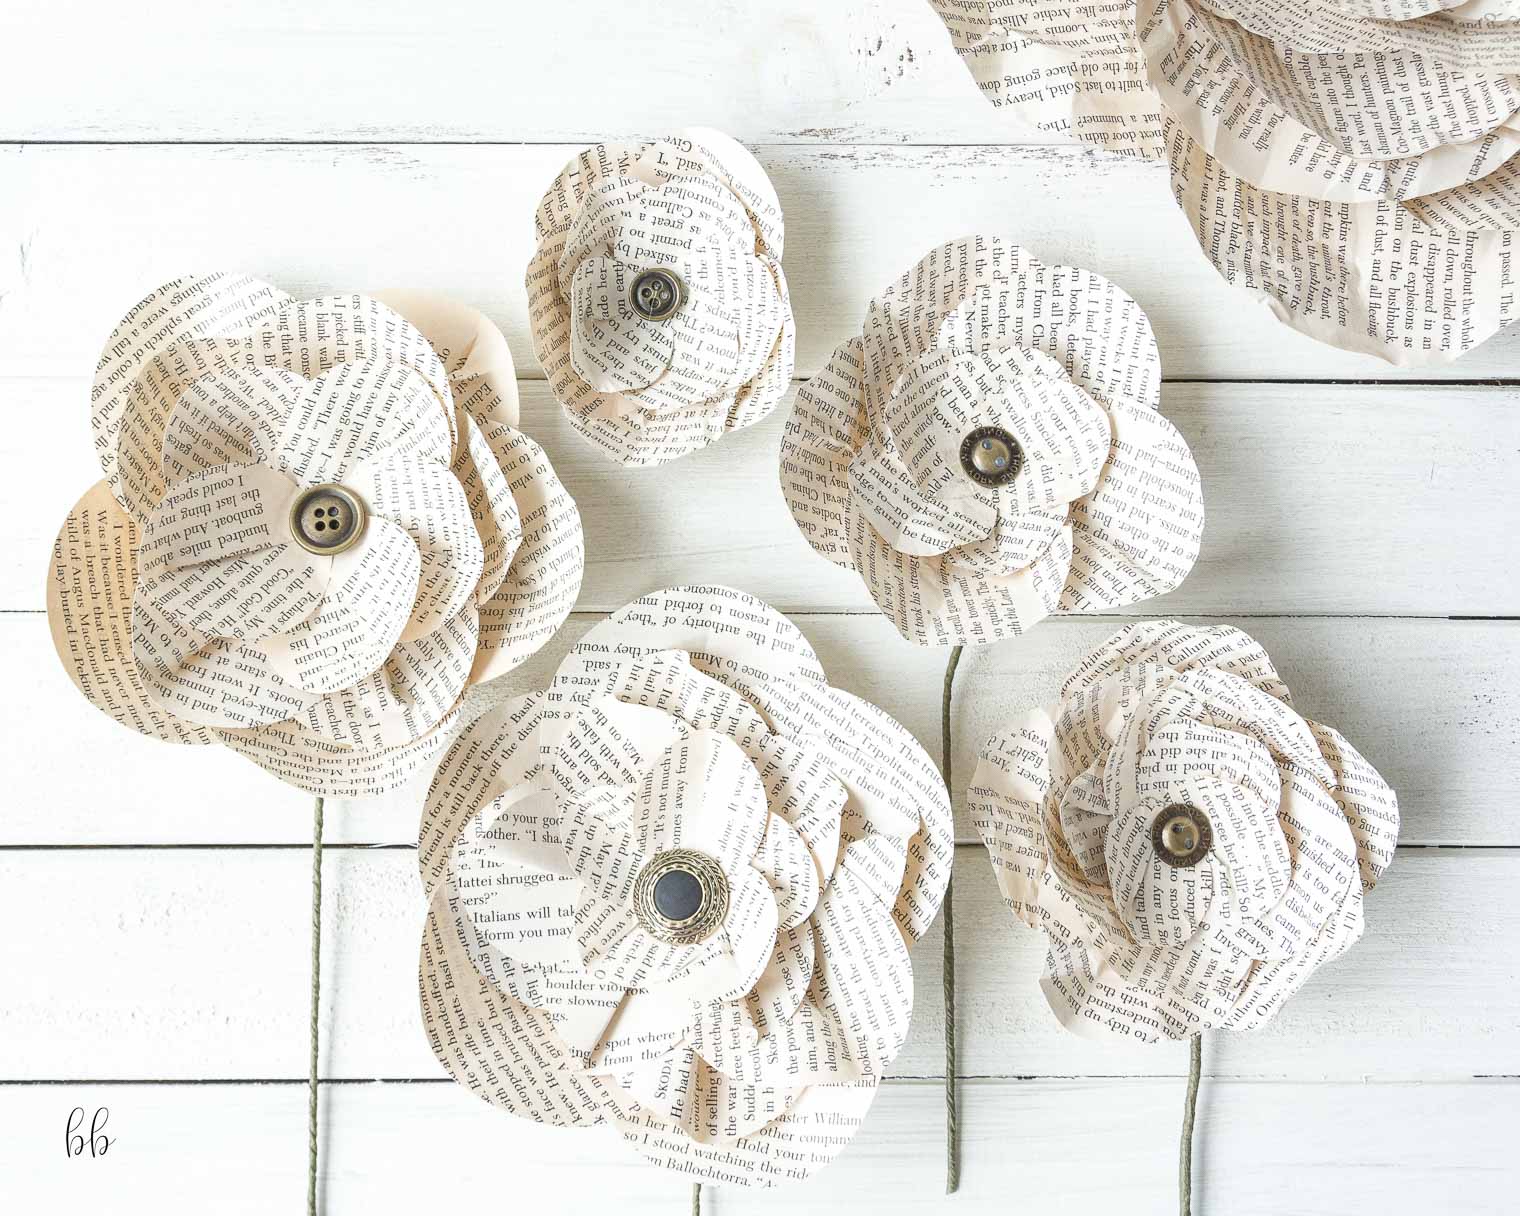 PIN IT:
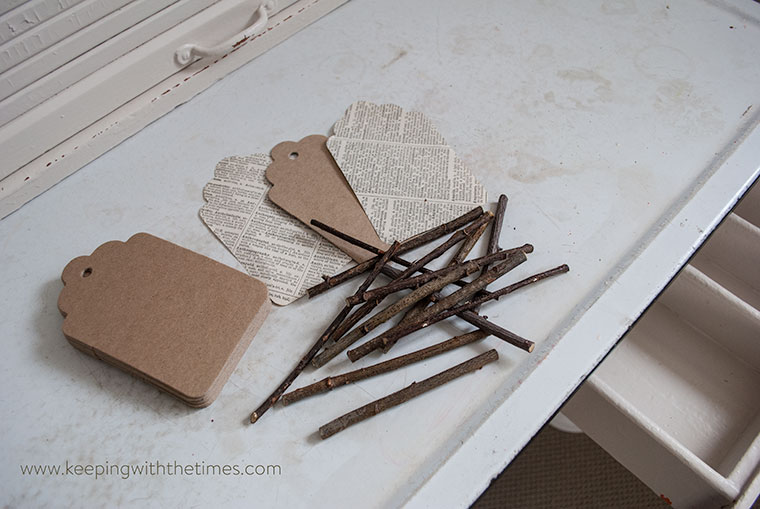
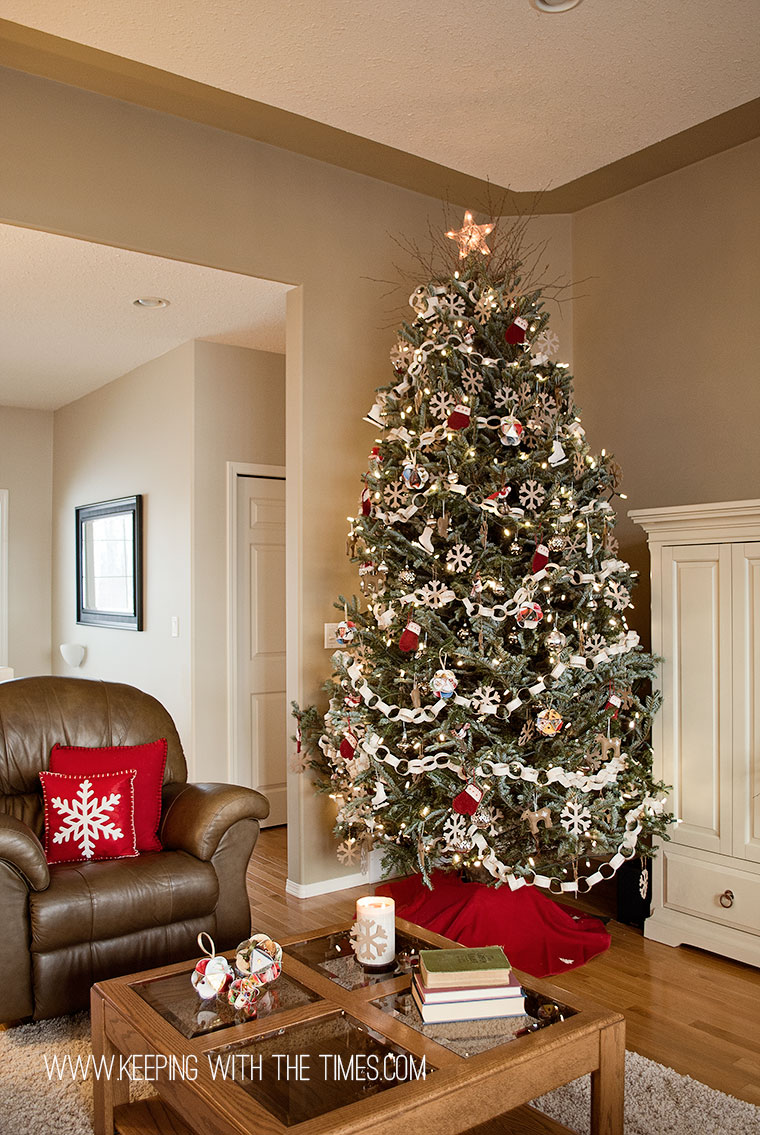
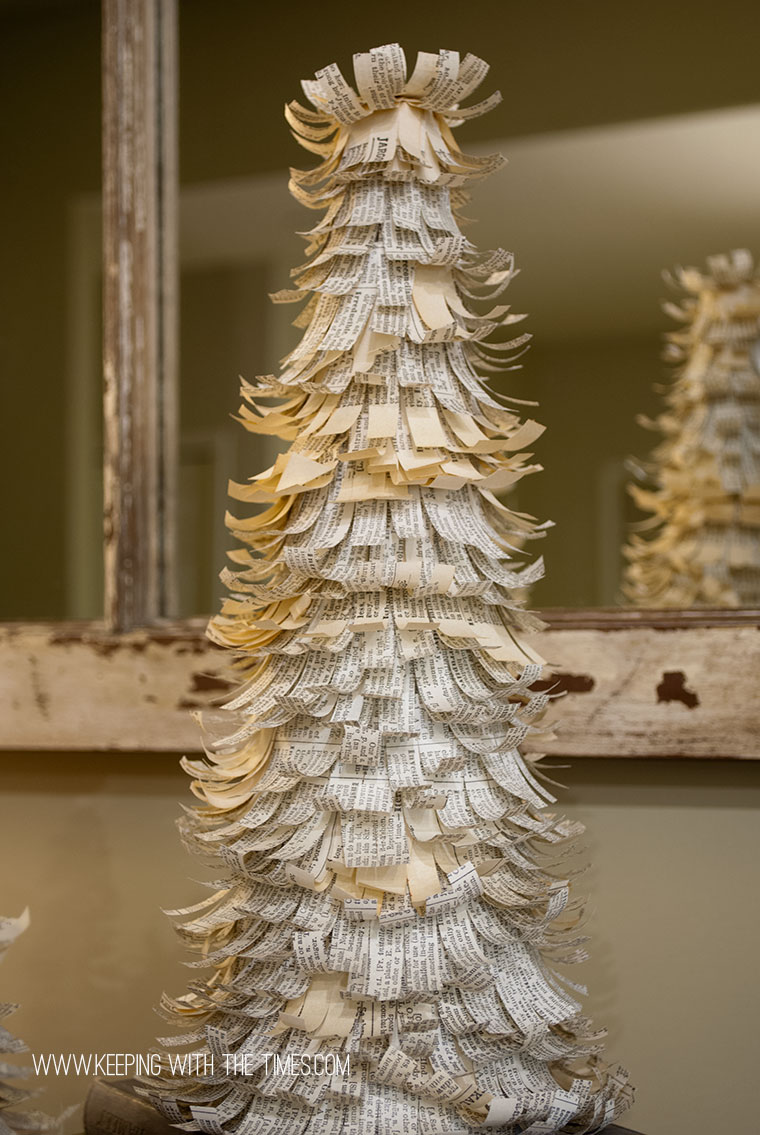
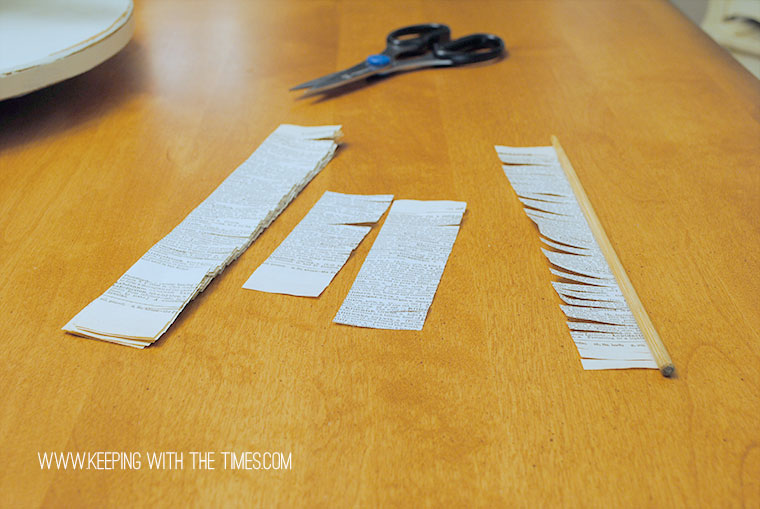
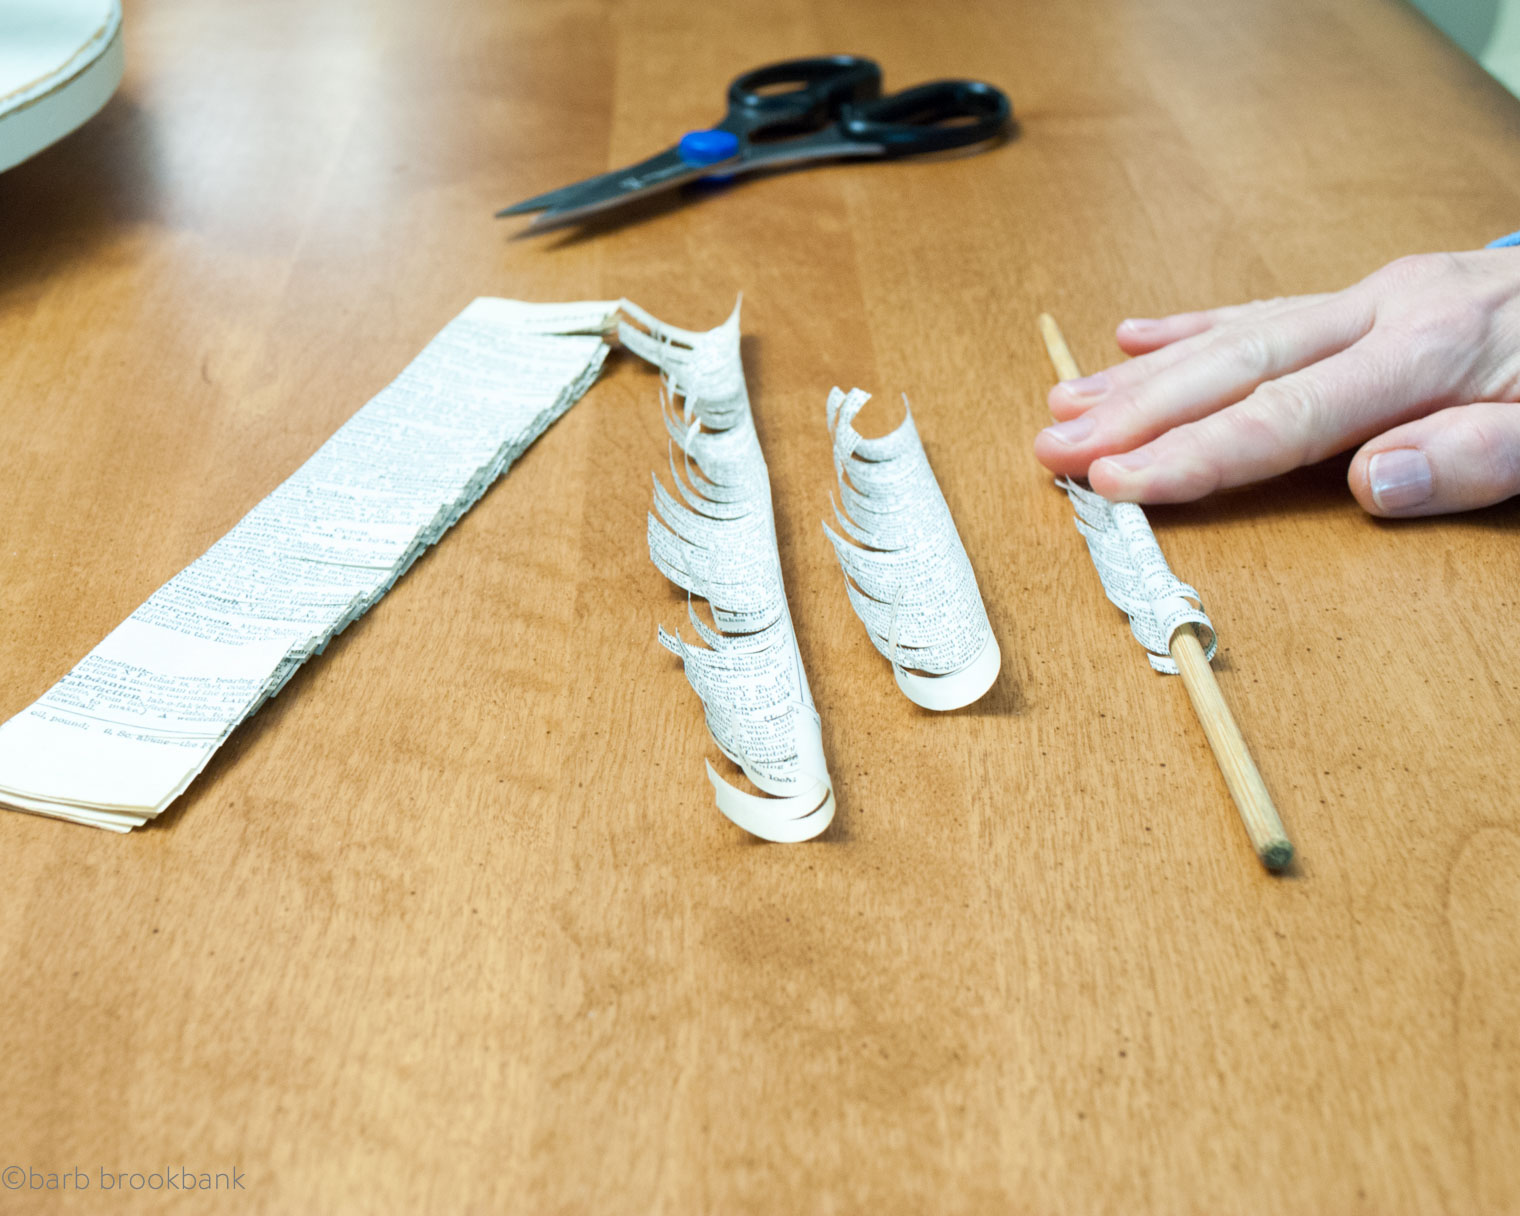
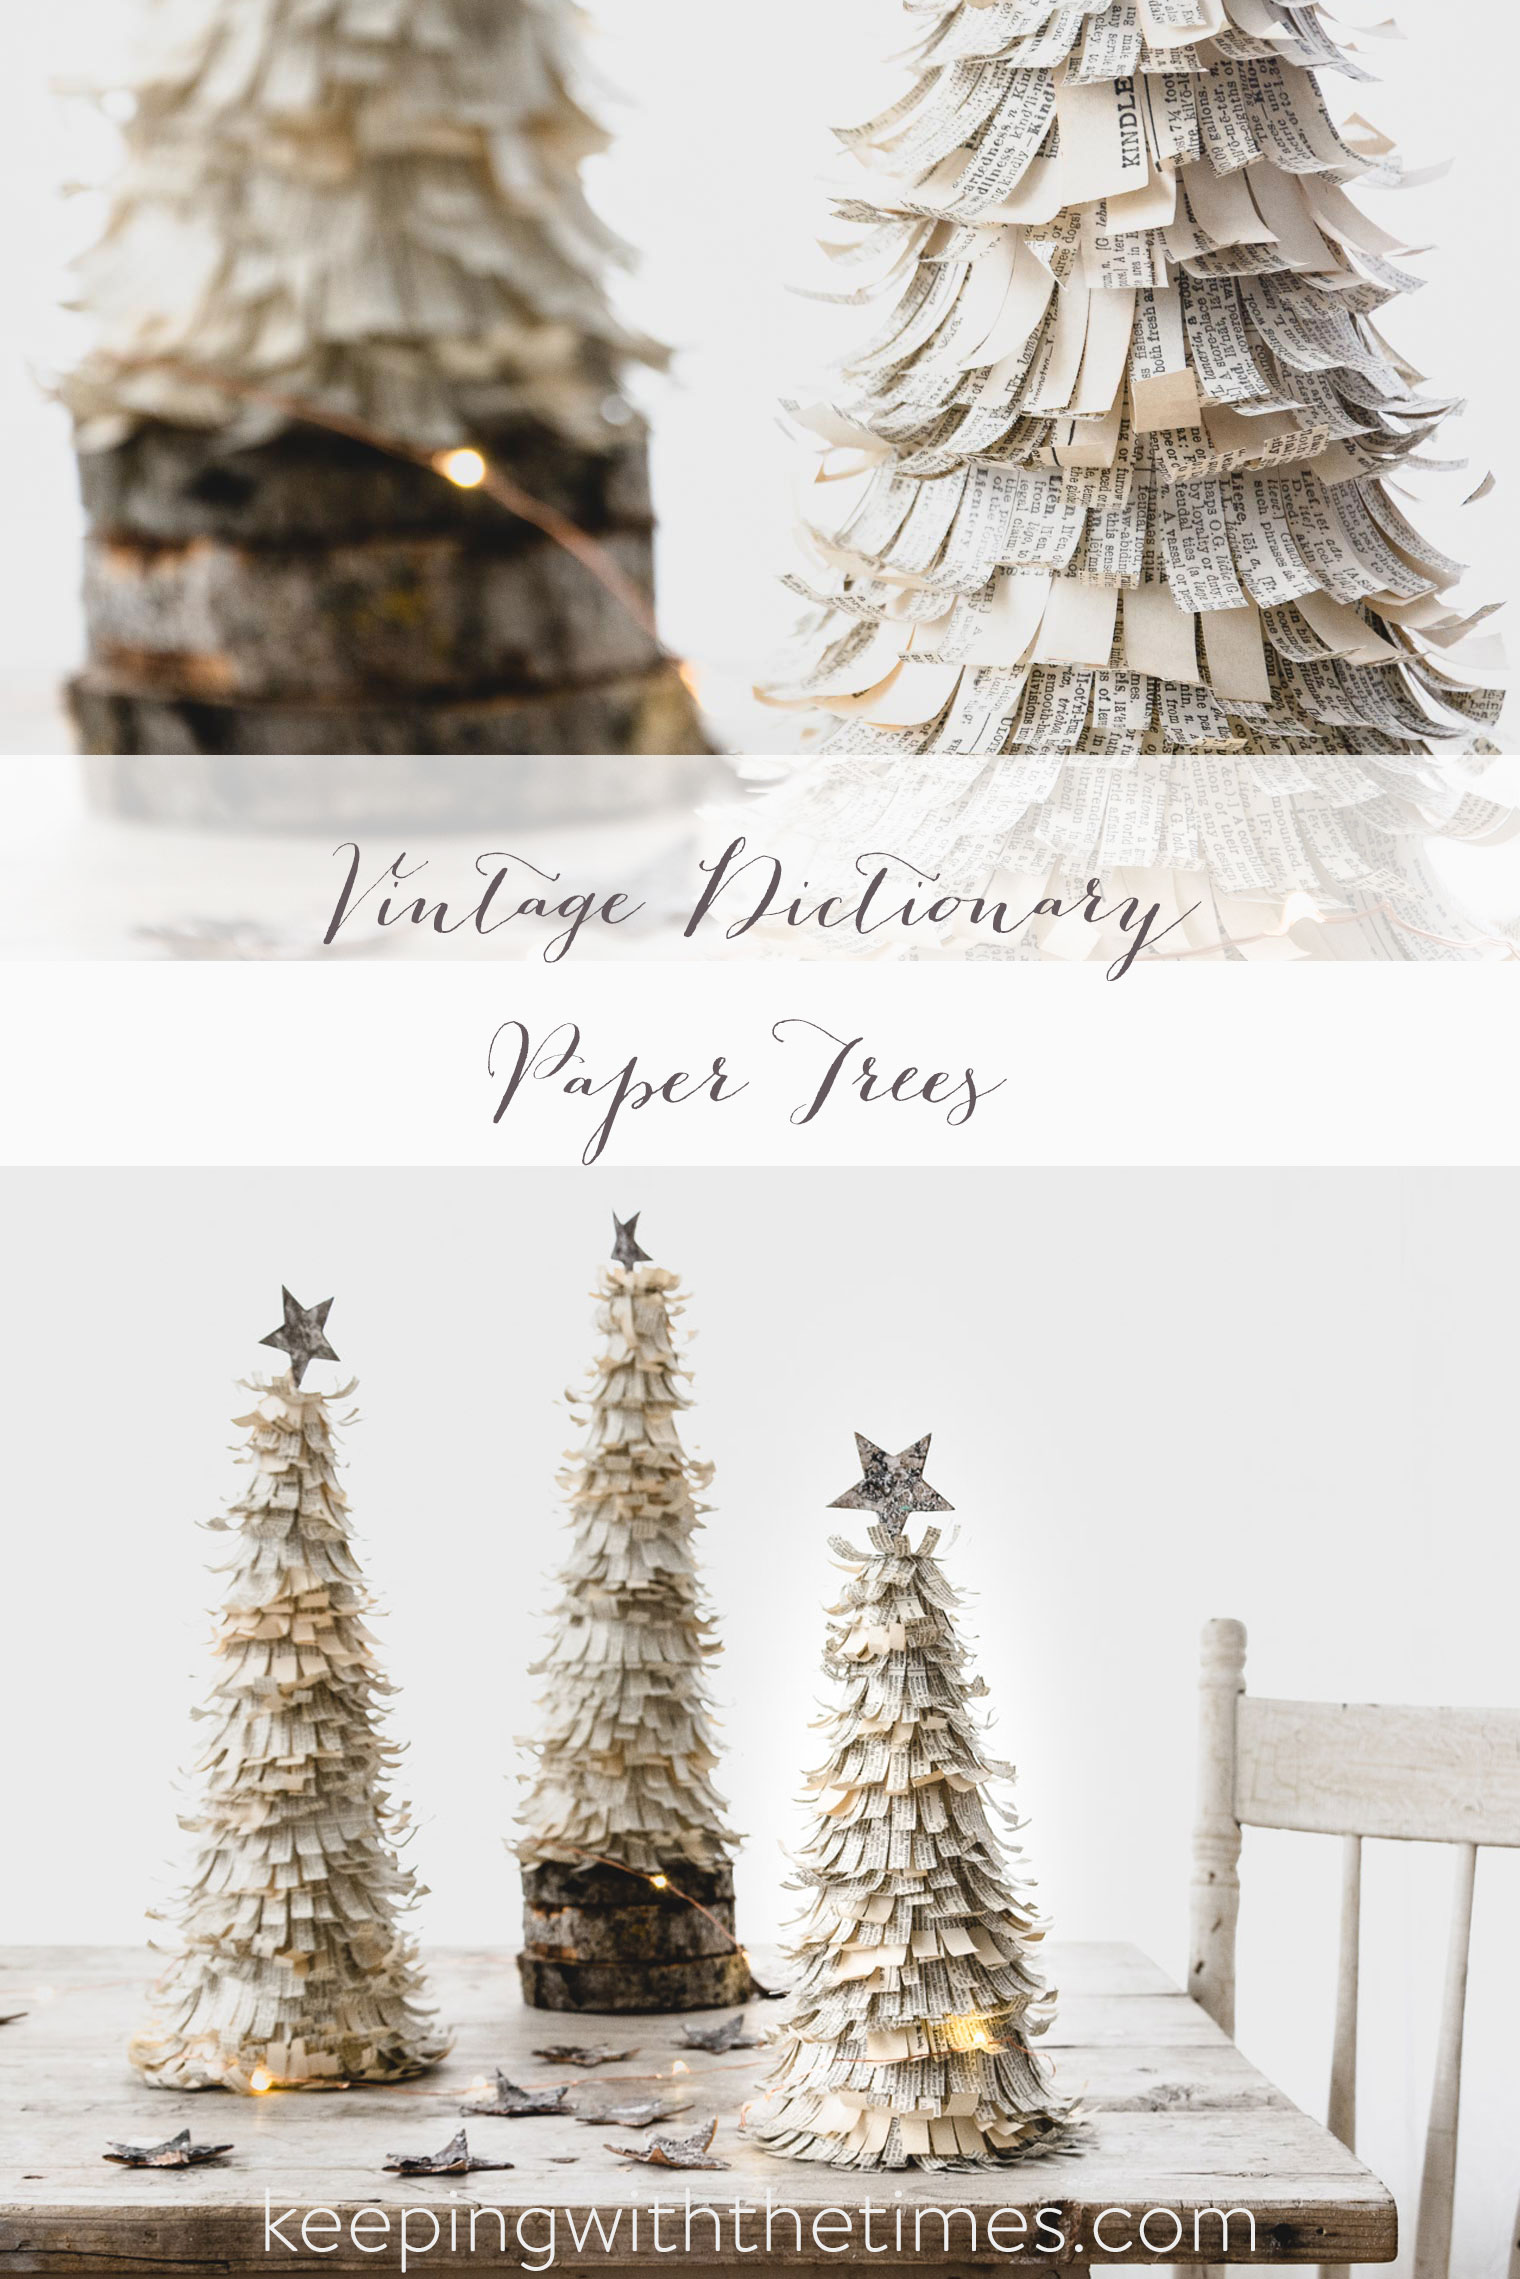
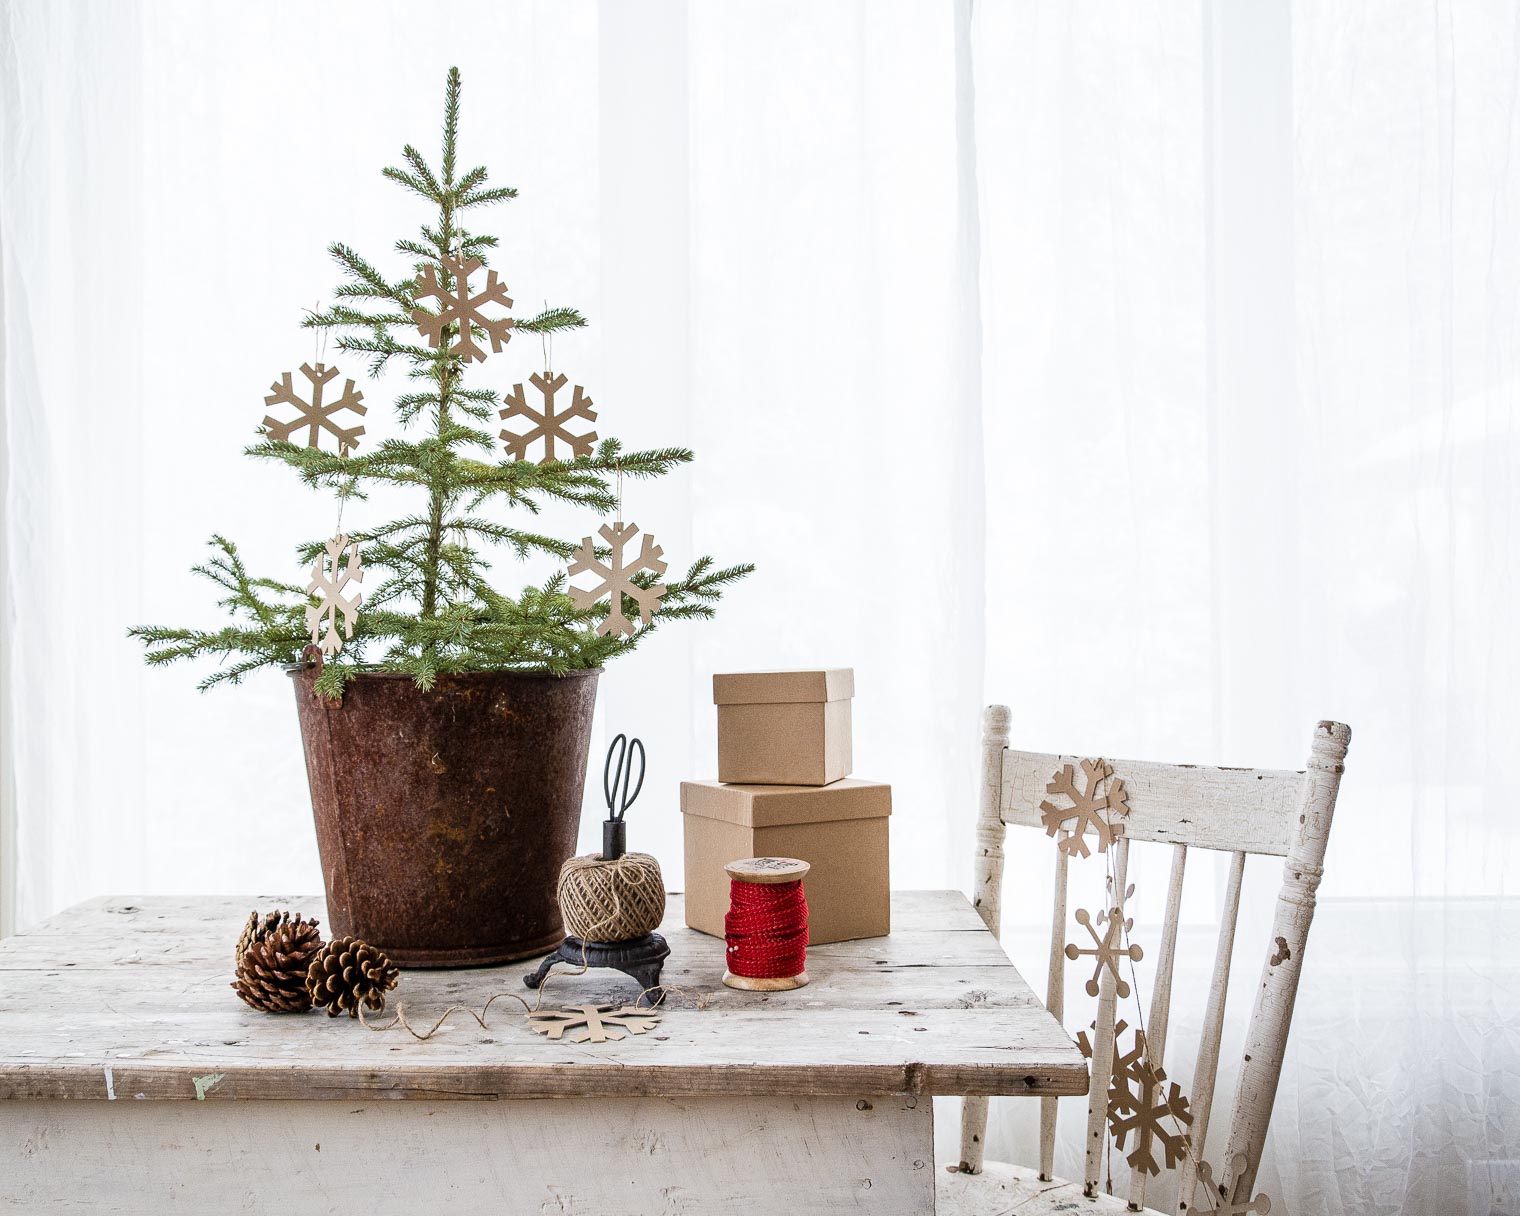 I had a huge stack of hard cardboard that came packaged with photos from Costco (to prevent bending.) One morning I gathered it all up and headed to a local scrapbooking store where I used the die-cut machine to cut them out. As I had a membership there, the extra cost to me was $0.00. Gotta love that.
 On Instagram when I posted the following image of the nuts (with the cardboard snowflakes in the background) I was amazed at how it touched people! The conversation around unshelled nuts was wonderful and so much fun … micro blogging to be sure!
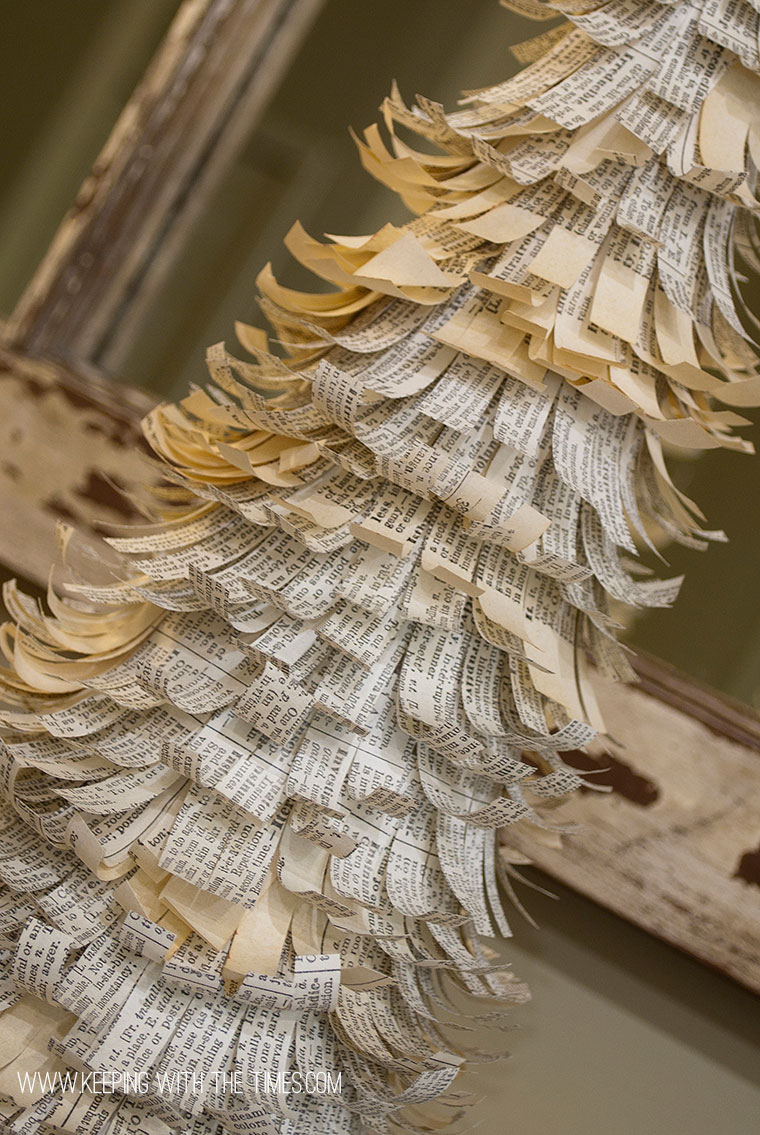
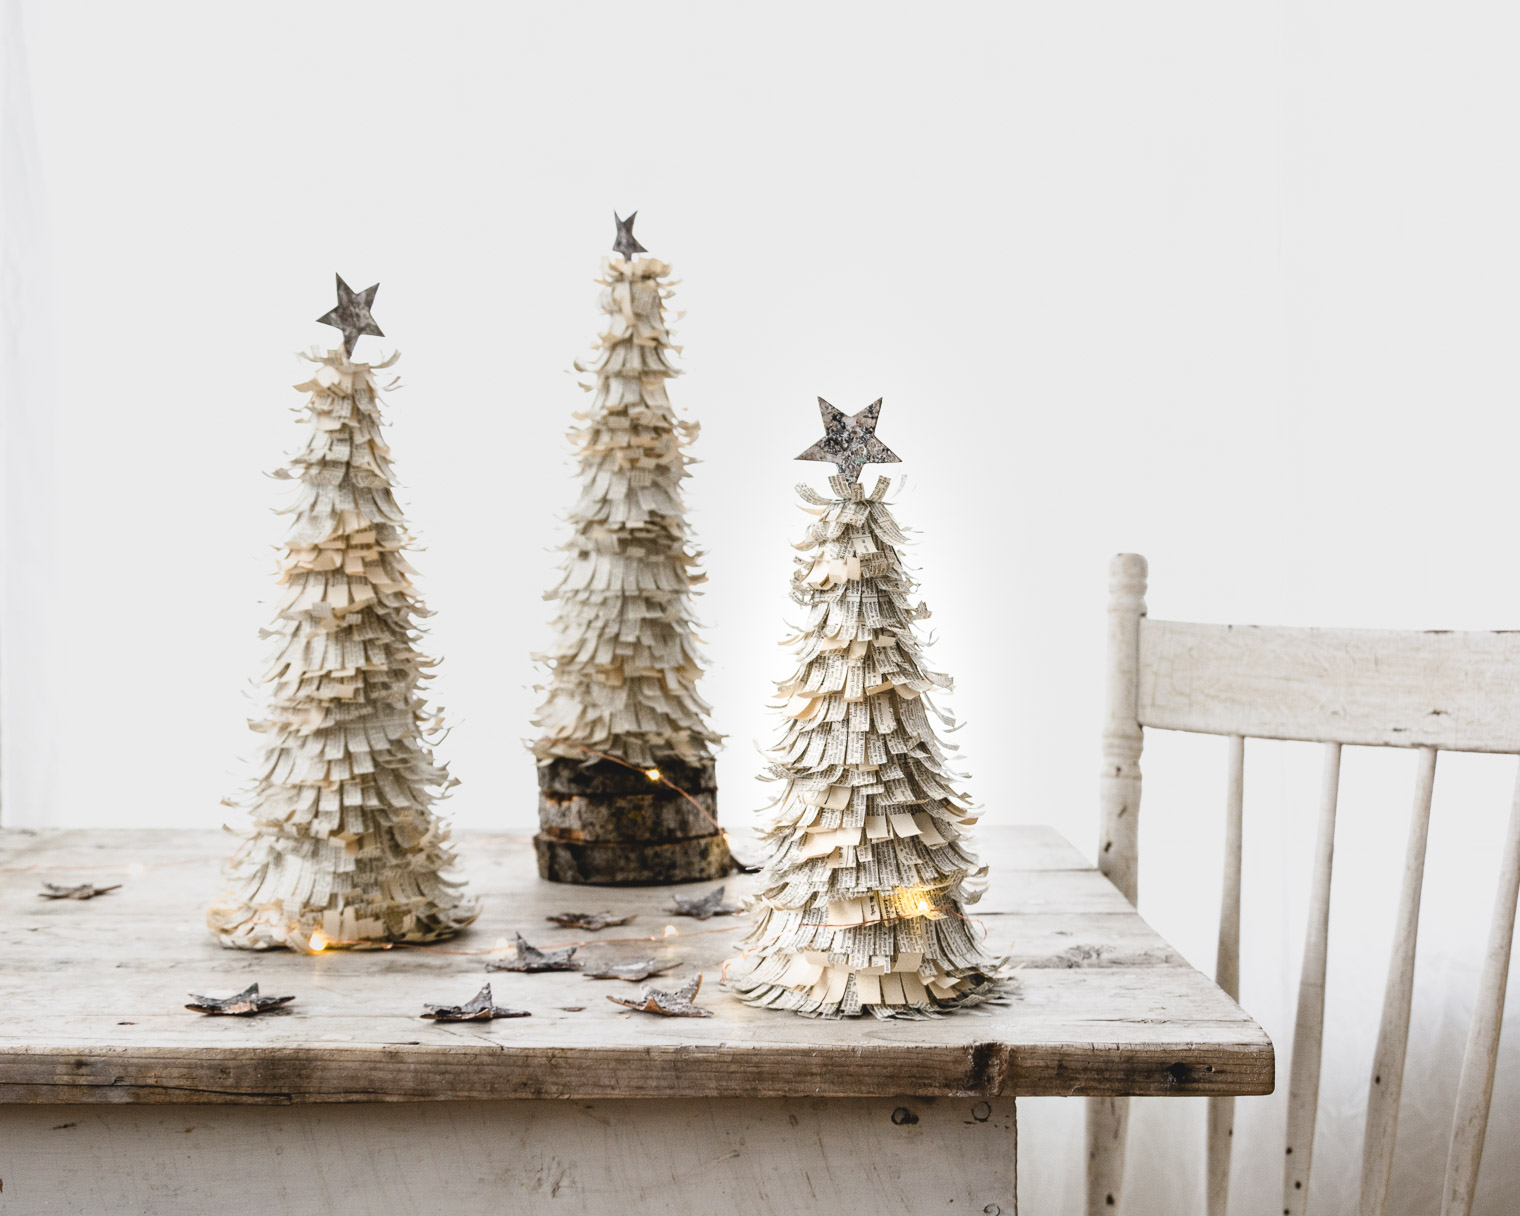 After I made these trees (in 2011), I was astounded to see the word “kindle” in one of the frills … completely not planned … just one of those things that make you go “hmmmm” … .
 Today I’m including the mini tutorial I wrote, but if you’d like, you can check out the original post
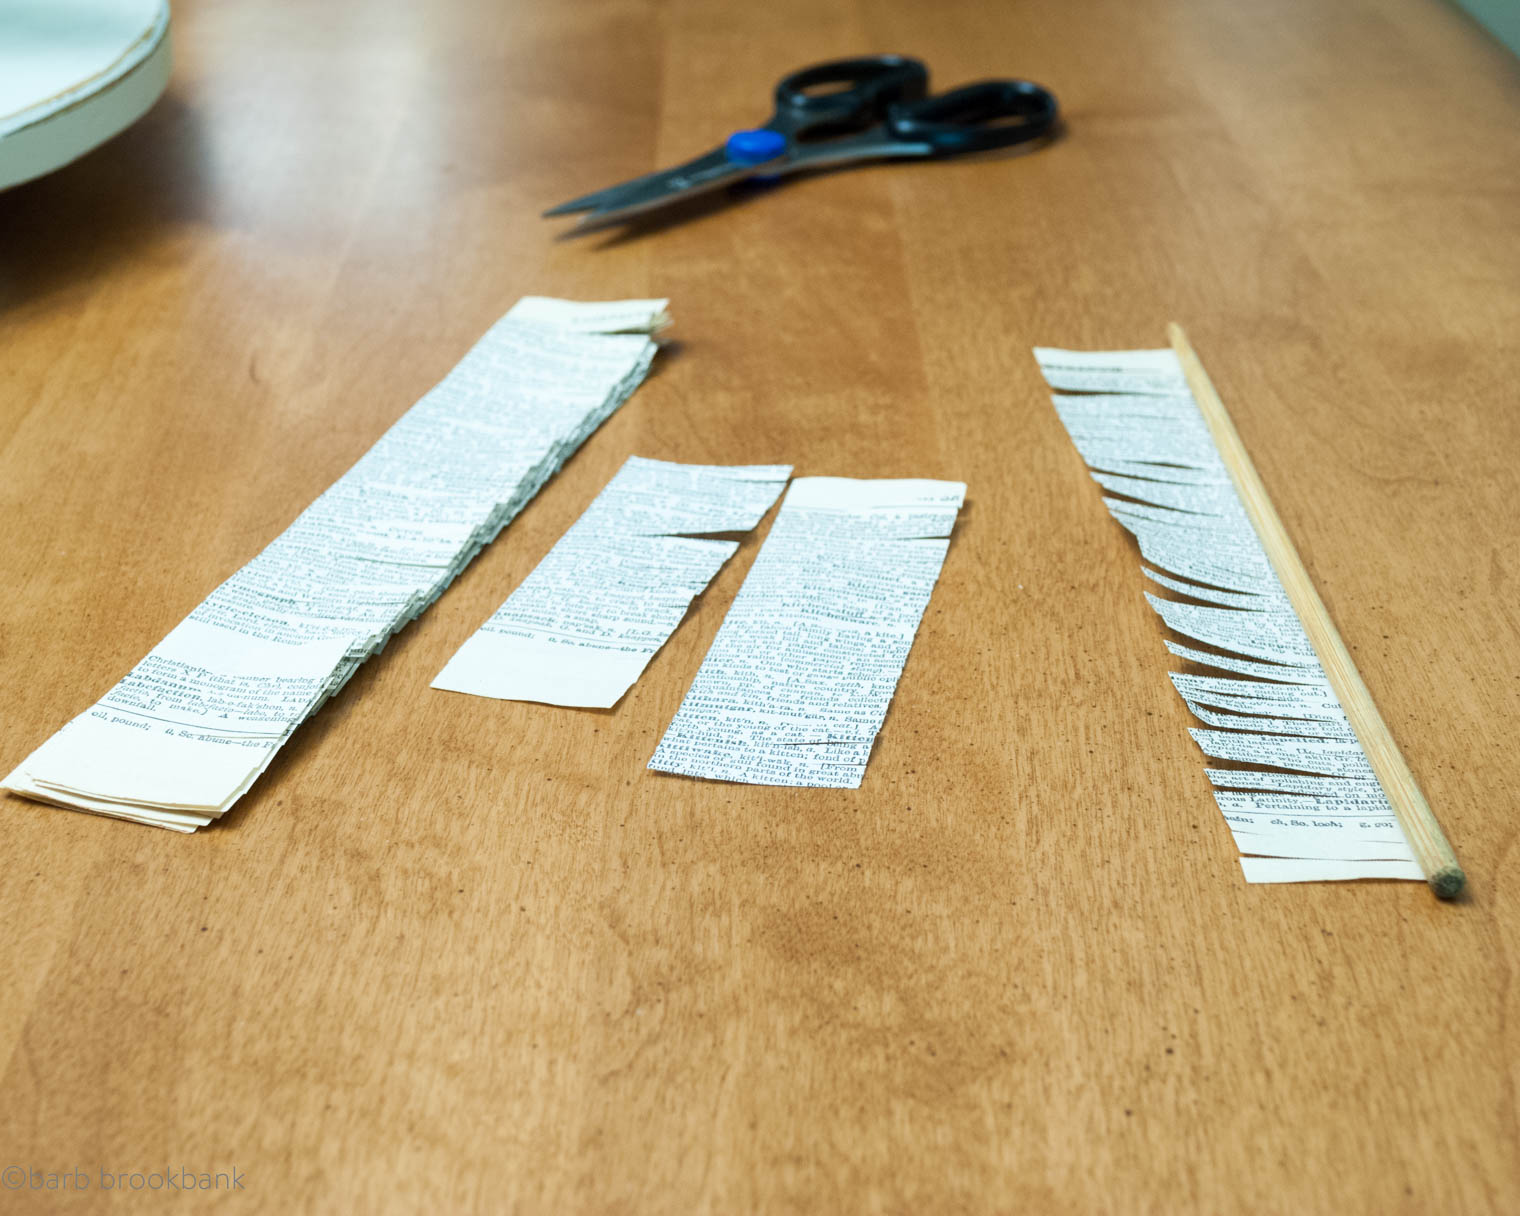

 … and here’s the after …
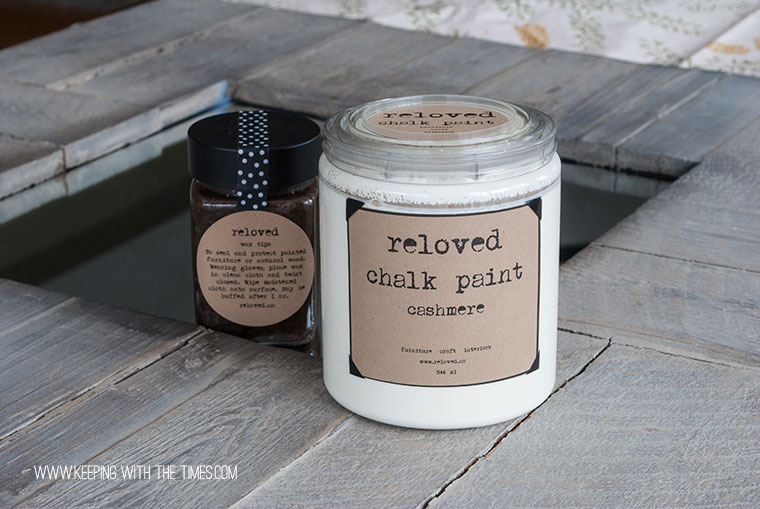
 Since I was going for a rough finish, it took me about 15 minutes to paint both boards. Initially I was going to give them 2 coats but decided it wasn’t necessary (I must say Martha’s paints are very thick and easy to apply).


 So what else did I find this week? I found that sometimes I feel like I’m on fire, and other times I feel like I have a wet blanket draped over me. This past week was the wet blanket week. I have a project hanging over me and I’m dragging my feet, and consequently I don’t even feel like working on the fun things. When I read Kims post this morning … well, oh man … how does she manage to hit the nail on the head every time?! I really needed to hear her gentle encouragement today … I’m going launch Microsoft Word right now, and start writing.


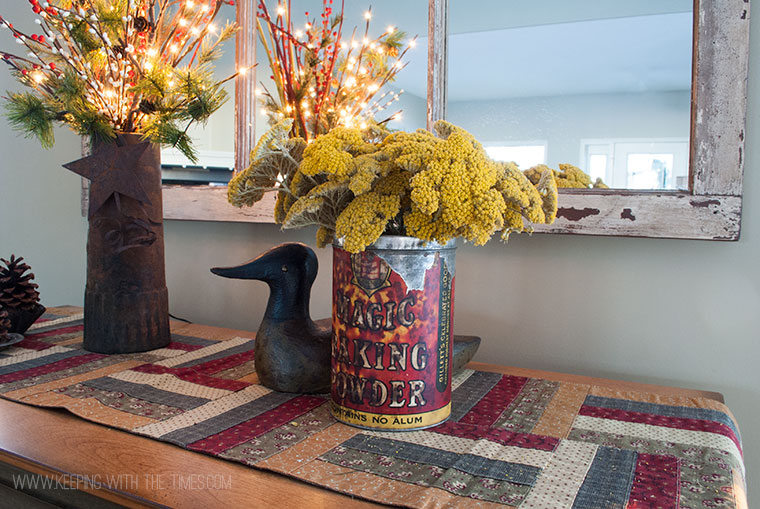
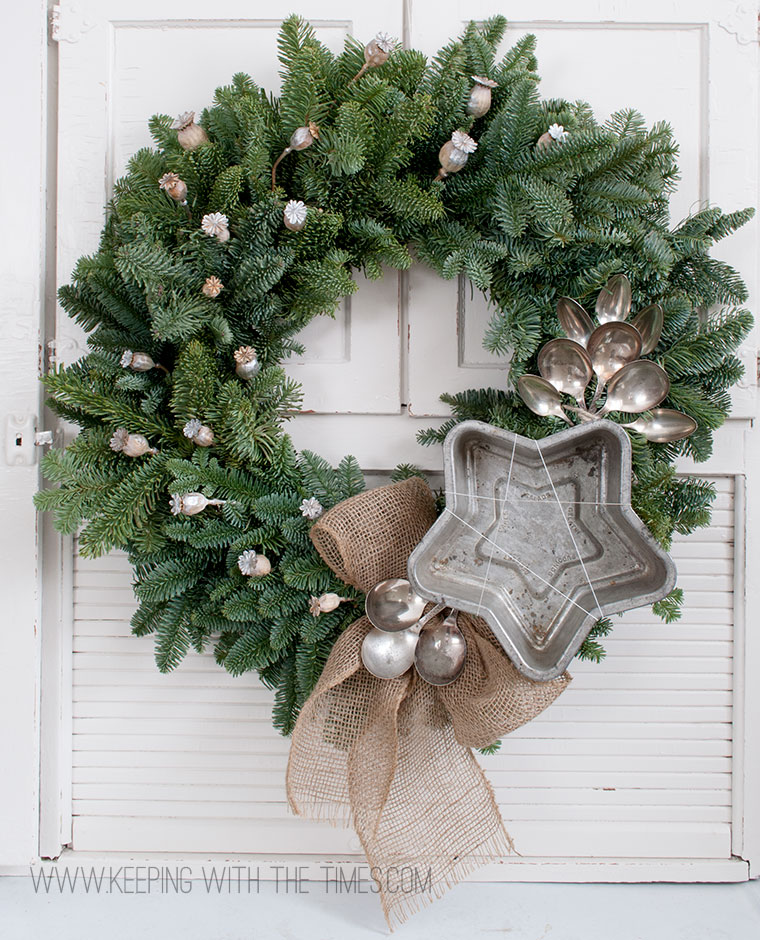
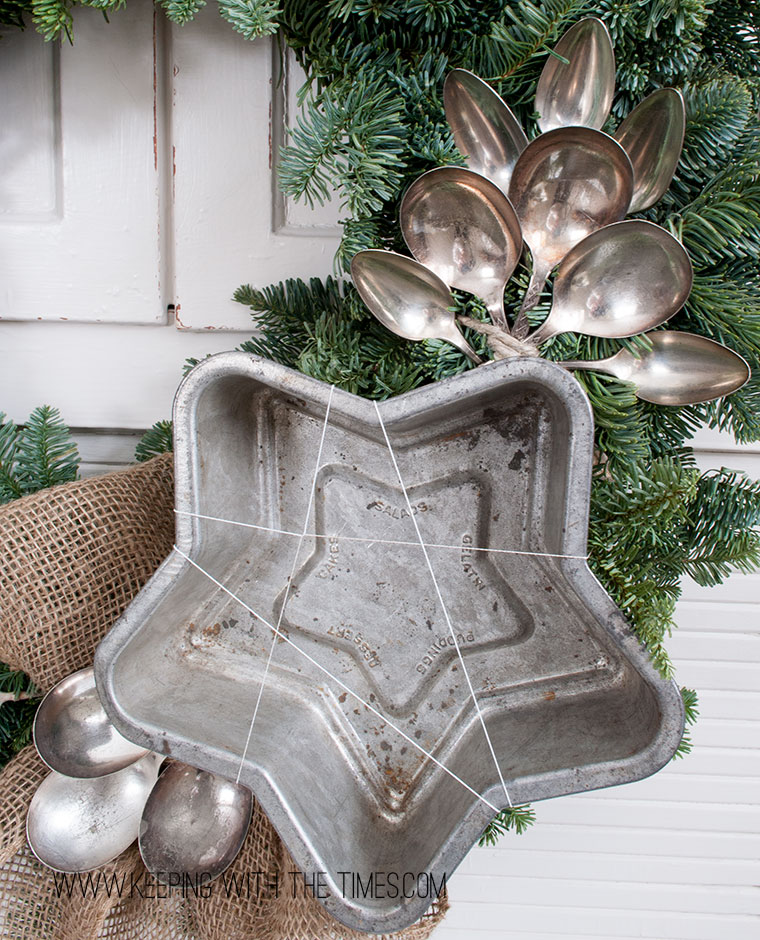
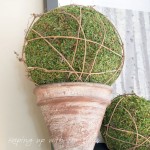
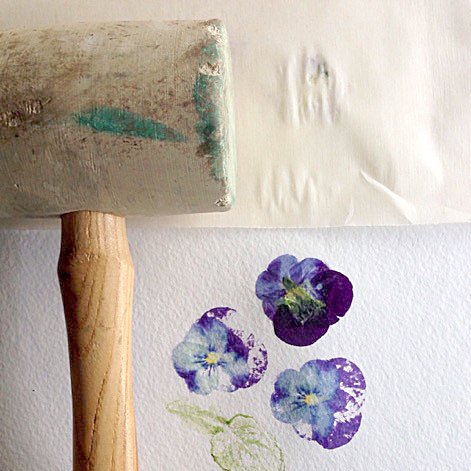
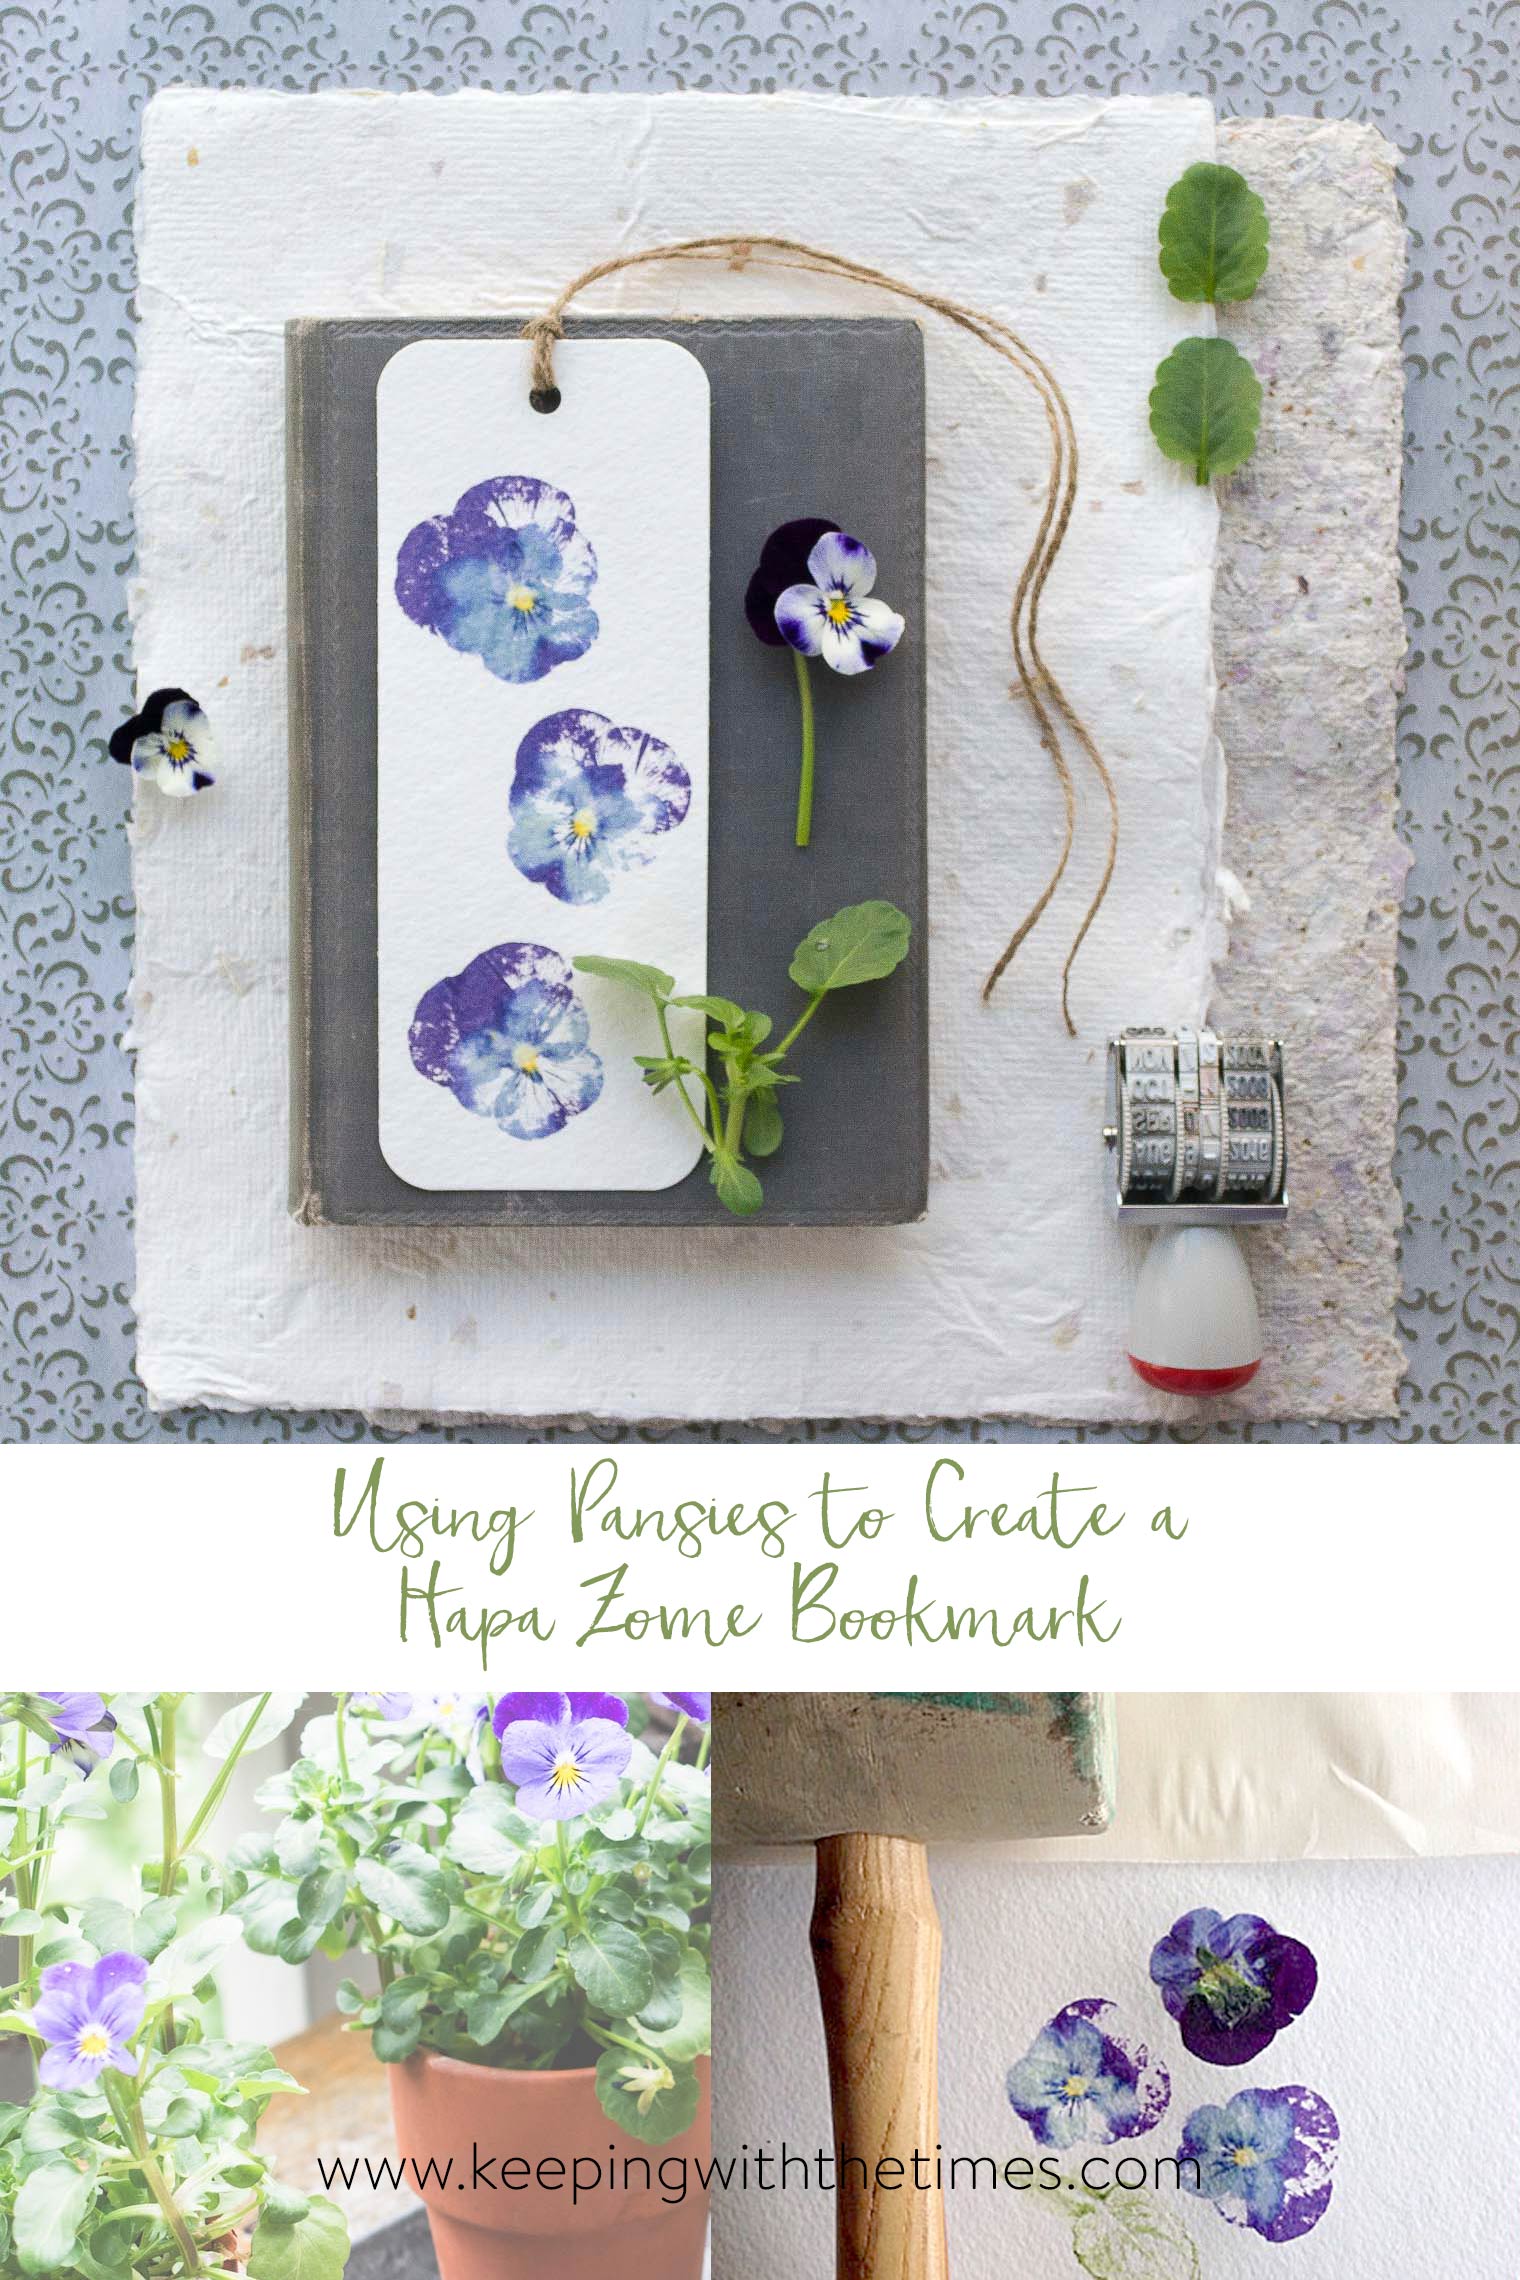
 … so, what to do with it?