Keeping With The Times

living, learning, and keeping with the times

  • Home
  • About
  • Site Information
  • Privacy Policy

Gratitude

September 17, 2017 by Barb 1 Comment

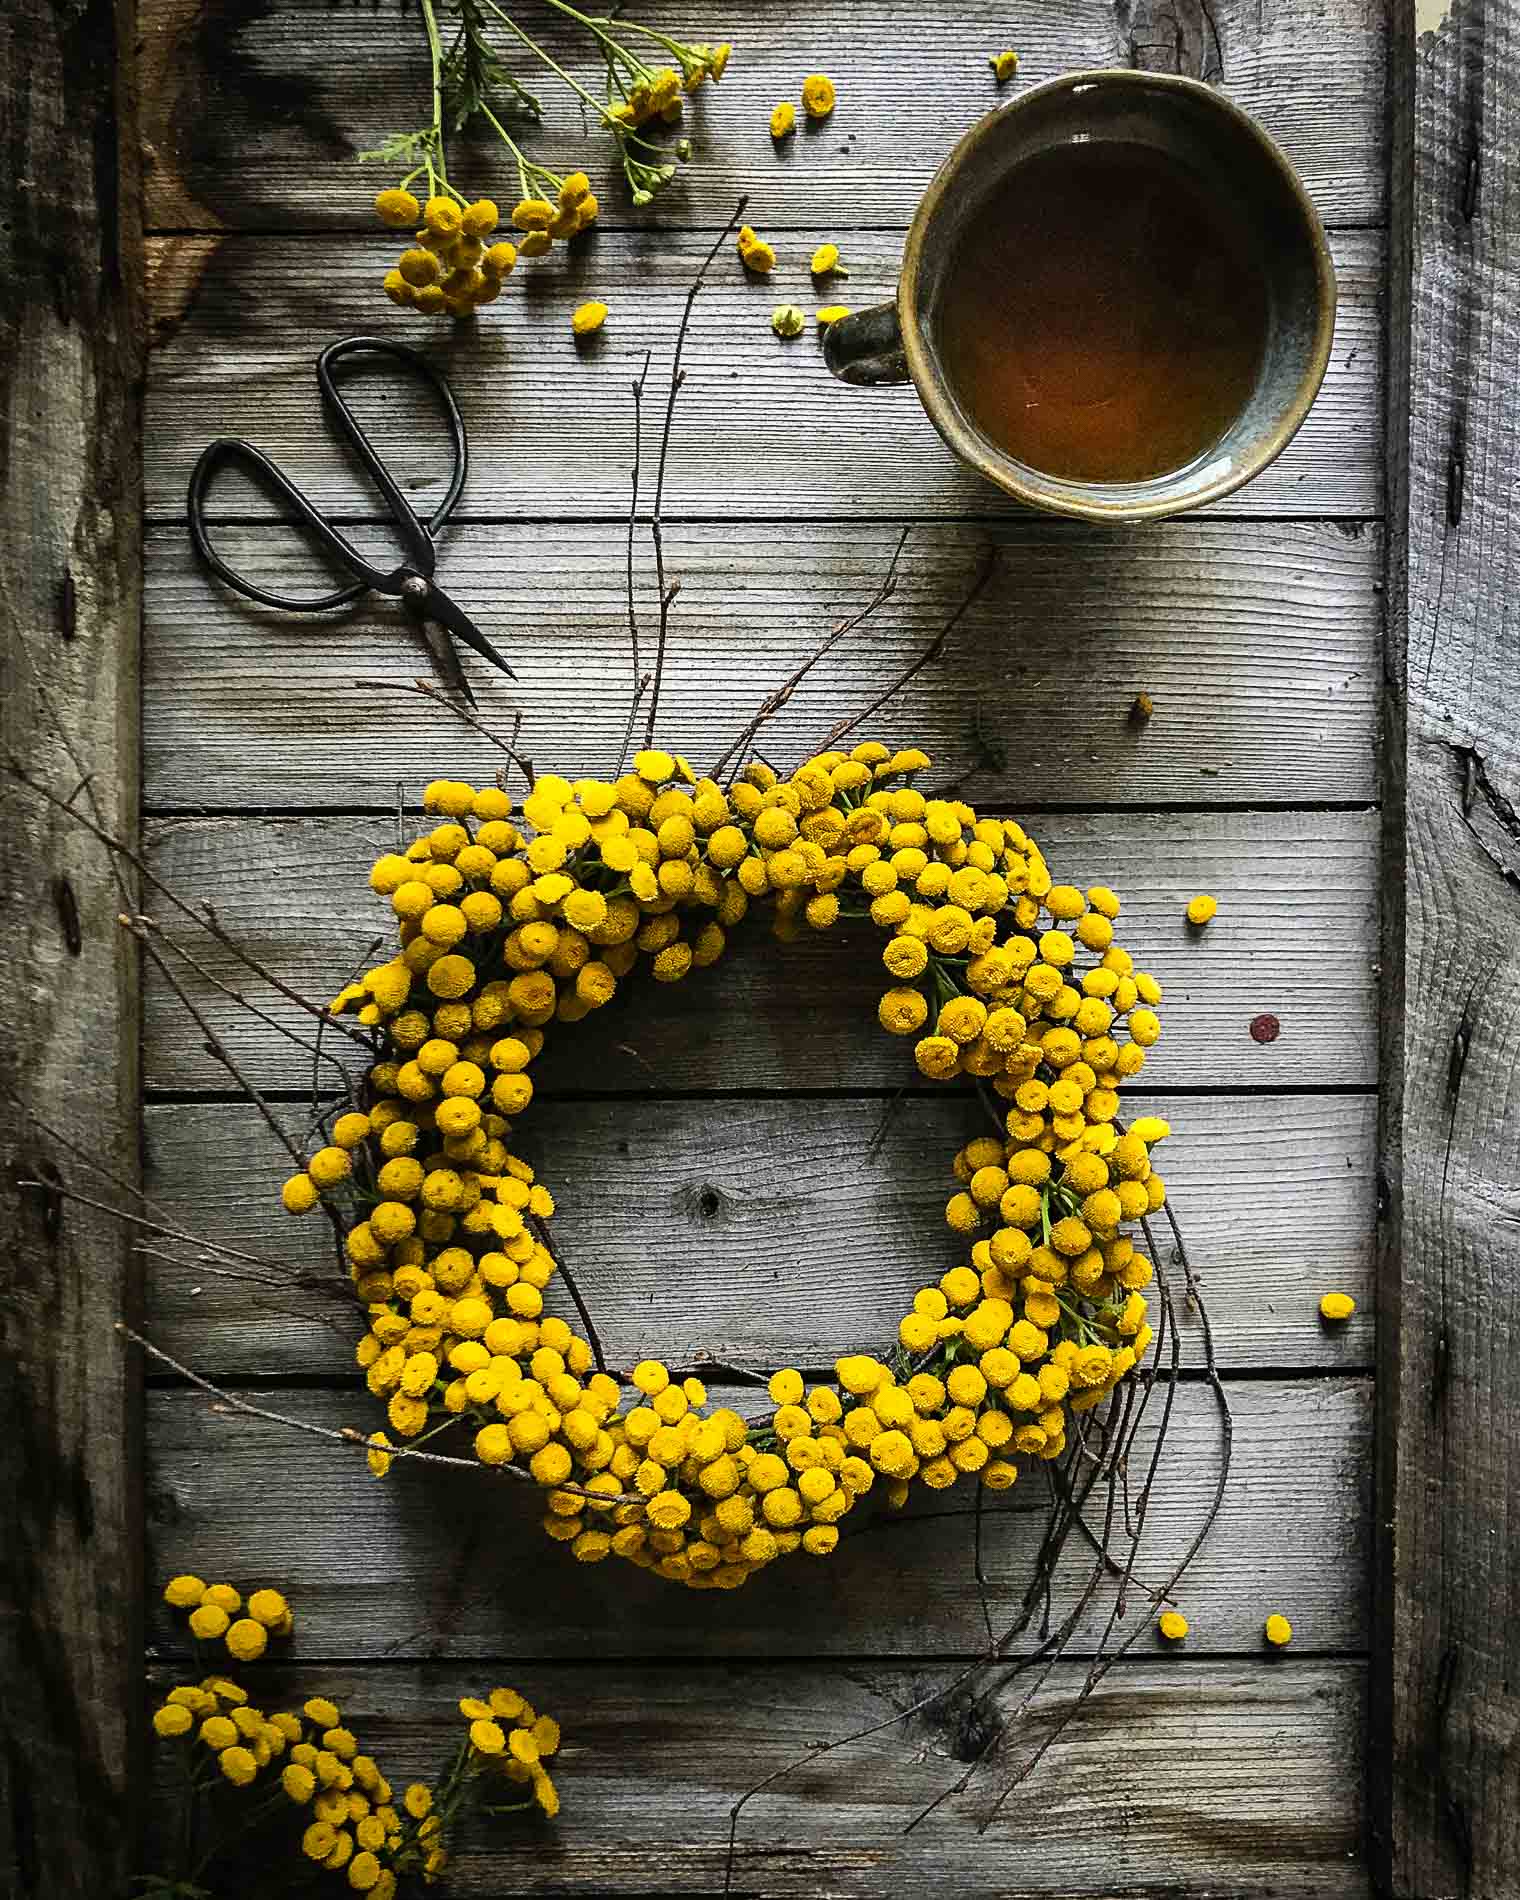
The other day after a difficult dentist appointment, I stopped in a parking lot to gather my thoughts, and before I knew it my eye was drawn to a few tansy peeking through a fence.

There are not many left out there in late September, and I was delighted! I snapped them off (I didn’t have my clippers) and rushed home to play ;)

September does that to me… everything becomes a little more precious, a little more intense.

And so I thought I’d write a “Gratitude” post.

gratitude tansy barb brookbank

I’m grateful for:

  • finding tansy in a parking lot in late September
  • an abundance of apples from my friends’ orchard
  • autumn leaves
  • hot coffee and/or tea
  • being able to make a quick run to a grocery store and buying whatever I want
  • baking apple crisp
  • the smell of dinner in the oven
  • the furnace kicking in on a frosty autumn morning
  • travelling with my hubby
  • arriving home safely
  • sleeping and recuperating after travelling
  • my family

What are you grateful for today? I hope you have a good one!

Gratitude unlocks the fullness of life.
It turns what we have into enough, and more.
It turns denial into acceptance, chaos to order, confusion to clarity.
It can turn a meal into a feast, a house into a home, a stranger into a friend.
Melodie Beatty

Filed Under: LIFE Tagged With: gratitude, quotes, wreath

Willow Wreath DIY (Mini Me Style)

April 1, 2017 by Barb 10 Comments

Today I have a long and complicated willow wreath DIY for you!

  • Purchase a tiny willow wreath at your favourite craft store.
  • Pick a few pussywillows.
  • Insert into tiny wreath.

;)

Tiny Willow Wreath DIY, Keeping With the TimesTiny Willow Wreath DIY, Keeping With the Times
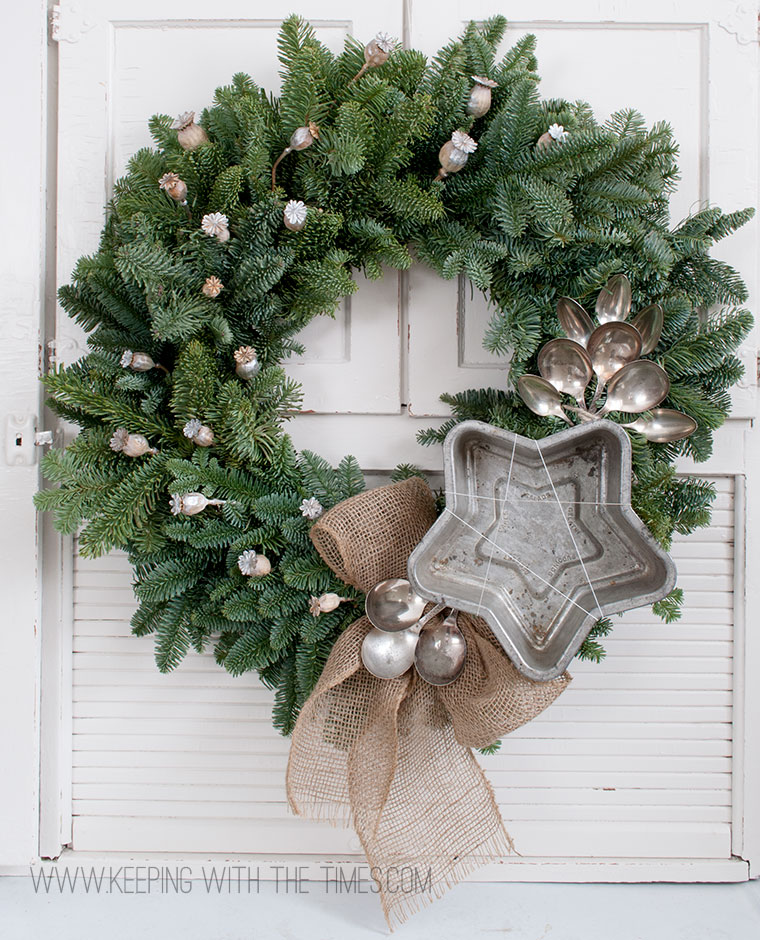
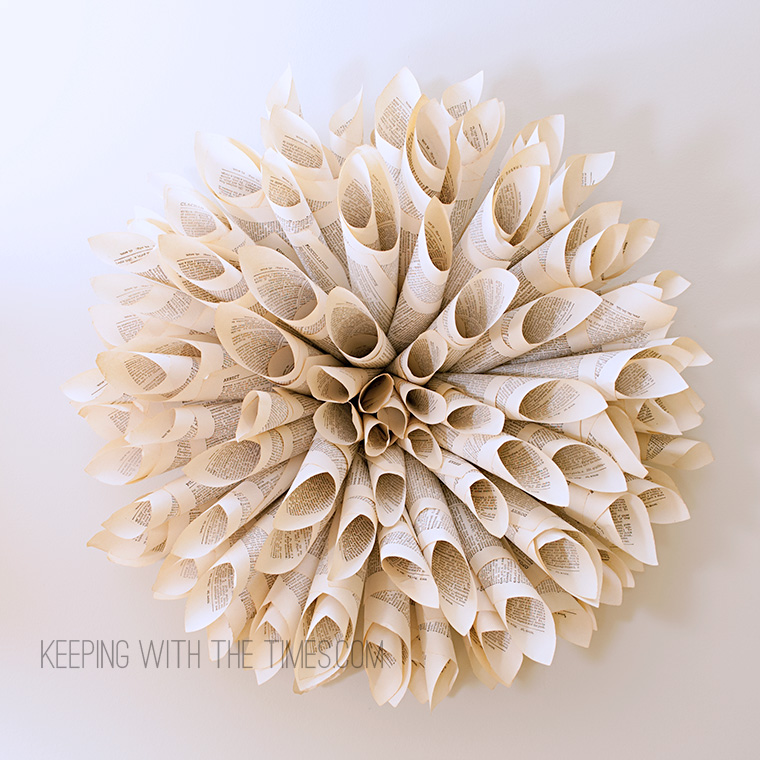
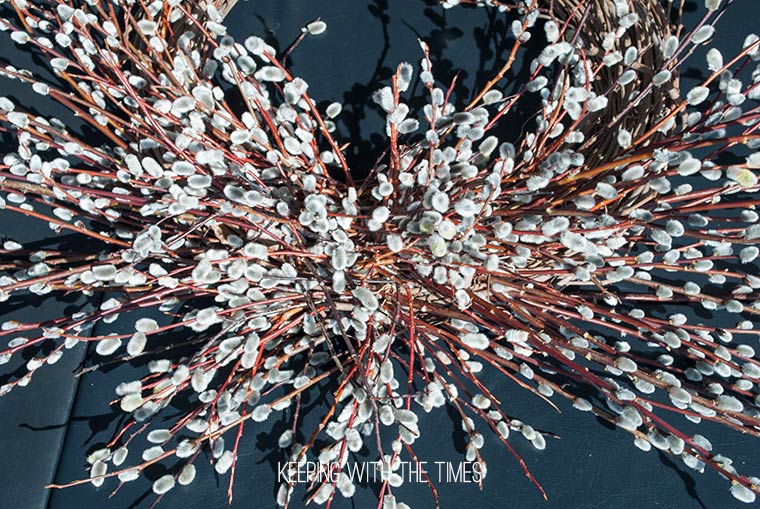
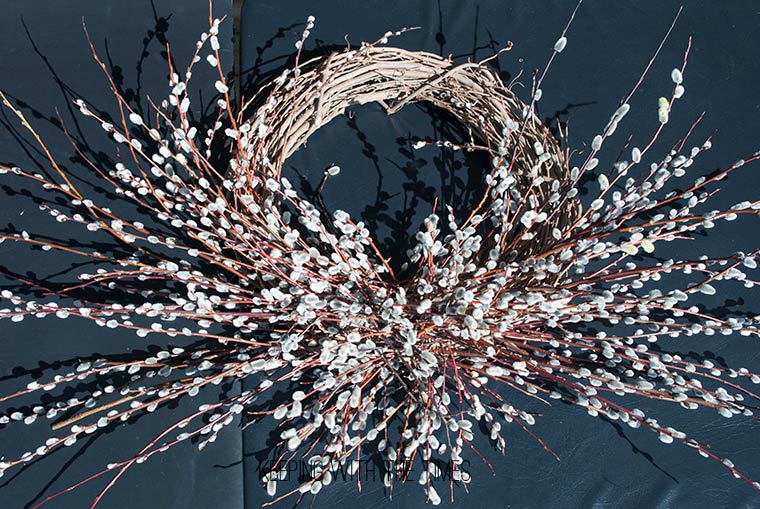
Then I got to thinking, what could I do with these tiny mini-me wreaths?

Hmmmm, how about an Easter centrepiece (topiary-style) …
Tiny Willow Wreath DIY, Keeping With the Times

Tiny Willow Wreath DIY, Keeping With the Times

Or simply placed on a side table …
Tiny Willow Wreath DIY, Keeping With the Times
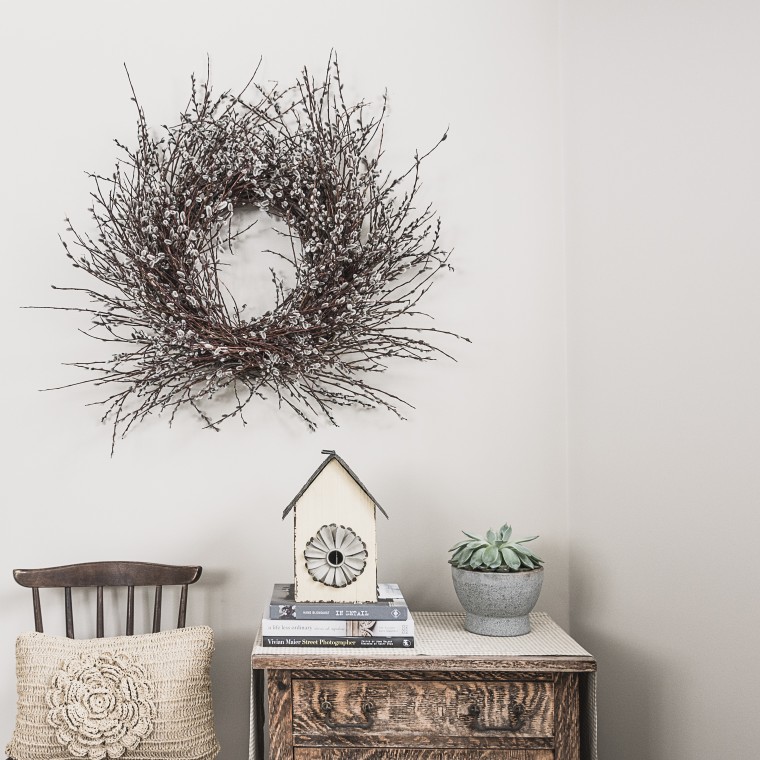
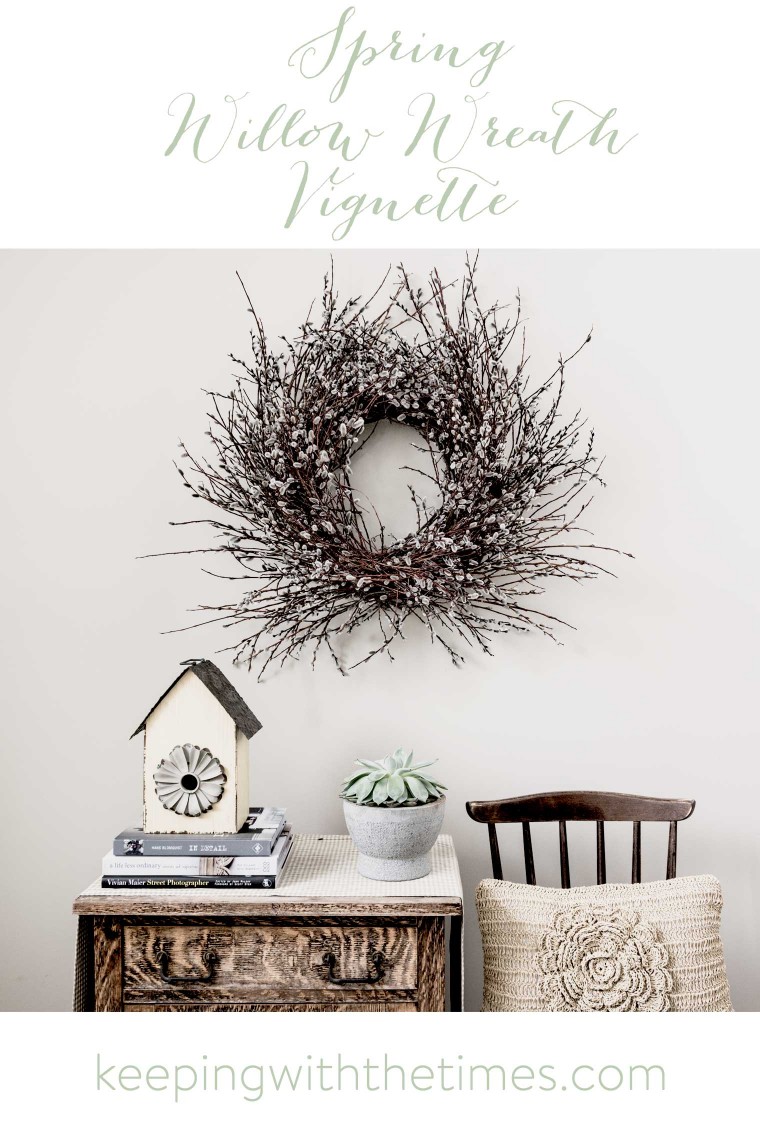
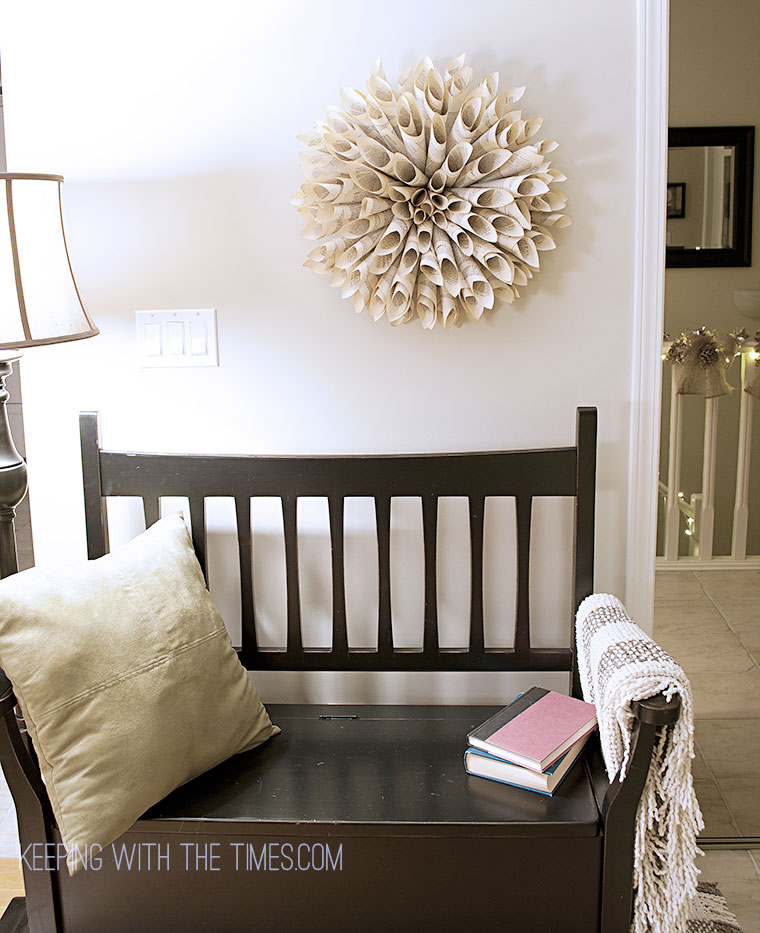
Doesn’t everyone leave side table drawers open? with linen serviettes hanging out of them :)

If you make one of these, leave a comment. I’d love to see your creations!

PIN IT

Tiny Willow Wreath DIY, Keeping With the Times
You may also like my post Home Decor Styling Tips


Filed Under: DIY AND CRAFTS Tagged With: diy, easter, pussy willow, wreath

Home Decor Styling Tips

April 1, 2015 by Barb 23 Comments

April made a typical entrance again this year: Friday, March 31st … one of the most beautiful days ever … warm, sunny, calm, and then … boom. Overnight the winds picked up and by morning they were absolutely howling. At 6:30 am the power went out and by 9:00 am snow was being driven sideways across the yard. Yep … spring in Alberta … aaarrrgh.

Lucky for me I had risen early and made my coffee, so I was sitting on the sofa, bundled up in fleece blankets, sipping a hot cuppa, and feeling grateful.

As the first slivers of morning lit up the sky, I watched the outside world come into my view. The barnwood tables and benches that I had set up on the deck in preparation for the new season sat sturdy and solid … waiting.

Earlier in the week I’d picked a ton of pussywillow. Some I’d set in a stoneware pot and was happy to see it hadn’t blown away. The new wreath I’d made was safely stowed against the house, under the overhang, and was no worse for the wear. Whew!

So even though our first day of April was atrocious (weather-wise) I spent it happily creating my spring willow wreath vignette, and came up with some home decor styling tips while I was at it!

I love an uncluttered look, but even so, there’s a lot going on here.

The wreath is hung in the centre of the wall with a small vintage chest and chair underneath. I placed the yellow birdhouse on several books to give it height and then used a yellow/green runner to draw the eye across and to the yellow pillow. Can you spot the repeating shape here?

So here’s my little still life mimicking life … or is life mimicking still life?

Home Decor Styling Tips, Keeping With the Times

Home Decor Styling Tips, Keeping With the Times

Do you not just love the little botanical print above the chair? Adore!

I was searching for books at Amazon and came across this little gem “Instant Wall Art – Botanical Prints: 45 Ready to Frame Vintage Illustrations for Your Home Decor.” So cute and fun! Botanical prints are hot by the way … .

Home Decor Styling Tips, Keeping With the Times

Side note: I saw pussywillow branches for sale at Terrain for $48.00/bunch! Gah … choke … eek …

Home Decor Styling Tips, Keeping With the Times

Try to incorporate meaningful items in your vignettes. A few of my favourite books include “In Detail”, “A Life Less Ordinary”, and “Vivian Maier Street Photographer”. I have so many amazing books, I could have stacked a dozen more, but it would have ruined the effect—less is more.

Mix old and new, organic and inorganic elements, but keep colour tones similar.

Home Decor Styling Tips, Keeping With the Times

Making a pussywillow wreath is super simple! Buy a ready-made willow wreath at any craft store and proceed to stuff it with pussywillow branches! If you need a little more detail, check out my instructions here.

Home Decor Styling Tips, Keeping With the Times

And last but not least, I’ll be sending the link to a full resolution copy of my little botanical print “Hyacinth, Willow and Tulip Play” in my next newsletter!! If you haven’t signed up, check the sidebar for details!

Thank you ever so much for stopping by!

All images edited in Lightroom
Presets by Kim Klassen
kk_breeze
kk_within


Spring Willow Wreath Vignette, Willow, Pussywillow, Wreath, DIY, Decor


Filed Under: HOME DECOR Tagged With: diy, lightroom, pussy willow, spring, still life, Tutorial, wreath

Vintage Tin Jelly Mold Star Wreath

December 4, 2013 by Barb 28 Comments

Here’s the scoop on how I created this vintage tin jelly mold wreath!

Once again as I was browsing my favourite junque store, I came across a treasure! Sitting in a cupboard (I think it was hiding) sat this wonderful old tin jelly/cake mold and it was shaped like a star… a star, people! And what time of year is it?? and what could I possibly do with a star?? perhaps put it on a wreath?

vintage tin jelly mold wreath

After I got it home, it sat on the counter for a week as I pondered how I was going to make this thing work.

I thought about making a twiggy wreath, but it’s so darn cold here I couldn’t bear the thought of going out into the bush to gather branches, so I bought a fresh pine wreath instead.

To attach the star (mold), I made the quick executive decision to not bother even trying to hide the (kite) string that I used. It somehow seemed to fit.

Thinking hard about what would go with a kitcheny (kitschy) theme, I suddenly thought of all the vintage spoons I’d collected… I giggled the whole time while I was arranging them.

You see, a long time ago, I took a course in floral arrangement and I reminisced about all the effort our instructor had put into teaching us how to create pretty sprays. I wonder what she would think of this? I don’t think she had spoons in mind…

Vintage Tin Jelly Mold Wreath

I gave some poppy seed heads a very light spray of silver paint, and simply stuck them into the greenery.

Vintage Tin Jelly Mold Wreath

Vintage Tin Jelly Mold Wreath

It now has a place of honour on our front door.

Vintage Jelly Tin Mold Wreath

Ummm, yes, on this particular day we were under a “winter storm warning”, a “heavy snowfall warning”, and a “blizzard warning”. Our forecasters covered all the bases.

Vintage Tin Jelly Mold Wreath

Isn’t she lovely?

Vintage Tin Jelly Mold Wreath

I hope you are having a wonderful season, and are having as much fun as I am!

Thank you for stopping by!


Filed Under: DIY AND CRAFTS, HOME DECOR Tagged With: home decor, junk, junque, vintage, wreath

DIY old dictionary page, maple leaf wreath–for early autumn

September 5, 2012 by Barb 34 Comments

I’m loving my diy, old dictionary page wreath, and it’s maple leaves this time . . .

Maple Leaf Dictionary Page Wreath

I used the same dictionary that I used for my Christmas wreath–so no more old books were hurt in the making of this project . . .

Maple Leaf Dictionary Page Wreath

It feels like a breath of fresh air . . . and is light as a feather . . .

Maple Leaf Wreath

I wrapped a wire frame with burlap . . .

Maple-Leaf-Wreath

. . . and it even looked pretty before I was finished . . .

Maple Leaf Wreath

. . . love it!

Maple Leaf Dictionary Page Wreath

To make the leaves I downloaded a maple leaf shape and cut them all by hand. I know, it sounds like a lot! But because the pages were so thin I was able to cut up to 12 leaves at once.

After I had them all hot glued onto the frame, I spritzed the wreath with a bit of tea and ran my hand gently against the direction of the leaves. I then set it out in the sun for about an hour to dry. It ruffled and curled them up just enough to give it some texture.

It’s quite a bit different from what I usually put up for autumn.

Where’s the colour??!! Not to worry. I have colour on my mantel. My very unusual and unique looking mantel. It’s a new style for me. Can’t wait to show you that!

Filed Under: DIY AND CRAFTS, HOME DECOR Tagged With: dictionary paper, maple leaf, tutorial, wreath

Spring Willow Wreath

March 26, 2012 by Barb 23 Comments

Pussy Willow Wreath

It seems all over blogland people are decorating their doors for spring. Well, it is spring in Alberta too but, hmmmm, I don’t see any tulips peeking through the ground (could be because I can’t see the ground) and there certainly are no pansies sitting prettily on my step.

But the Pussy Willows are out in full force and I ventured out on Sunday to gather the usual armloads to create my new wreath.

Pussy Willow Wreath

I love gathering these branches. It was quite a nice day and it always feels so good to be outside. I could hear geese honking, ravens croaking, and water running. I could also smell wood smoke in the air – so sweet. Someone must have been cleaning up their yard already.

My wreath looks so at home on my new green door (painted last autumn). It’s a very authentic representation of what our world looks like right now. Twiggy and branchy with a promise of spring.

Pussy Willow Wreath

This year I added a little birdhouse and bird to create a little interest and make it different from other years.

Pussy Willow Wreath

Check out my How to Make a Pussy Willow Wreath tutorial. It’s really very easy!

Thanks for stopping by!

Filed Under: DIY AND CRAFTS, HOME DECOR Tagged With: pussy willow, tutorial, twigs, wreath

A woodland welcome

December 3, 2011 by Barb 38 Comments

I’m embracing all things natural for my Christmas decorations this year and I’m calling it my “Woodland Christmas”.

Moss Wreath Tutorial

I got the idea for my moss wreath when I was out and about driving down our country roads and I spied a whole bunch of it growing in a north-facing ditch. I screeched to a halt (well, not really), I pulled over to the side of the road, donned my garden gloves (which I have with me at all times) and started to carefully pull some of it up – it literally came up in sheets!

It only took me a few minutes to fill a garbage bag full of it and off I went. What a score!

When I got home I searched around my yard for things to use as accents. I found some fungi (baby robustus conk, I think), dried rose hips, lichen-covered twigs, and pine cones. I had a grapevine and wire garland (from my autumn banister) and I knew it was the perfect thing to secure the moss. I then tied a little gold-edged burlap bow at the top, slightly off-centre. The final touch was a cute little bird that I already had.

Moss Wreath Tutorial

Moss Wreath Tutorial

Moss Wreath Tutorial

Moss Wreath Tutorial

Moss Wreath Tutorial

I made it before the snow fell – just laid everything on the ground and secured the moss to an old twig wreath with dental floss and wire.

20111102_6153-copy

20111102_6154-copy

Moss Wreath Tutorial

Easy!


Filed Under: HOME DECOR Tagged With: diy, twigs, wreath

Table decor

December 2, 2011 by Barb 37 Comments

I took an afternoon and set up my table the way I want it for Christmas Day ‘a practice run’ so to speak. I now have everything tucked away and organized so that on the Big Day I will be able to pull it all out and set it up without even having to think (much). I know I’m going to have a lot of other things needing my attention and this will be a huge help. So, here it is . . .

My Christmas theme this year is a little bit country, a little bit woodland, and a little bit elegant. We are hosting Christmas at the lake and I want to set a nice table. It started with a new set of dishes. Pure white Denby aptly named ‘White’. I purchased this set in October at Home Sense for less than a third of it’s original price. I didn’t know exactly why I was buying them but I simply could not walk away. When is a white set of  dishes not perfect? I used my red cotton tablecloth (kind of wrinkly and rustic) with matching serviettes. I used thick twine to wrap the napkins and added a little painted pine cone. I had painted them many, many years ago to string along our banister – am I ever glad I saved them! It was also serendipitous that I found candles that look like pine cones (Home Sense). I used a roll of green burlap and I love the rustic beauty it adds when used instead of placemats. I cleaned and rubbed the water glasses and silverware until they were sparkling. I was pretty happy with my creation when I suddenly decided I should have a bit of fresh greenery on the table. What to do? I’m half an hour from town and it’s freezing and snowing outside. Hmmmm, I went and got my garden shears, took a walk around the yard and snipped a few branches from our fir trees. I said thank you to my trees and told them they had just contributed the final perfect touch for our upcoming Christmas celebrations. I’m so looking forward to Christmas with my family.


Filed Under: HOME DECOR Tagged With: photoshop, tablescape, wreath

My Webster Encyclopedic Dictionary Wreath

November 23, 2011 by Barb 54 Comments

Check out my tutorial with 5 easy steps for creating a beautiful dictionary wreath!

Be still my heart! I have my very own book page wreath!

I’ve been ogling these gorgeous wreaths out in bloggyland for months so I finally went to my favourite antique/garage sale store and for $5.00 I bought ‘The Consolidated Webster Encyclopedic Dictionary – A Library of Essential Knowledge circa 1957’ and proceeded to tear it apart.

I started rolling and stapling and gluing and I didn’t stop until I couldn’t push in one more cone. Love.

Dictionary Wreath

Dictionary Wreath, diy, tutorial

Love. Love. Love.
Love, I tell ya.

Here’s my mini tutorial in a nutshell:

  1. Use glue to cover the top of a large ice cream container with some dictionary pages and put a punched circle in the middle as a guide to keep the wreath balanced.
  2. Use a pen to roll each page then slowly release the bottom until the top fans out into a cone.
  3. Staple the bottom of the cone to secure it.
  4. Glue each cone to the ice cream lid, in a circular pattern.
  5. Make the cones smaller as they get closer to the middle.

Filed Under: DIY AND CRAFTS, HOME DECOR Tagged With: dictionary paper, tutorial, wreath

A rustic country welcome

September 28, 2011 by Barb 26 Comments

I always put something on my front step for autumn (well, for any season for that matter). Today I dragged my willow bench, my big barrel and my pot of tansy onto the veranda. My Rustic, Country, Whole Grain Wreath graces my front door now, and I set my dried thyme wreath on the willow bench with a pot of globe thistle and some gourds. The step gets covered in leaves this time of year and we have our wood stacked and ready for winter.
 
Starting to feel cozy . . .
aren’t these gourds amazing? we got them at our local U-pick for $2.50/ea
my wreaths – the one on the bench is made from thyme from my garden and my rustic country door wreath is oats
years ago I made this willow bench – it sits in my garden and is pretty weathered
globe thistle from my garden – prickly!
big and beautiful!
the crow mat from my favourite little country store bids you to enter . . .

Filed Under: HOME DECOR Tagged With: autumn, wreath

Rustic, Country, Whole-Grain Wreath

September 4, 2011 by Barb 57 Comments

At the beginning of each season I like to create a wreath from materials that I’ve gathered while out and about in the countryside. wreath, autumn, oats, grains

autumn oat wreath

Since we live in a rural setting, what better material could I choose than some kind of grain…

…OK yes, I may have strayed from the ditch to the edge of a farmers field of oats…

hmmmm . . . I hope they don’t notice when it comes time to count the grains after harvest . . .

Autumn-Oat-Wreath-1

A car went by, and I had to hide…

Autumn-Oat-Wreath-10

autumn oat wreath

Here’s a little tutorial:

Start with a straw-based wreath (available at most craft stores). Take small batches of oats (cut stems short) and wrap with twine, heavy thread or as I used, floss!

As you add each batch it covers up the first one. I wrapped my wreath twice – here you can see that the whole wreath is covered but I’m starting a new layer. I didn’t use any glue whatsoever.

Autumn-Oat-Wreath-4

autumn, oat, wreath, diy

Create two (or more) sprays by laying a bunch of oats opposite each other and securing in the middle with floral wire.

autumn, oat, wreath

Use floral picks to anchor the sprays to the bottom of the wreath, then wrap wire around both the sprays and the wreath.

Autumn-Oat-Wreath-6

Autumn-Oat-Wreath-7

Tie with some kind of bow – I used a simple rustic piece of burlap and voila! you have your wreath.

Autumn-Oat-Wreath-8

Autumn-Oat-Wreath-9


Filed Under: DIY AND CRAFTS Tagged With: autumn, wreath

An explosion of pussy willows!

April 25, 2011 by Barb 23 Comments

Every spring I go out into the countryside and gather pussy willows. I create these wreaths as soon as I get enough gathered and while the branches are fresh and pliable – it’s amazing how durable they are when fresh.

I used to sell these wreaths at craft fairs and one year I had them all sold before I even got into the building! as I carried them in, people in the parking lot snapped them up – it was crazy. However, I don’t sell them anymore, I just give them as gifts to a very few select people!

Pussy Willow Wreath

Pussy Willow Wreath

Pussy Willow Wreath

Pussy Willow Wreath Tutorial

The ‘how to’ is really very simple. Start with a purchased 18″ willow wreath base. It doesn’t have to be the best kind – actually the looser the base the better since all you do is start stuffing the branches into it! There is no glue or wire involved – the pussy willows themselves hold the wreath together if you stuff in enough. I have never had one fall apart and when I’m tired of it I always end up pulling the branches out and it isn’t easy.

Start by inserting branches from the left and from the right to form the beginning of a spray at the bottom.

Pussy Willow Wreath

Continue to add branches to the spray, building up the middle.

Pussy Willow Wreath

Pussy Willow Wreath

Add the rest of the branches from the bottom up towards the top until they meet at the top.

Pussy Willow Wreath

I went over the top with my wreath and crammed in branches until I couldn’t cram in any more – why not! it’s over the top, but fun!

I would caution you, however, to start smaller and that you periodically hang it where you are going to put it to make sure it fits – it’s better not to have to trim it after the fact since it removes the wild looking branch ends.

And lastly, it’s wonderful while fresh but if you hang it where it isn’t going to be bumped it will practically last forever.

Filed Under: DIY AND CRAFTS, HOME DECOR Tagged With: pussy willow, spring, wreath

Welcome! I'm Barb, and this is where I practice my mantra to "learn something new, try something different". It's my hope that something I do here may inspire you! Read More…

Categories

Archives

Copyright 2020 * Keeping with the Times * All rights reserved.