Keeping With The Times

living, learning, and keeping with the times

  • Home
  • About
  • Site Information
  • Privacy Policy

Mint Tea Refresher Tips for the Best Tea

May 24, 2017 by Barb 6 Comments

Today I have a few mint tea refresher tips for the best tea experience! Mint tea is soothing and refreshing, and if you can use fresh mint it’s especially delightful.

If you are cold, tea will warm you;
if you are too heated, it will cool you;
If you are depressed, it will cheer you;
If you are excited, it will calm you.
William Ewart Gladstone
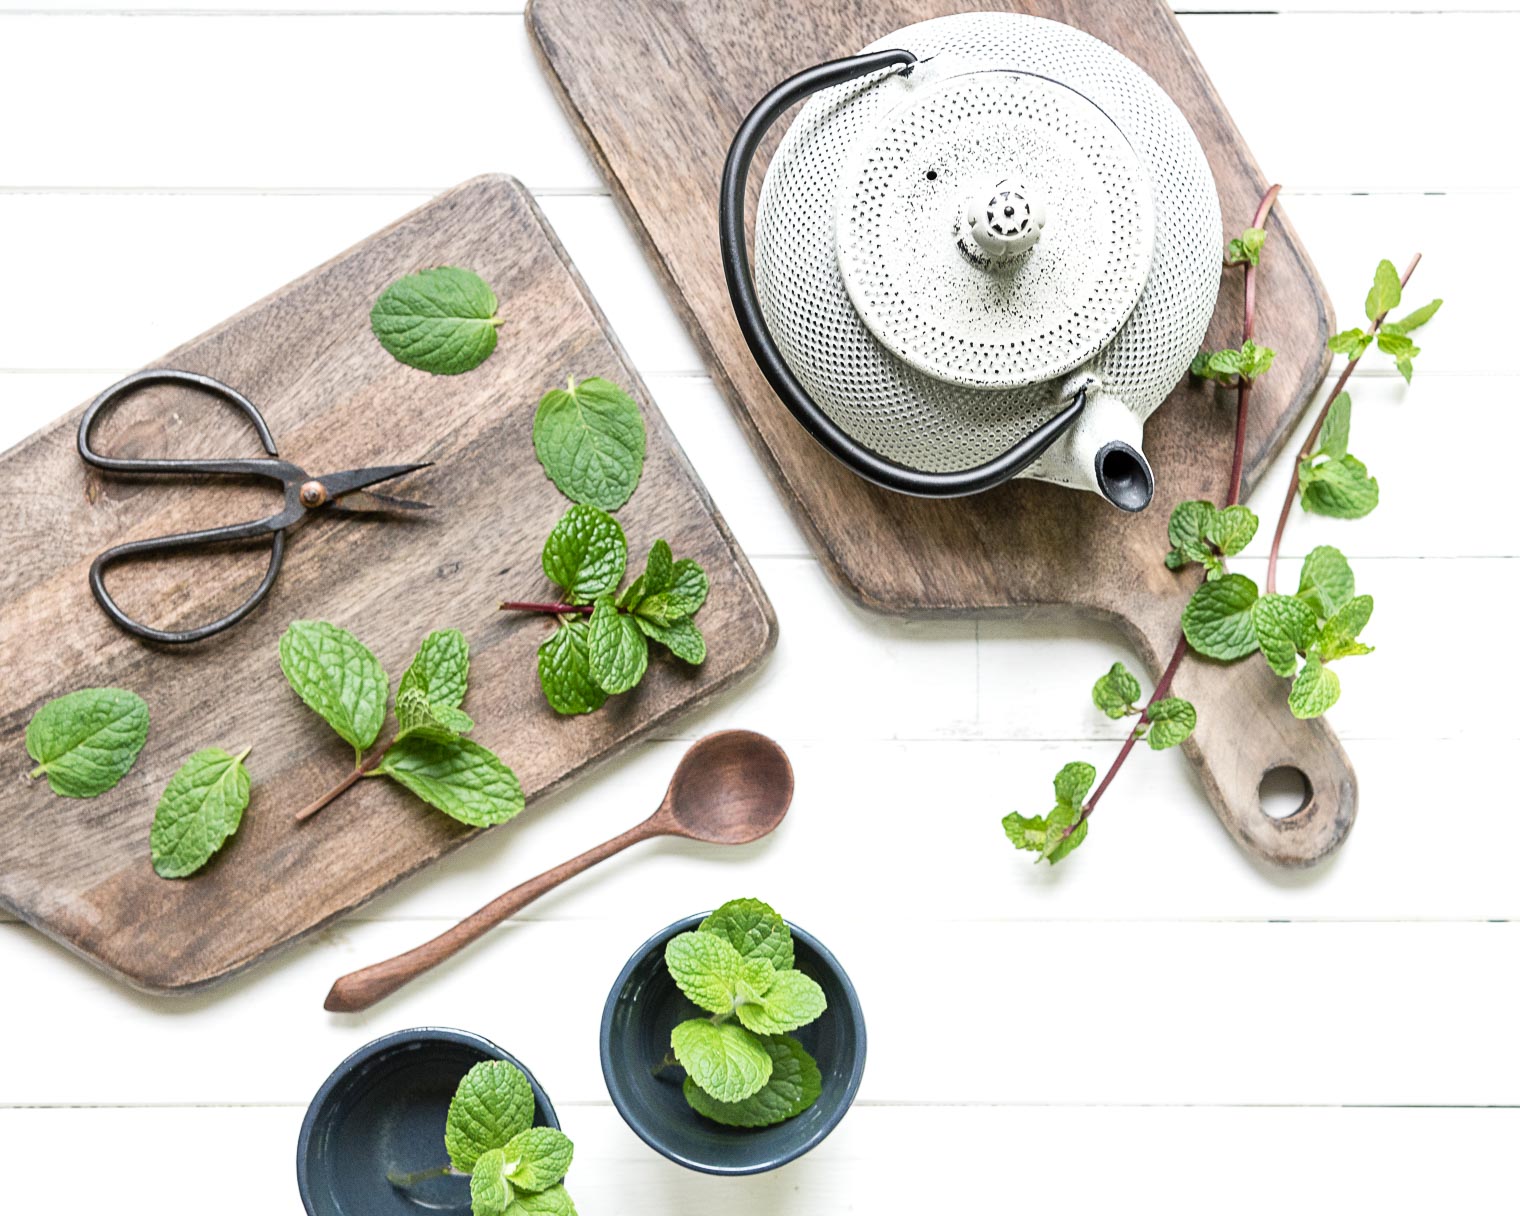
Mint tea is soothing and refreshing, and if you can use fresh mint it's especially delightful. Growing mint is easy and satisfying as this plant is vigorous and aggressive. If you're growing mint, I would suggest you plant it in a container up off the ground or it will take over your garden!I recently purchased these sweet pots of Mojito Mint from a local greenhouse.Mint tea is soothing and refreshing, and if you can use fresh mint it's especially delightful. Growing mint is easy and satisfying as this plant is vigorous and aggressive. If you're growing mint, I would suggest you plant it in a container up off the ground or it will take over your garden!Growing mint is easy and satisfying as this plant is vigorous and aggressive. Most experts advise planting it in a container, up off the ground, or it will take over your garden! It will even send out shoots and sprout new plants where they land :)
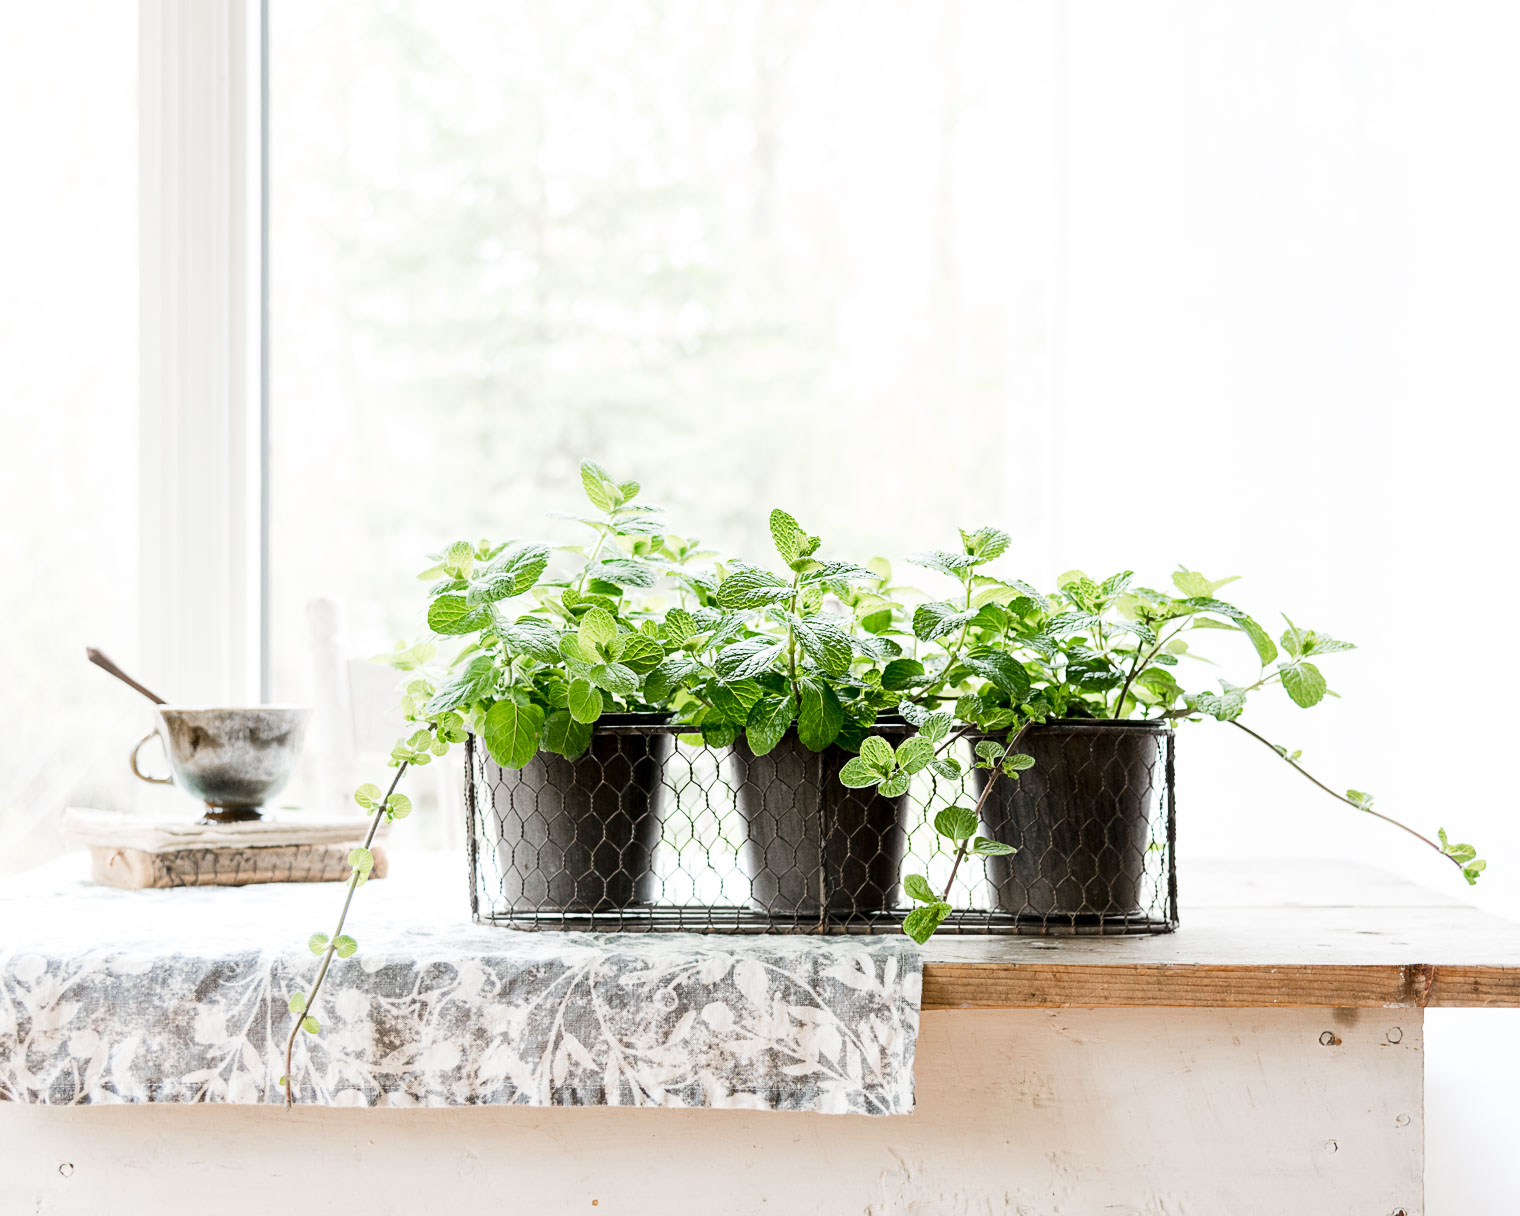
When planting mint, make sure to provide good air circulation and well-drained soil to prevent rust or powdery mildew. If you see wilted leaves or dark spots, pinch off the affected leaves immediately and watch the plant closely.

How to Prepare Mint Tea

  • Harvest 1/2 cup of fresh mint (I use stems and all). Rinse and pat dry.
  • Place mint in the strainer that fits in your teapot. I love using my little cast iron pot I found at Chapters/Indigo. They don’t always carry these lovely little pots, but you can also get them from Teavana.
  • Meanwhile, to warm up the teapot, boil water and pour in about 1/4 cup. Cover and let sit for a minute or two (this is without the mint!)
  • Discard the water used to warm the pot.
  • Set the strainer filled with mint into the pot and fill with the remaining hot water.
  • Let sit for 5 minutes.
  • Pour into cups, add a fresh mint leaf and enjoy!

Mint tea is soothing and refreshing, and if you can use fresh mint it's especially delightful. Growing mint is easy and satisfying as this plant is vigorous and aggressive. If you're growing mint, I would suggest you plant it in a container up off the ground or it will take over your garden!Did you know mint contains vitamins A and C, as well as Calcium and Iron?Mint tea is soothing and refreshing, and if you can use fresh mint it's especially delightful. Growing mint is easy and satisfying as this plant is vigorous and aggressive. If you're growing mint, I would suggest you plant it in a container up off the ground or it will take over your garden!
.
If you enjoyed this post, you may also enjoy these:

Chamomile Tea, Photography
Photographing Chamomile Tea
Interview with a Neighbour
Interview With a Neighbour
DIY Herb Garden Markers, Keeping With the Times
Herb Garden Markers

Please Share :)

Mint tea is soothing and refreshing, and if you can use fresh mint it's especially delightful.  Growing mint is easy and satisfying as this plant is vigorous and aggressive. If you're growing mint, I would suggest you plant it in a container up off the ground or it will take over your garden!

Filed Under: Beverages, Cooking With Herbs Tagged With: herbs, mint, mojito, peppermint, tea

Pretty Easy DIY Herb Pot

May 14, 2017 by Barb 4 Comments

Hello … I’m just popping in with a little Happy Mother’s Day wish, and an easy DIY herb pot using Mod Podge and wrapping paper.

mothers are like buttons
they hold everything together (perhaps like Mod Podge too ;)

This little pot of  Lemon Thyme smells divine … I wish you could smell how truly lemony it is …
DIY Herb Pot using wrapping paper and Mod Podge, Keeping With the TimesAnd how cute is that terra cotta pot?
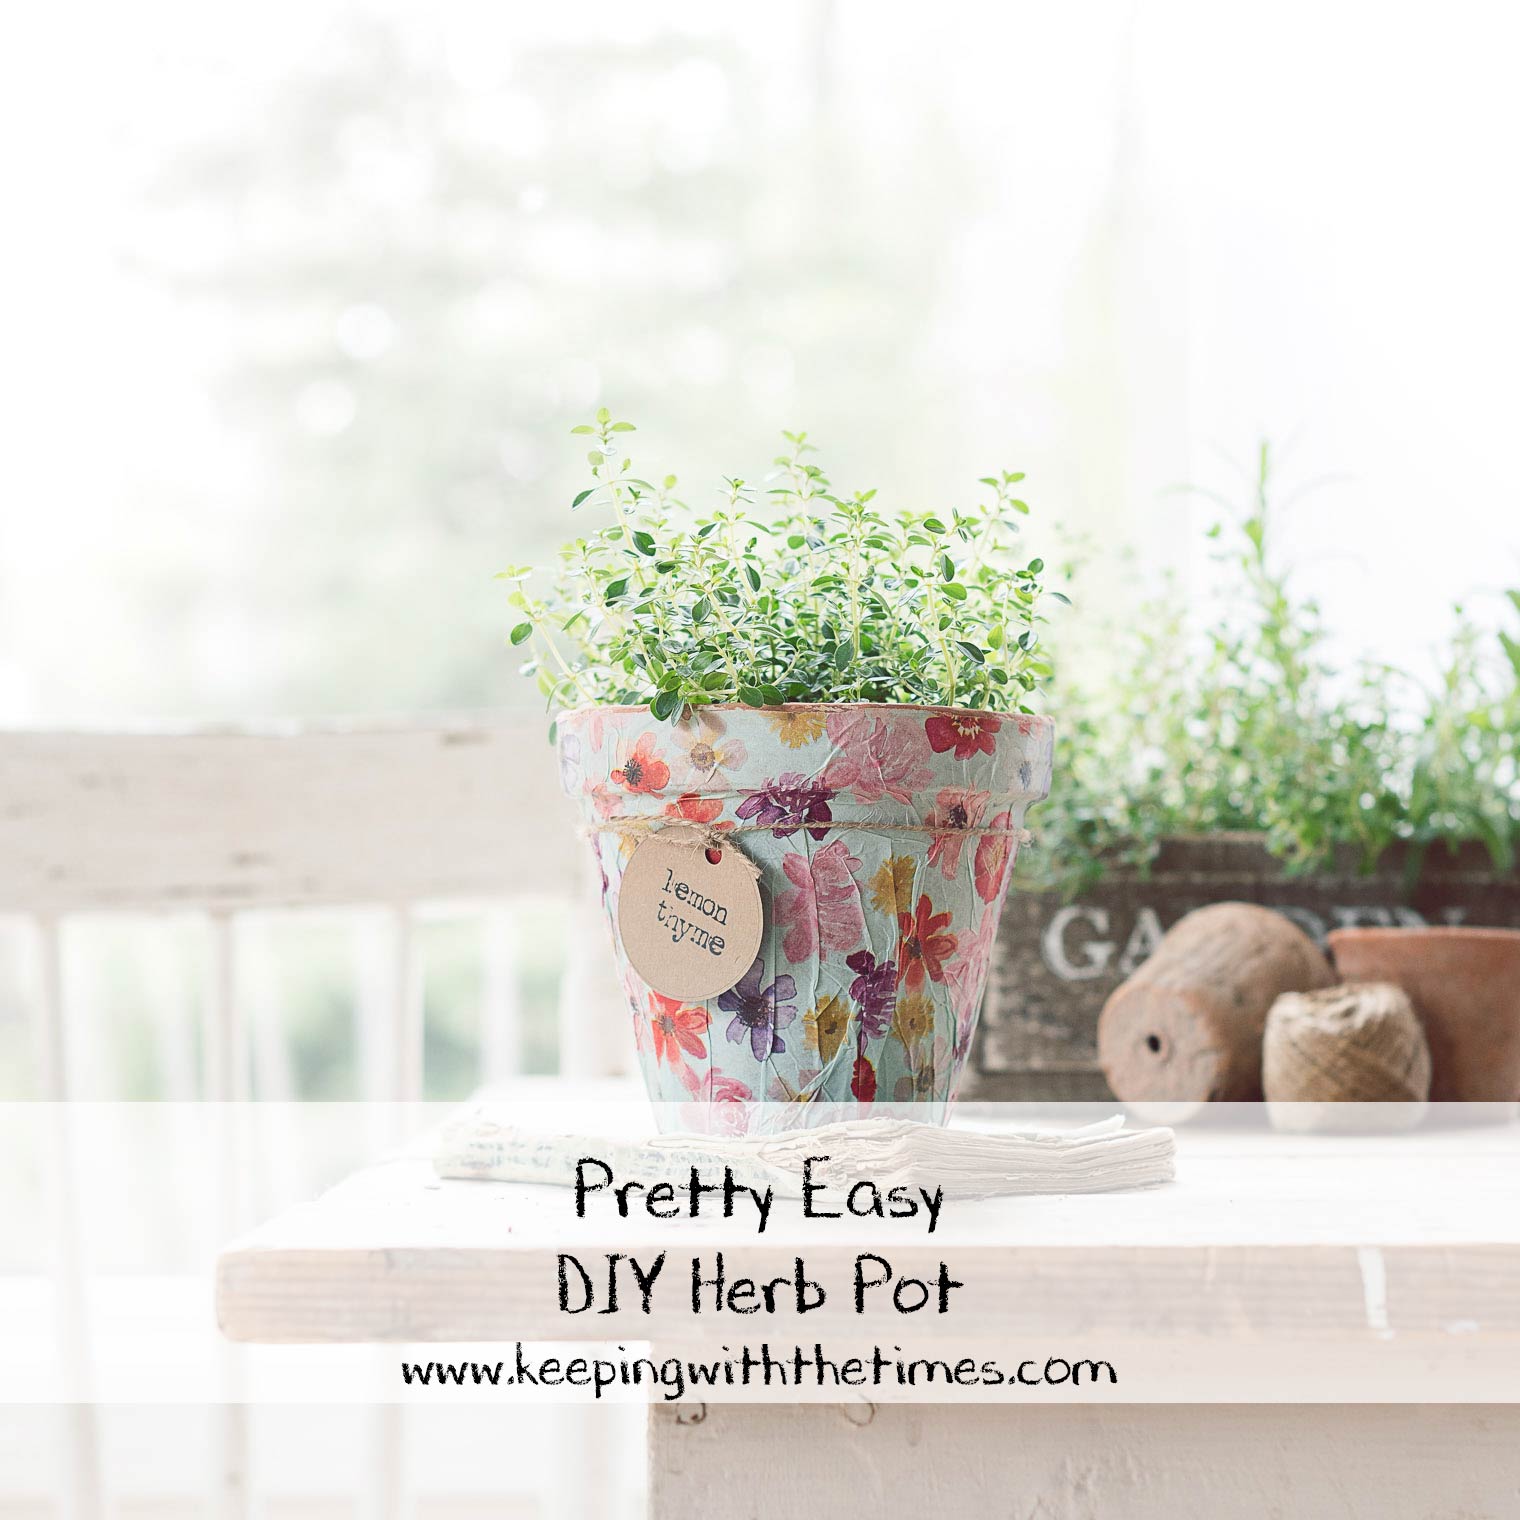
After I opened a gift from my oldest daughter, I couldn’t stop admiring the soft tissue-like paper that it had been wrapped in. Rather than sending the pretty paper to the recycle bin, I used Mod Podge to adhere it to the pot. As you can see, I didn’t worry about wrinkles (wish I could say that about myself ;)

Pretty Easy DIY Herb Pot

  • Tear a piece of pretty wrapping paper or tissue paper the size of your chosen pot
  • Using a brush or sponge, apply Mod Podge to the entire outside surface of the pot
  • Place paper over the pot, gently smoothing into place, folding the edges underneath about 1/4 inch
  • Let dry completely
  • Using sandpaper, sand the top edge of the pot for a rustic finish
  • Plant herbs in a plastic container that fits inside the pot and place inside

If you enjoyed this post, you may also enjoy these:

.

31 Creative Ideas
30 Ideas to Make June Magical
A Different Kind of Power

Pretty Easy DIY Herb Pot, Keeping With the Times

Filed Under: DIY AND CRAFTS, LIFE Tagged With: diy, garden, herbs, paper, terra cotta

Five Things Friday | May 12

May 12, 2017 by Barb Leave a Comment

Welcome to Five Things Friday where I share what I’m reading, watching, eating, making, or just plain loving at the moment.

Five Things Friday is kind of like gathering around the water cooler, as in … how about those Oilers eh? sigh … sad face, happy face … sad face … maybe next year face … .

But spring has definitely sprung here. The ice is off the lake, the trees are green, and my garden is pushing up at an alarming rate. Once it starts, it’s like a whirlwind. I’ll soon be seeing anemones in bloom … gah!

Every year it seems like a miracle and there’s no thyme to waste ;)Garden Herbs, Five Things Friday, Keeping With the TimesSo we may as well get to it, right?

Five Things Friday | May 12

What I’m Reading

The Handmaids Tale

Actually I’m re-reading The Handmaids Tale. I read it when it was first published (suffice it to say it was a long time ago) but I was more than a little startled, and disturbed, to see that it has been republished and made into a TV mini series.

I always avoid getting political, but this dystopian classic is a must read for every woman (and man) and is more relevant today than ever. Margaret Atwood is genius and her introduction in this release is provocative.

To quote the Phoenix Gazette “The most chilling cautionary novel of the century”. Enough said.

What I’m Working On

I may have mentioned his before, but I’m taking a blogging class with Emily Quinton at Makelight. It’s called “The Thread” and I’m finding it extremely inspiring. My head is exploding with ideas so now I have to make sure I do something with it all (see below :)

What I’ve Discovered

I’ve gone back to using iA Writer to draft blog posts and keep notes. It’s simply a distraction-free, plain text editor.

I was using it a long time ago … so long that in fact I had to purchase the new version and start over. But I think it will be worth it, as yesterday I had the biggest brain dump ever! and I know I won’t be misplacing my notes. Even if I lose my iPad, my work will be in the Cloud and synced to all my devices. I can see four or five blog posts coming from it. I simply need to buckle down and do the work.

What’s Up in the Garden

  • Anemones
  • Perennial Geraniums
  • Yarrow
  • Cornflower
  • Lily-of-the-Valley
  • Delphiniums
  • Peonies
  • Daisies
  • Daylilies
  • Rabbits ;)

Rabbit, Keeping With the Times, Five Things Friday

My Gratitude Journal

I’m so grateful for:

  • Being able to go to greenhouses again! I love it!
  • Buying fresh pots of herbs and planting my herb garden.
  • So thankful for the warm weather turning our world green almost over night.
  • Clearing out trash. Getting rid of stuff.
  • A GREAT haircut. I always seem to need a haircut. But this time my stylist Angela did the best job ever (my hair is finally recovering after a year of bad cuts it seems.)
  • Being able to buy new spring clothes and shoes. I’ve been partaking in Kelly Rae Roberts Wear Your Joy series, and even though I could almost be her grandmother, it has really helped me define my style. It has also helped me to clean out my closet :)
  • My family.

So that’s it for me today. We are going to be setting up the rest of our dock, and putting the boat in the lake. Fun times.

Have a lovely weekend my dear readers!

xo


Filed Under: FIVE THINGS FRIDAY Tagged With: books, garden, gratitude, herbs, novels, reviews

DIY Plant Markers for Herb Pots

April 12, 2017 by Barb 15 Comments

Today I have the easiest DIY plant markers you are ever going to attempt to make! Placed in pots of herbs, they make fantastic little gifts for Easter, Mothers’ Day, or simply as a hostess gift.

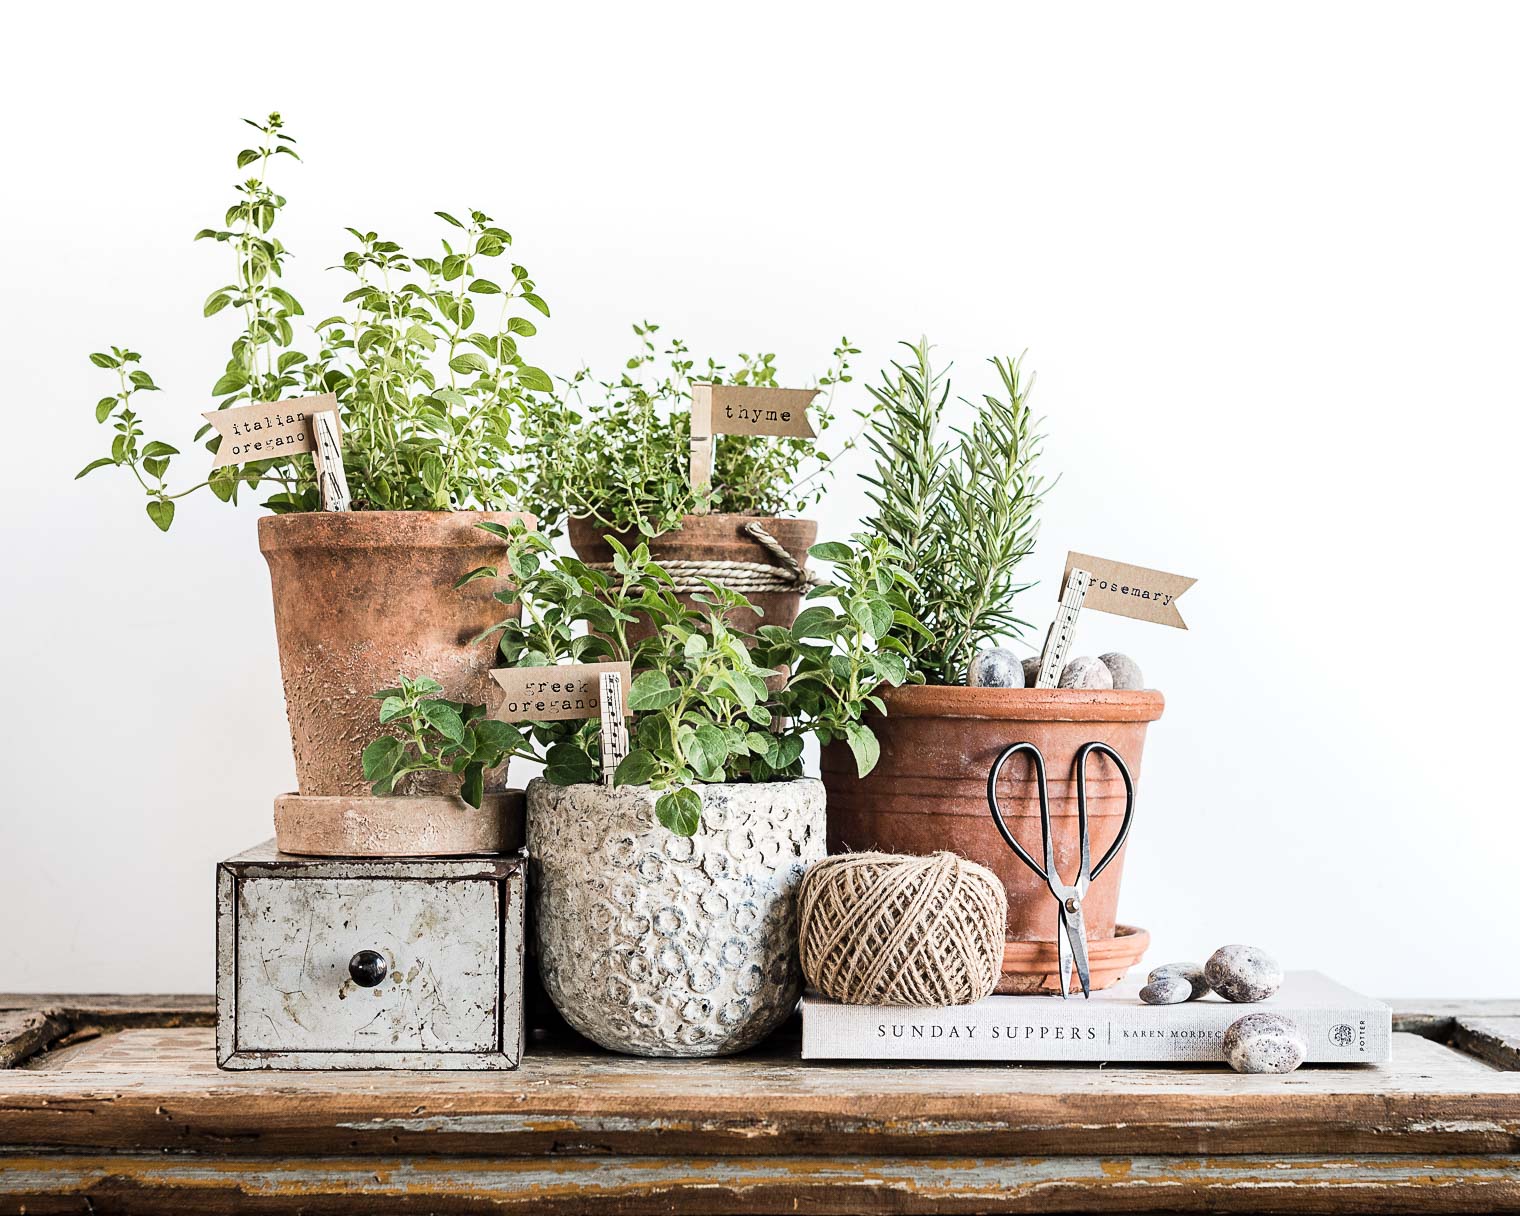
You can purchase tiny pots of herbs and either put them in special clay pots such as I did here, or wrap the original pot in a bit of newspaper tied with a piece of string (it all depends on how much you want to spend.)Thyme, Easy DIY Plant Markers, Plant markers for pots of herbsIt’s the addition of the handmade plant markers that really makes this gift special. These are so inexpensive they’re practically disposable!
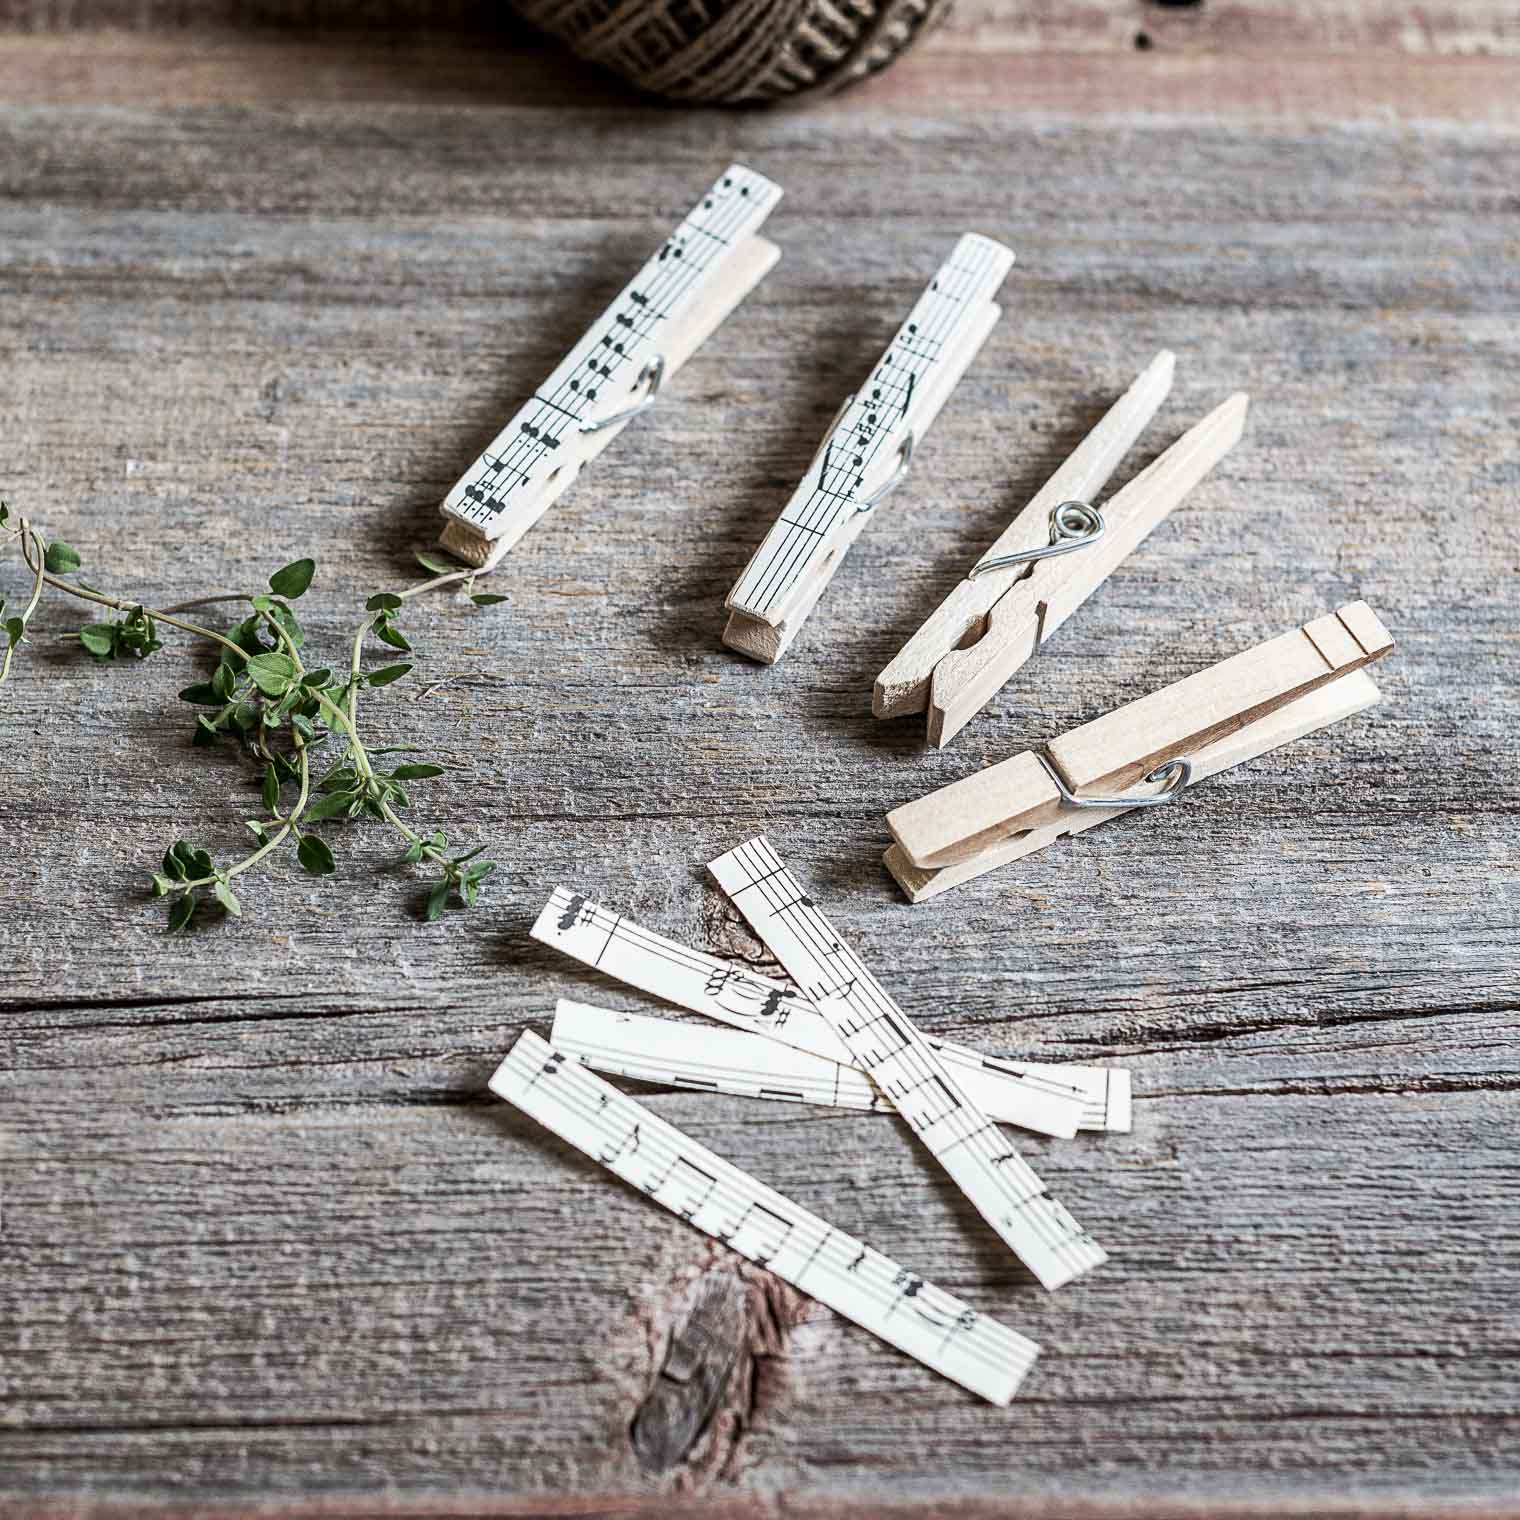
DIY Plant Markers for Herb Pots

What you need:

  • clothespins
  • paper
  • glue
  • sandpaper
  • stamps, ink

How to:

  • Cut strips of paper approximately the same size as the clothespin. You can use scrapbook paper, newsprint, or vintage book pages. I used some old music sheets I found at a garage sale. The strips do not have to be cut perfectly; we’ll take care of the edges later.
  • Using white glue, glue a strip to each side of the clothespin making sure to get right to the edges. Let dry completely.
  • Using sandpaper, sand away the edges for a distressed but clean edge.

Easy DIY Plant Markers, Plant markers for pots of herbsUse alphabet stamps and scrapbooking ink to add the names of the herbs to little brown paper flags, clip them to the clothespins, and voila!Easy DIY Plant Markers, Plant markers for pots of herbs
Thanks for being here!

If you liked this post, you might like these! Please have a peek ↓↓↓↓↓

Partial Shade Gardening, Keeping With the Times
Top 5 Perennials for Shade
Hope Springs Eternal, Anemone Bulbs, Still Life, Flatlay, Barb Brookbank
Anemone Bulbs
Succulent Love, Keeping With the Times, How to Grow Succulents
Overwintering Succulents
Garden Cleanup
Sunday Sundries, Keeping With the Times, Photoshop Template Download
Preserving Peonies

xo

Filed Under: DIY AND CRAFTS Tagged With: diy, gifts, herbs, spring

Rosemary Windfall (and what to do with it:)

March 31, 2017 by Barb 4 Comments

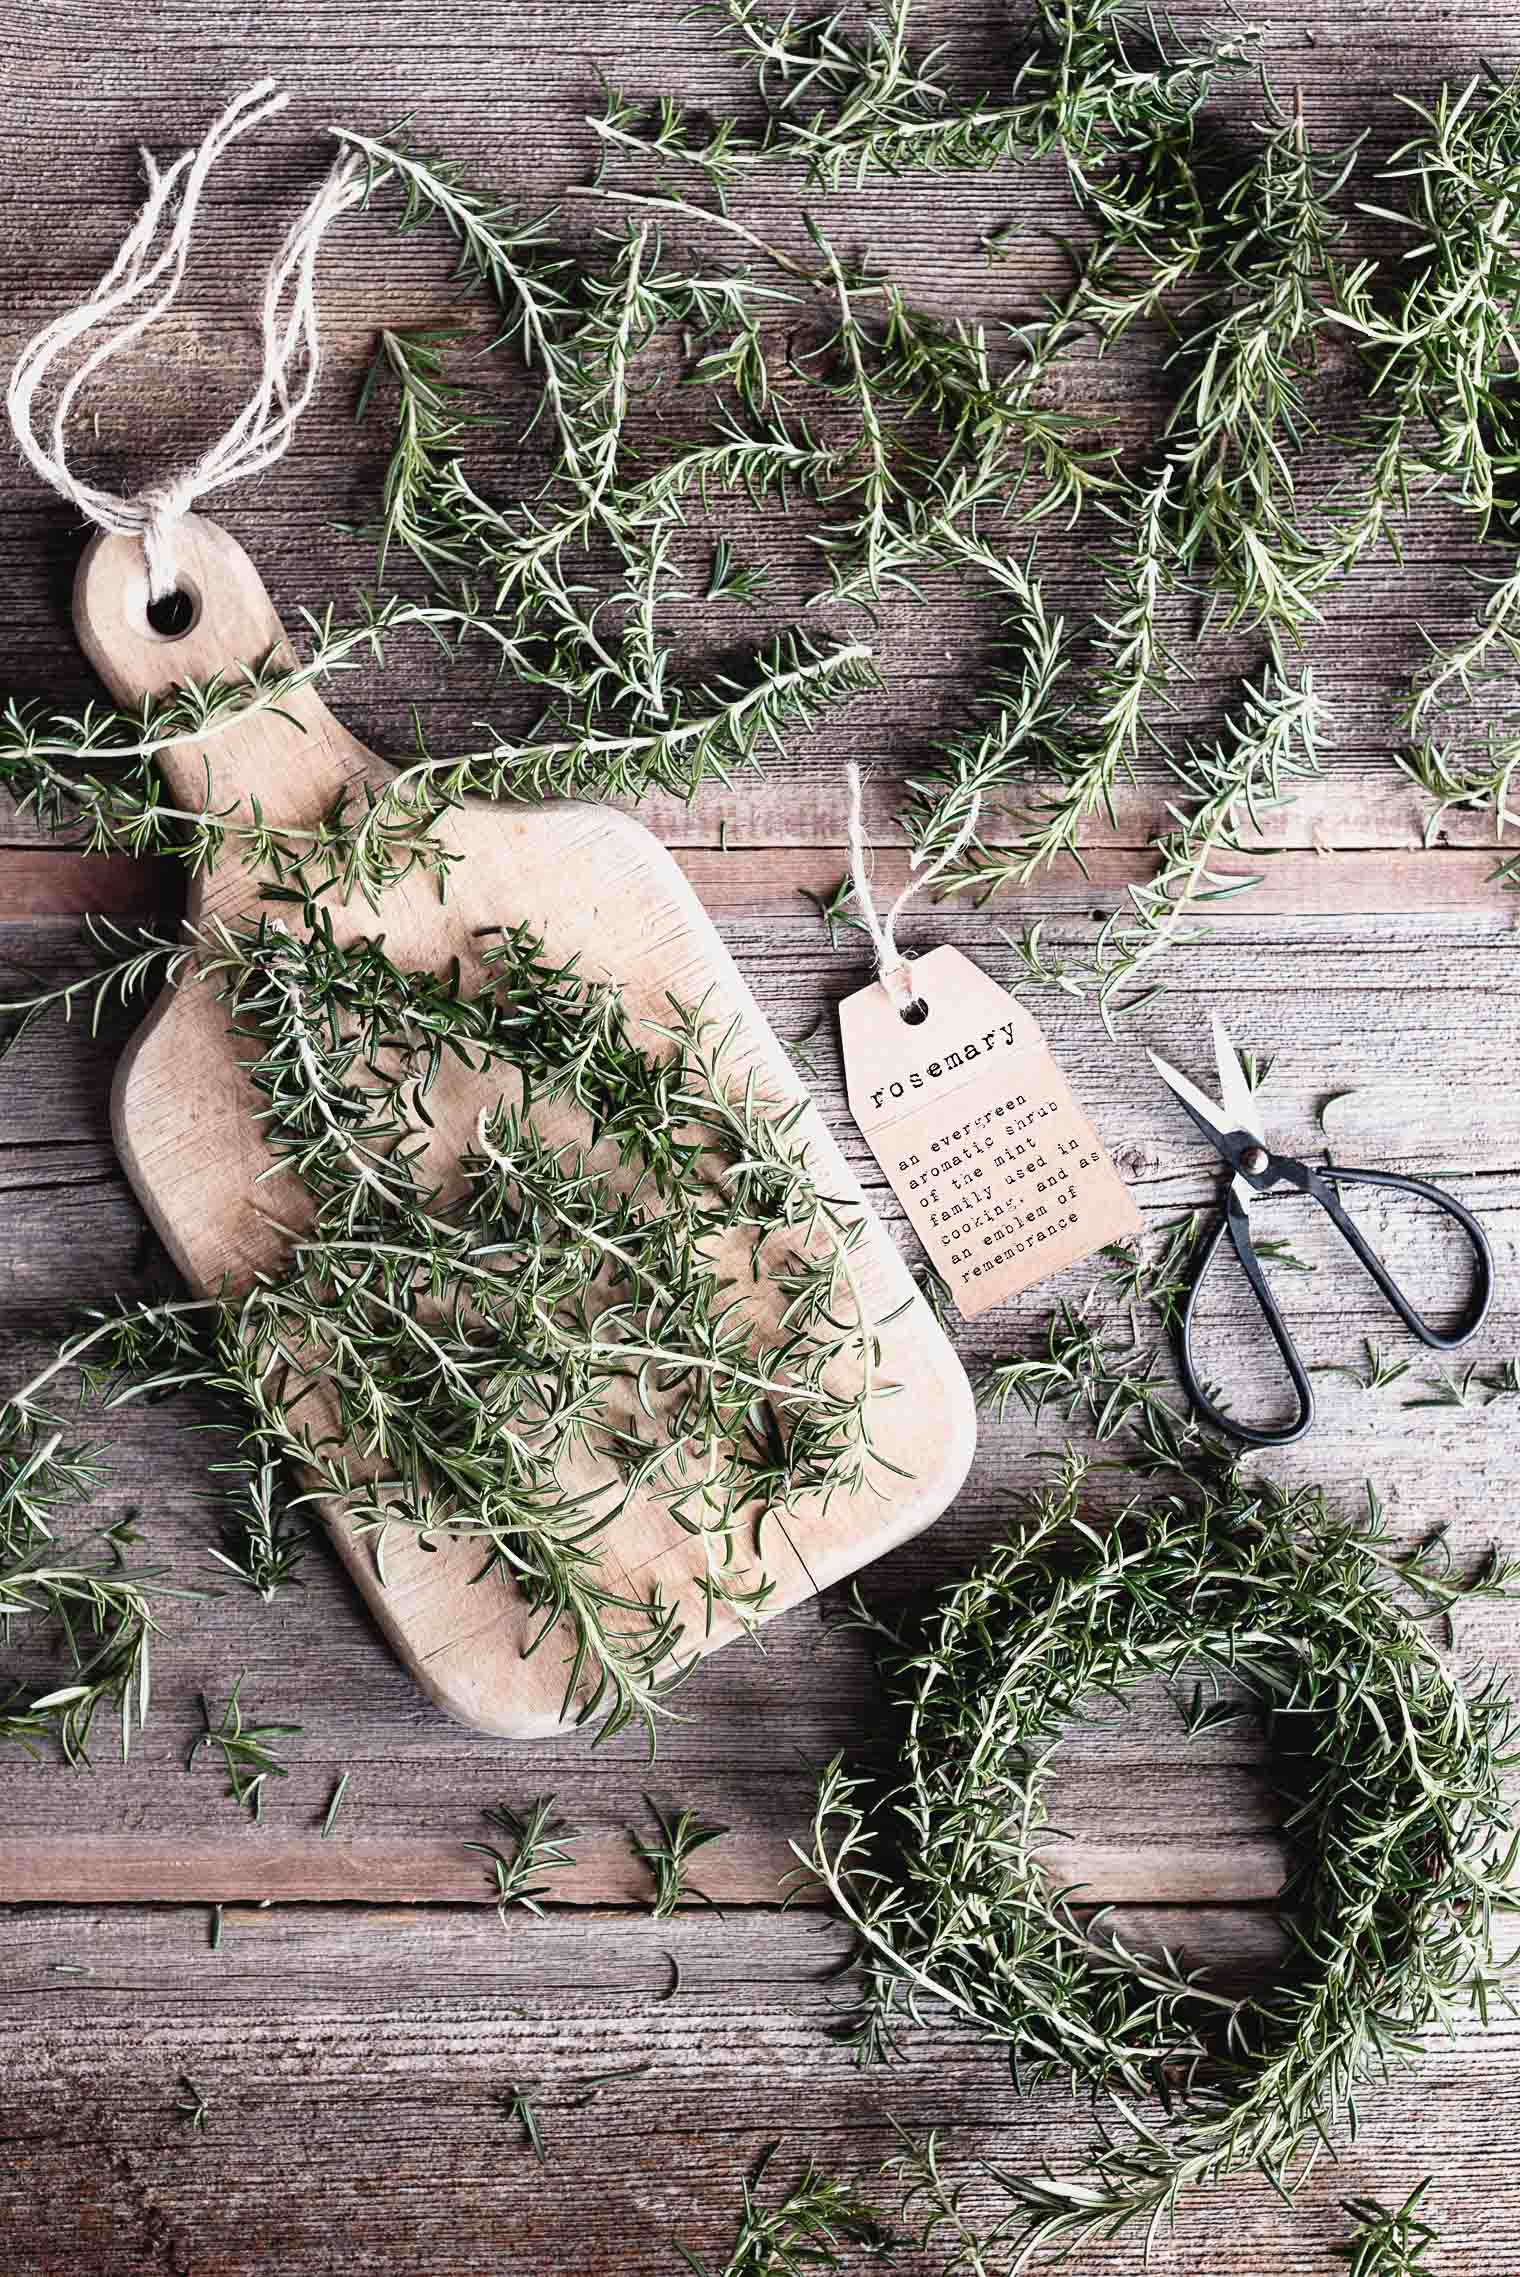
When you’re in Arizona and the landscapers arrive and start shearing all the rosemary shrubs, you go and get it and you take photos of it! Then you spend all day cooking, baking,  and creating!

Rosemary Windfall, What to do with Rosemary? Keeping With the Times… you put it into little pots and squish the needles and revel in the scent of it all.
Rosemary Windfall, What to do with Rosemary? Keeping With the Times

If I’m jealous of any plants growing in Arizona, it would be Rosemary. These shrubs grow with abandon in parking lots and alongside curbs. It’s all I can do to not go around snipping it wherever I go but of course these shrubs are not wild, they’re used in landscaping which means I cannot take it :(

Rosemary is a tender evergreen perennial (grown in most areas of Canada as an annual.) However, I bring my pots inside in autumn and keep it as long as I can, which is usually until after Christmas.

So what do I do with Rosemary?

Apart from loving it’s beautiful form in my garden pots (I prefer the upright variety) I cook and bake with it. I also bathe in it … see my post Spa Day

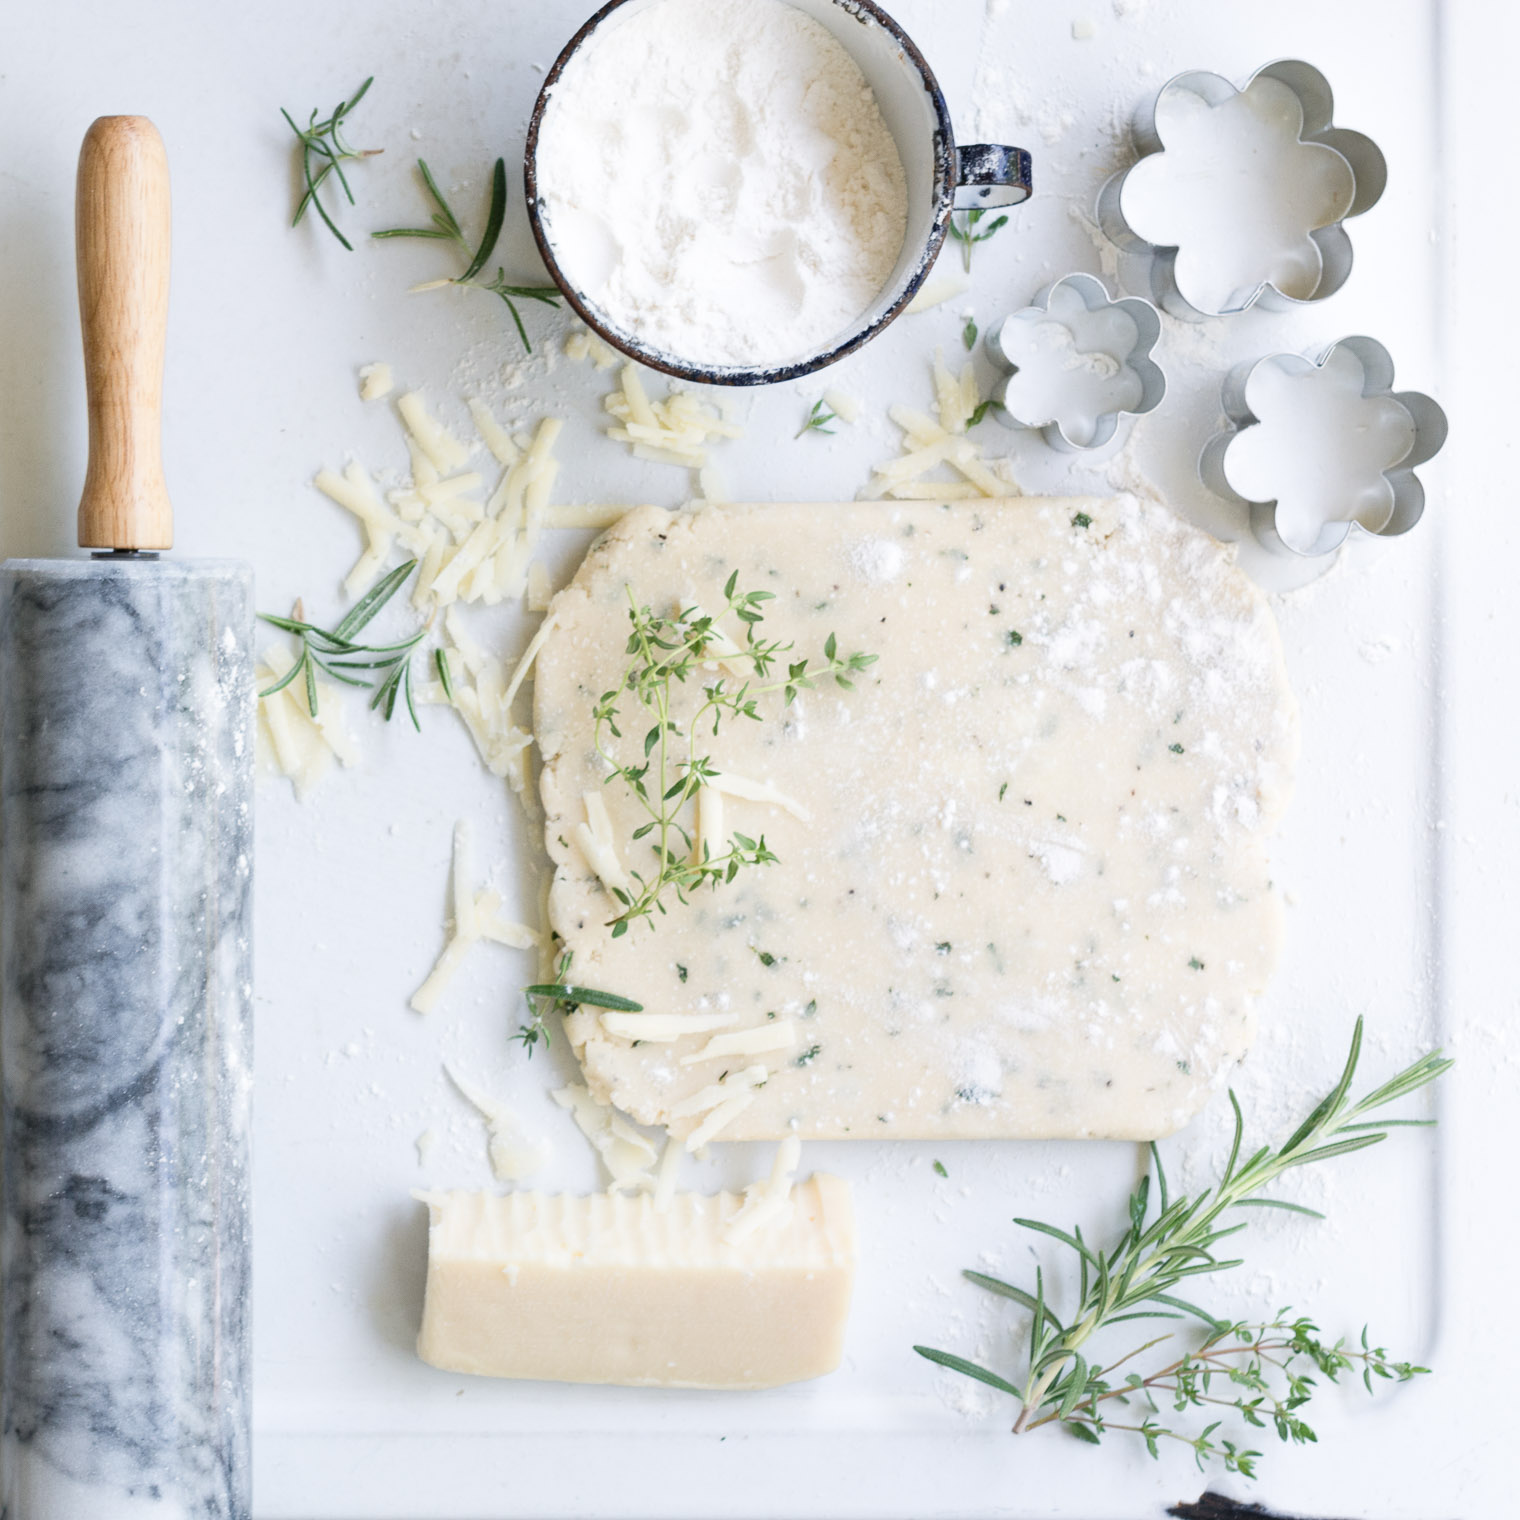
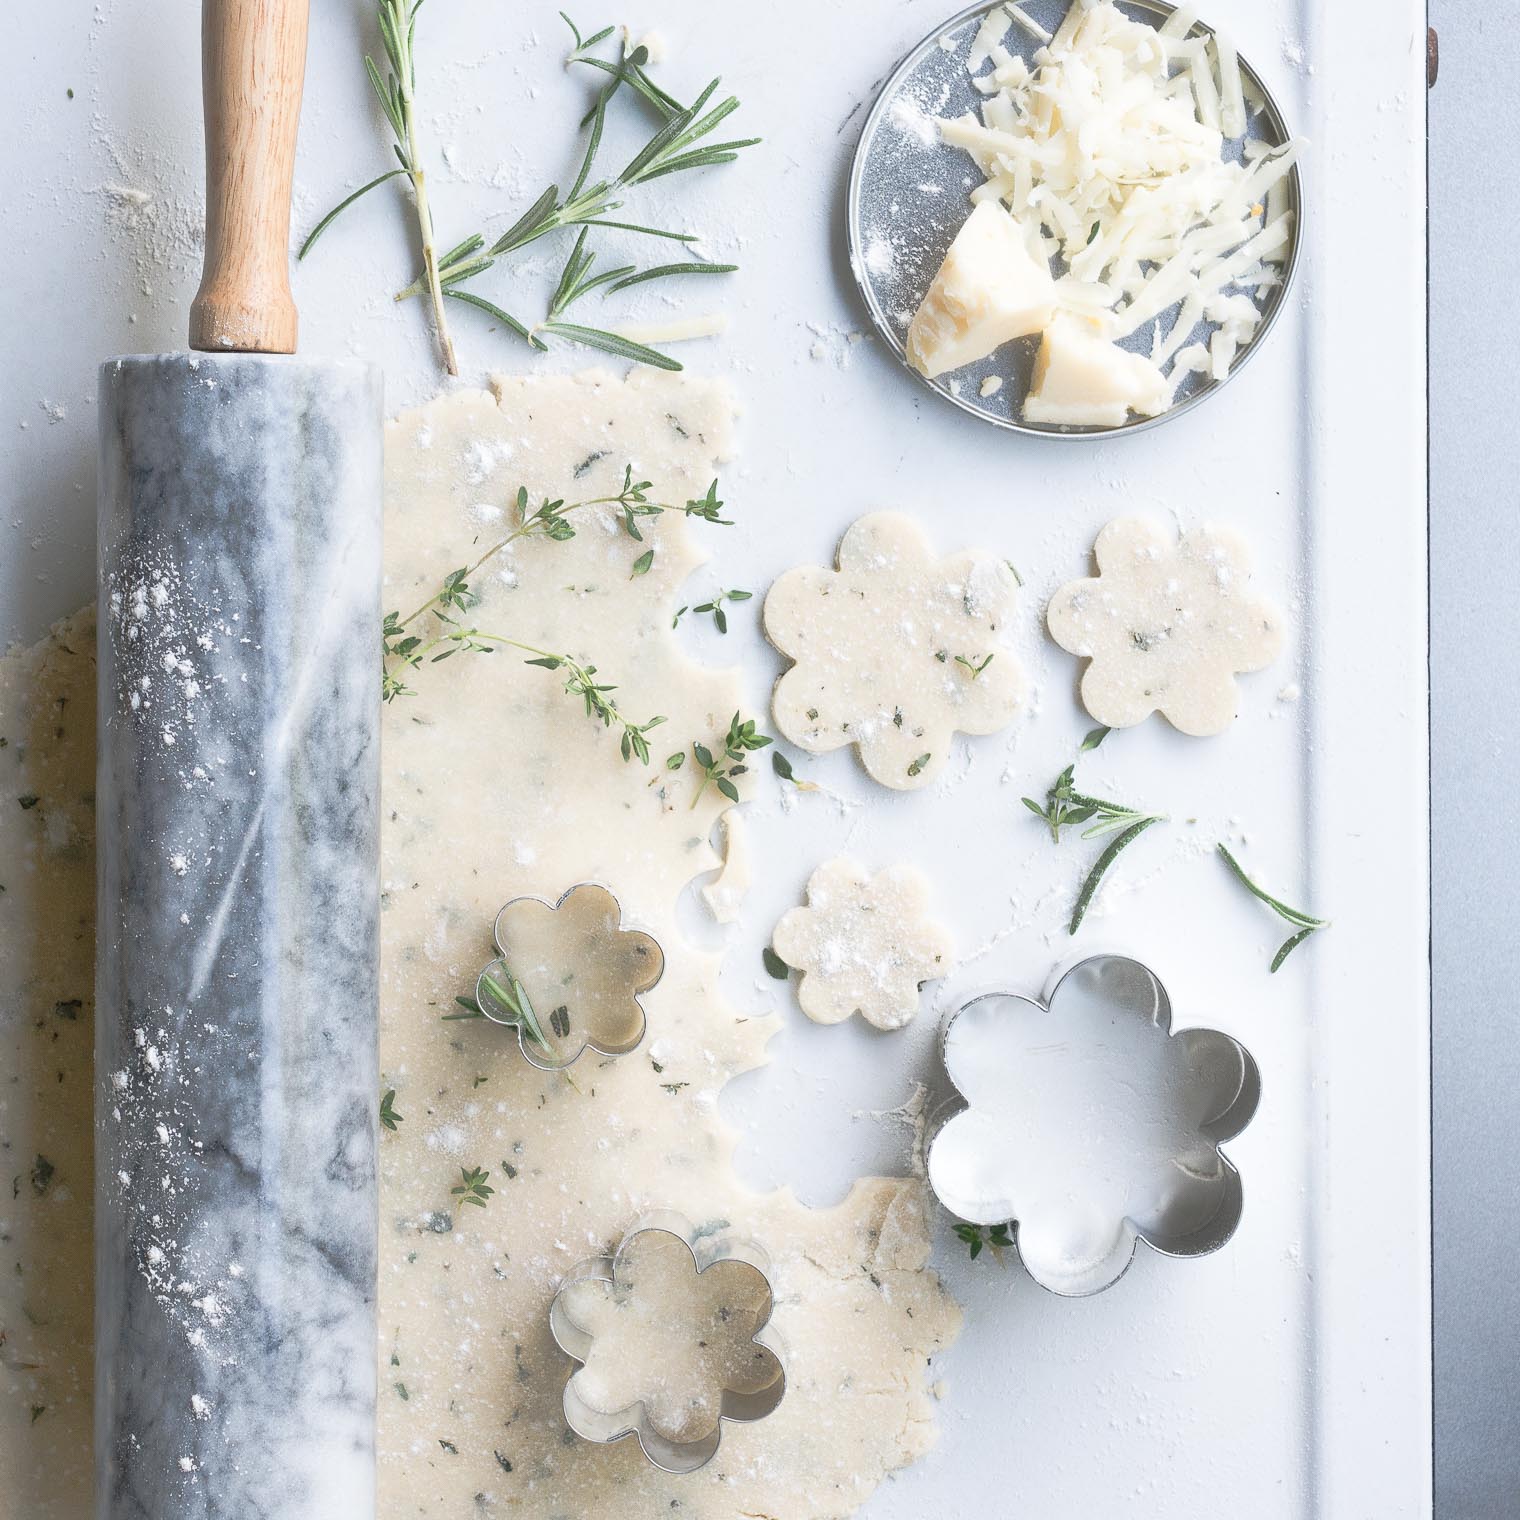
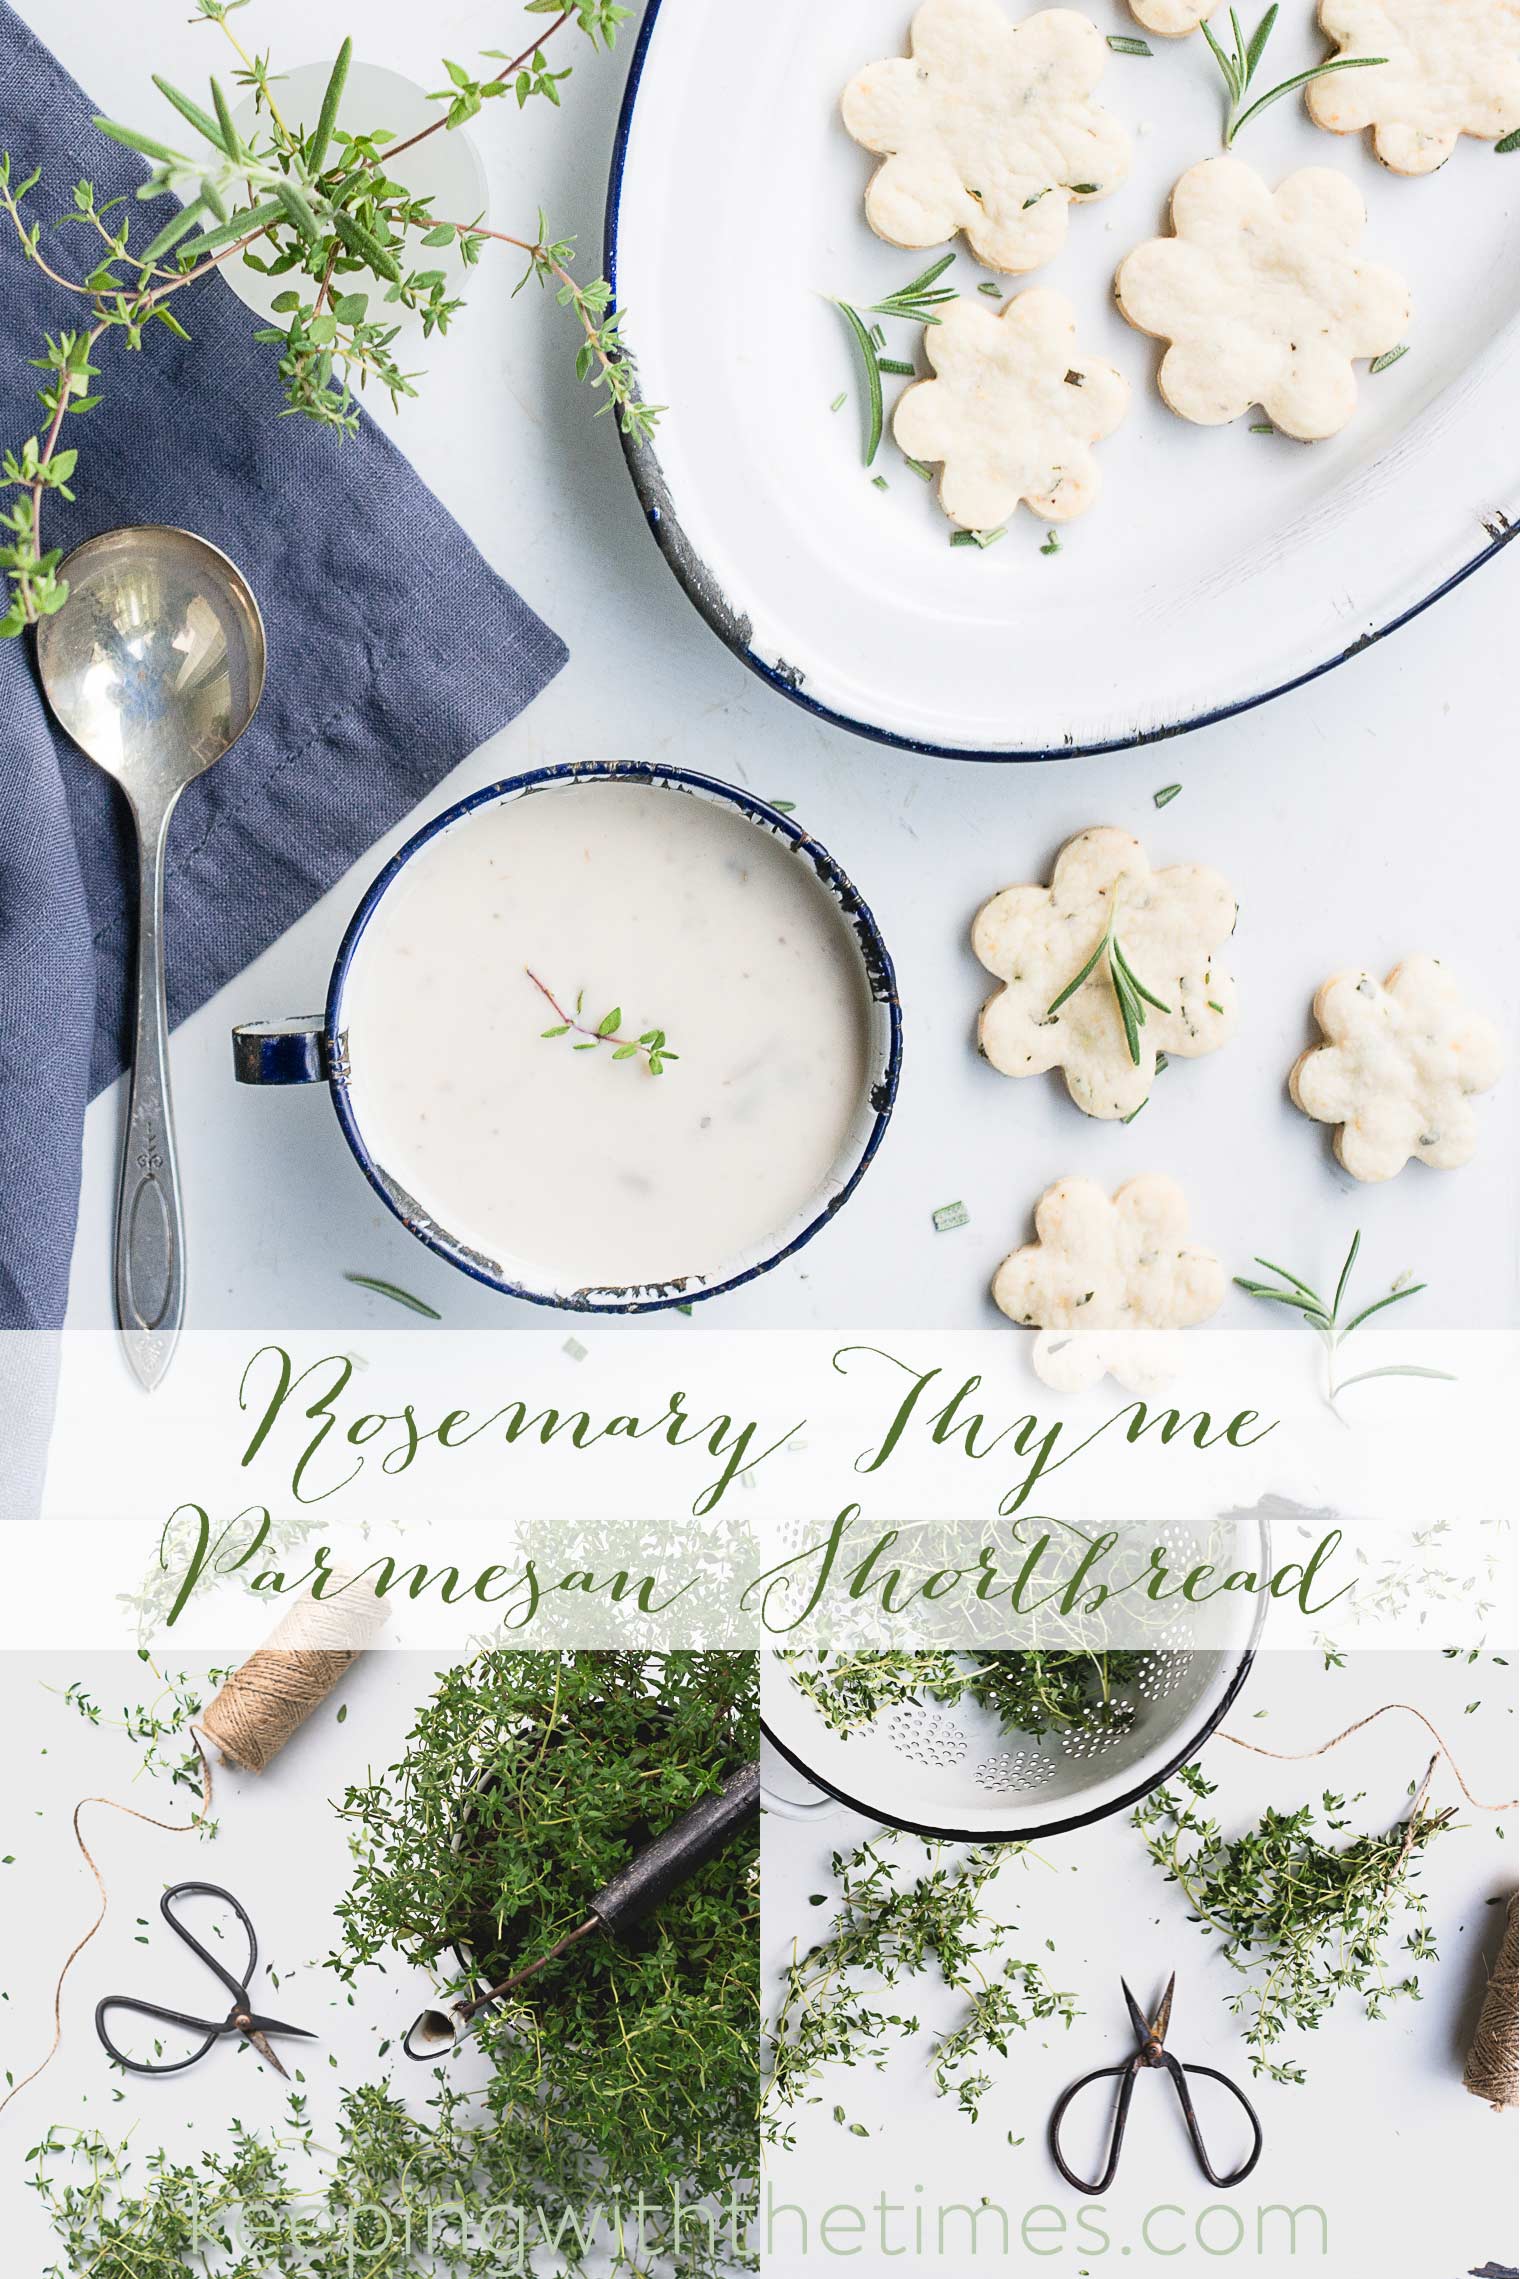
One of my favourite recipes is Rosemary Thyme Shortbread

Rosemary Thyme Shortbread, Keeping With the TimesYou could also try my scrumptious Roasted Garlic, Onion, Raspberry, Rosemary Jam … which would be stupendous served with these crackers :)
And lastly, a few years ago I wrote a post on How to Care for a Fresh Rosemary Plant if you care to take a peek!

PS

It has been a long and difficult week for our family so Five Things Friday will continue next Friday (hopefully.)

Thank you all for being here!

xo

Filed Under: Baking Tagged With: herbs, rosemary

Late Summer Arrangements Idea #2

August 29, 2016 by Barb 9 Comments

The second of my late summer arrangements is the Beautiful Bouquet Garni!

So what is bouquet garni? Well, it’s traditionally a bundle of fresh herbs such as bay leaf, thyme, and parsley, tied together with string, and used to flavour soups and stews. Alternately the herbs are placed in cheesecloth and tied into a small sachet which is placed into the pot. The sachet makes for very easy removal when the dish is finished cooking.

Late Summer Arrangements Idea #2, Beautiful Bouquet Garni, Keeping With the Times

My selection of herbs for the bouquet garni …

Late Summer Arrangements Idea #2, Beautiful Bouquet Garni, Keeping With the Times

Yesterday I tied a few herbs into a sachet and threw it into the crockpot with some beef broth and every single old vegetable I could find; either from the fridge or freezer. I was pleasantly surprised at how flavourful and full-bodied the broth was.

So my plan now is to make extra broth to freeze for autumn and winter … I’m thinking it’s just another great way to preserve the overabundance of herbs I have this year.

You might also enjoy:

Late Summer Arrangements Idea #1: The Succulent Sedum Sensation

Late Summer Arrangements Idea #3: Heavenly Hydrangea

Filed Under: FLORAL DESIGN Tagged With: backyard bouquet, flower arranging, herbs

Rosemary Thyme Parmeson Shortbread

July 28, 2015 by Barb 10 Comments

On Sunday I whipped up a batch of Rosemary Thyme Parmeson Shortbread as a way to make use of the abundance of herbs I have growing on my deck.

For me, one of the most calming and satisfying moments in gardening is walking outside with a pair of clippers in hand, ready to snip herbs for a meal I’m preparing. I have fond memories of this ritual going back years and years; back to when I was a newlywed, and we had to drive out to a farmer’s field where we rented a patch of land and filled it with everything from parsley to corn.

I love savoury dishes and anything using herbs paired with parmesan sets my mouth to watering. This recipe is so simple and easy there’s no excuse to not have these on hand all the time. Served with a lovely potato soup … well, does it get any better?

Rosemary Thyme Parmeson Shortbread, Keeping With the Times

Print
Rosemary Thyme Parmeson Shortbread
 
Ingredients
  • 1/2 cup butter
  • 1/4 cup grated parmesan
  • 1/4 tsp salt
  • 1/2 tsp pepper
  • 1 teaspoon chopped fresh thyme leaves
  • 1 teaspoon chopped fresh rosemary leaves
  • 1 1/4 cups all-purpose flour
  • 1 Tbsp water
Instructions
  1. In a small bowl, mix together parmesan, salt, pepper, herbs and flour.
  2. Place butter in mixer, and mix on low until fluffy.
  3. Add the parmesan-herb mixture to the butter and beat until combined.
  4. Add 1 tablespoon of water to help bring the dough together.
  5. Flatten the dough into a disc, wrap in plastic, and chill at least 30 minutes.
  6. Roll dough to about 1/4 inch thick.
  7. Use cookie cutters to cut small shapes, re-rolling dough as needed.
  8. Place shortbread on a cookie sheet.
  9. Bake at 350 degrees for 10 - 20 minutes. The time depends on how thin the shortbread is, as well as how crispy and toasty you want the finished product.
3.3.3077

Rosemary Thyme Parmeson Shortbread, Keeping With the Times
I hope you enjoy these as much as I have!

For my photography tribe … I have a post coming soon describing my food styling process – hope to see you then!

Recipe inspired by the lovely Jennifer Farley of Savory Simple

Filed Under: Cooking With Herbs Tagged With: herbs, rosemary, savoury, thyme

Mesclun Mix Salad Presentation

June 20, 2013 by Barb 6 Comments

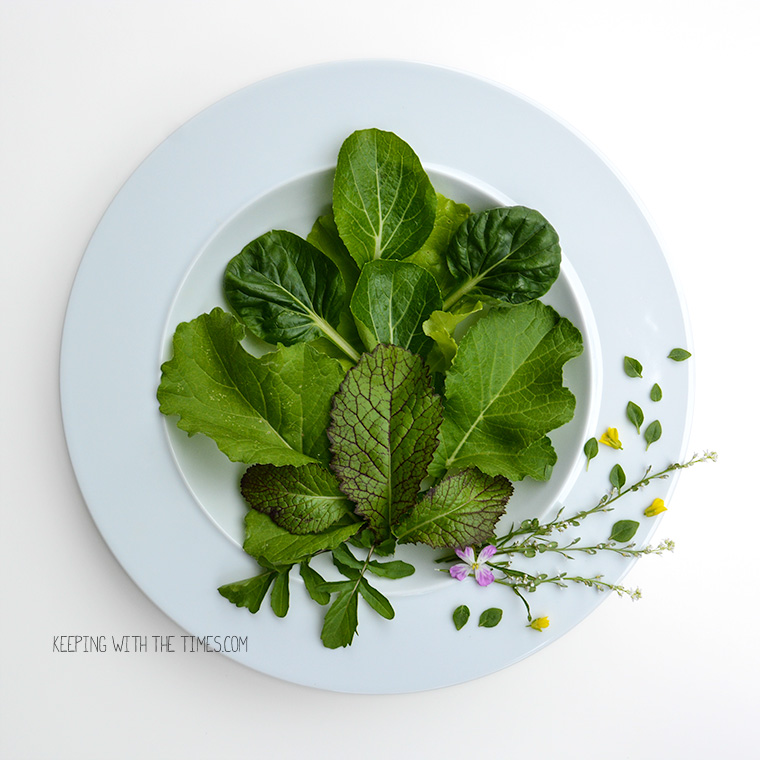
I created this salad from a “Mesclun Mix” which is a term used to describe a “mix of salad greens grown closely together, and harvested while young”.

Mesclun Mix, Salad, Balsamic Dressing

I have a little herb/lettuce garden growing in pots on my deck. I have to keep it on the deck because this creature roams our yard and would clean it up in short order. There would nothing left.

I created this salad from a “Mesclun Mix” which is a term used to describe a “mix of salad greens grown closely together, and harvested while young”.

All mixes are a bit different, combining Royal Oak Leaf lettuce, Red Salad Bowl lettuce, Curled Chervil, Green Ice lettuce, Paris White Cos lettuce, spinach, radicchio, arugula, mustard greens, and endive, just to name a few.

I purchased a pot “ready-made” so I don’t really know exactly what’s in this salad, but I think there is spinach, beet leaves, mustard greens, and green lettuce. Some of the plants have flowers, and flower spikes, and I also used a few leaves from my tiny basil bush.

The colours, and textures, and shapes are all so unique and beautiful, which inspired me to have a little fun and make a salad bouquet! Of course, this is not something you are going to serve at your next family reunion, but maybe next time you are having only a few people (adults) for a special dinner, this would be an elegant and fun way to start the meal. Serve this delicious Balsamic Poppy Seed Dressing on the side and sit back and wait for the rave reviews!

Print
Balsamic Poppy Seed Dressing
 
Ingredients
  • 2 Tbsp balsamic vinegar
  • 2 Tbsp orange juice
  • 1 Tbsp poppy seeds
  • 1 tsp sugar
  • 1/2 tsp dry mustard
  • 1/4 tsp salt
  • 2 Tbsp white wine
  • 2 Tbsp olive oil
Instructions
  1. Combine, shake well and drizzle over salad greens.
3.2.1682

Nutritional Value


Filed Under: Cooking With Herbs, Salads Tagged With: herbs, lettuce, mesclun, salad dressing

Welcome! I'm Barb, and this is where I practice my mantra to "learn something new, try something different". It's my hope that something I do here may inspire you! Read More…

Categories

Archives

Copyright 2020 * Keeping with the Times * All rights reserved.