Keeping With The Times

living, learning, and keeping with the times

  • Home
  • About
  • Site Information
  • Privacy Policy

Mushroom Soup with Wild Rice

January 13, 2017 by Barb 6 Comments

You should put this mushroom soup with wild rice on your menu for the upcoming week—it’s hearty, flavourful, and filling, and I’m willing to guess it will become a family favourite.

It calls for cremini mushrooms, but I also used a portobello. I think you could throw in any kind of mushroom and it would be delicious.

For the rice, I recommend using this Wild Blend from Lundberg… I found it at Costco (yay!) so I now have supply that will last all winter.

Soup puts the heart at ease, calms down the violence of hunger, eliminates the tension of the day, and awakens and refines the appetite
Auguste Escoffier

Please put this mushroom soup with wild rice on your menu for the upcoming week—it's hearty, flavourful, and filling!
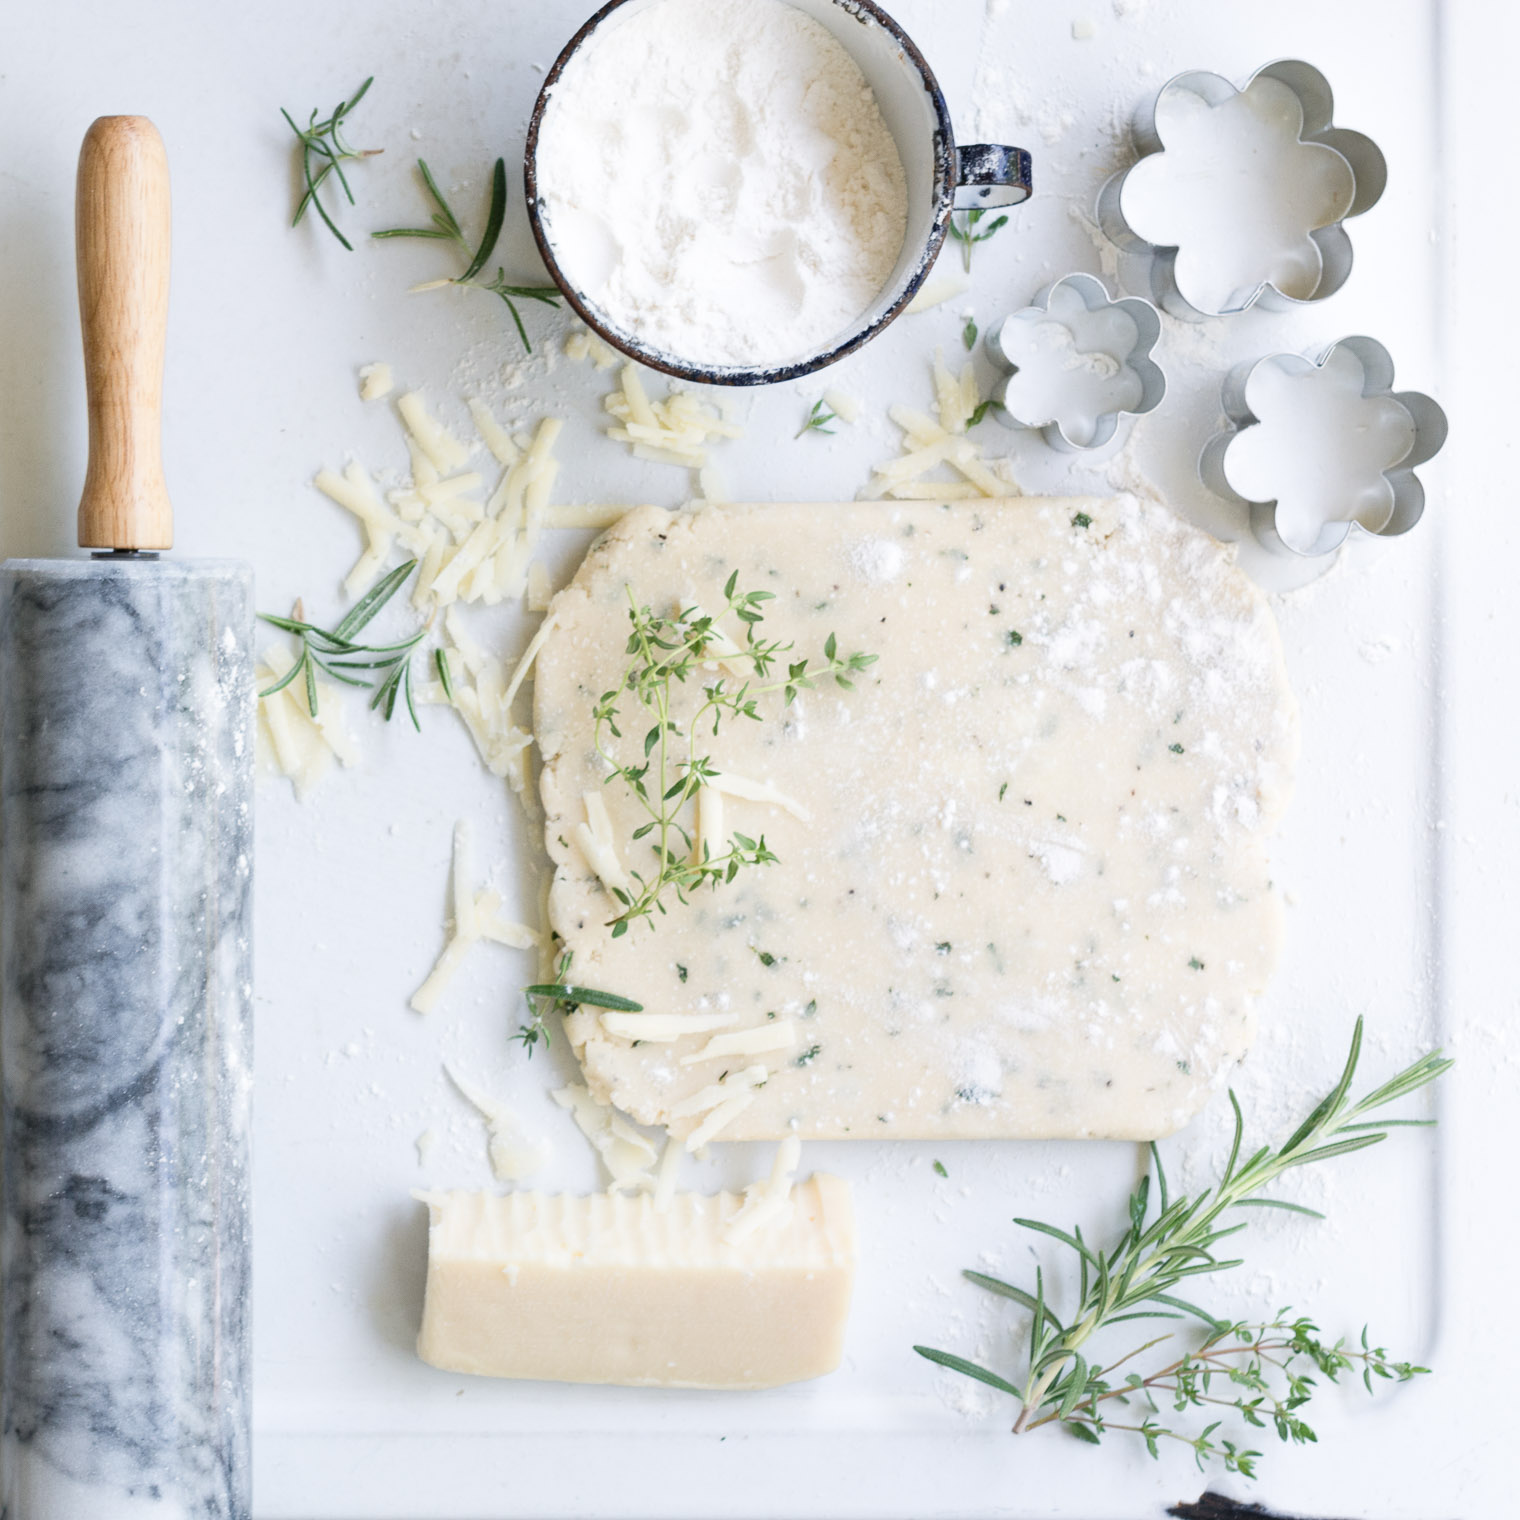
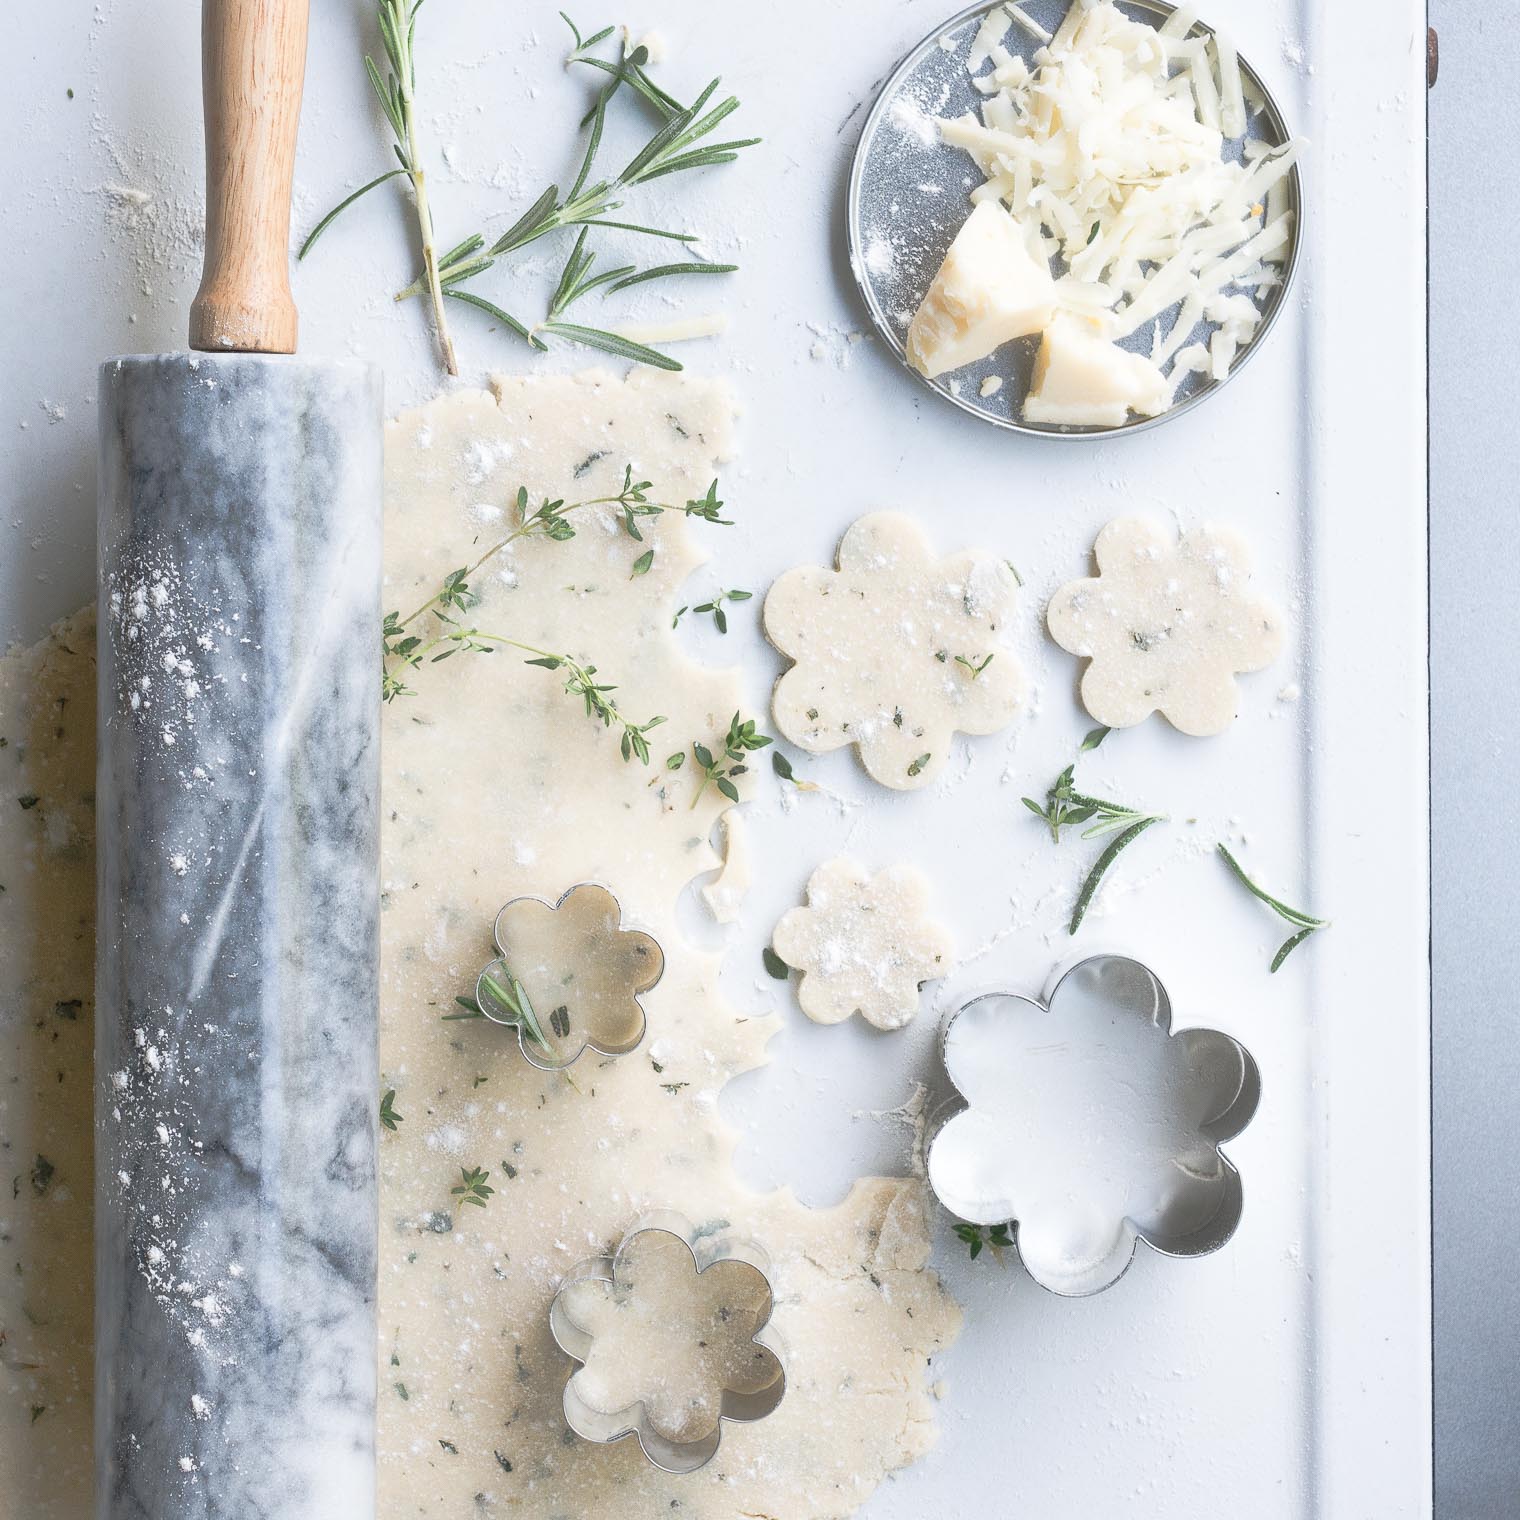
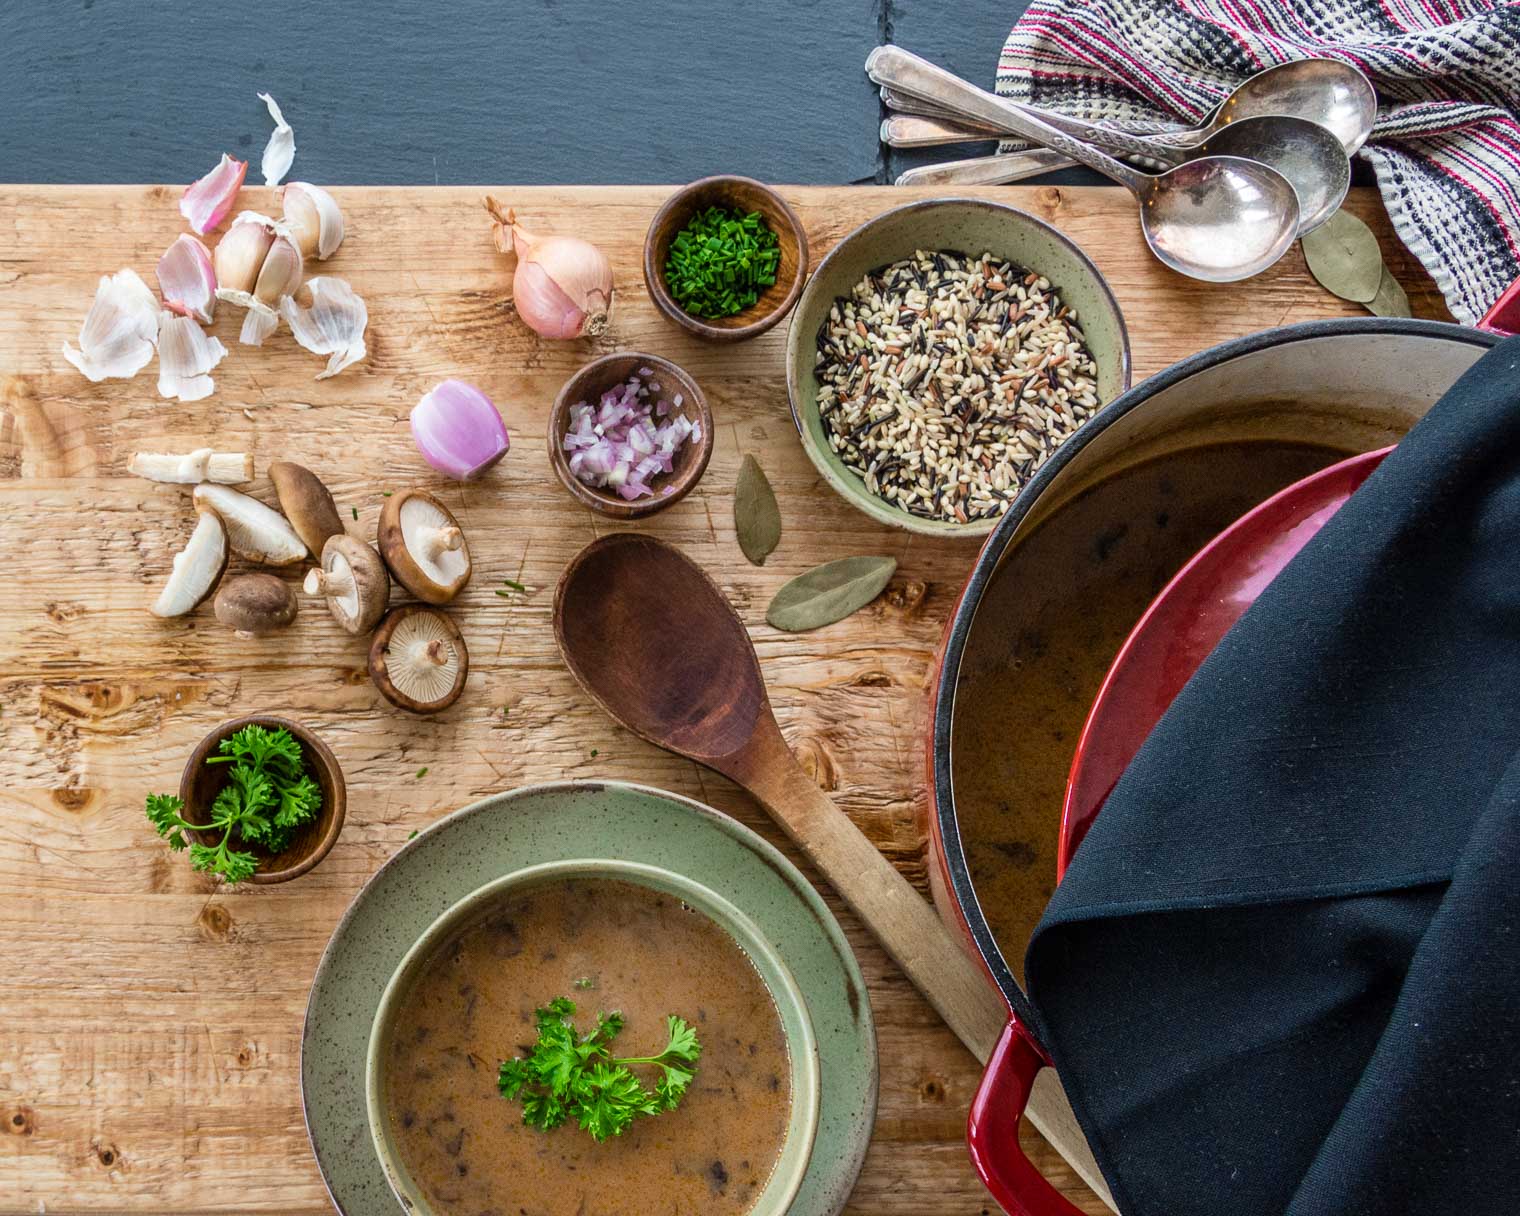
Use fresh herbs, if you can find them …
Mushroom Wild Rice Soup

Mushroom Soup with Wild Rice

Print
Mushroom Soup with Wild Rice
 
Ingredients
  • 4 cups water
  • 1 sprig fresh thyme
  • 1 bay leaf
  • 1 garlic clove peeled (whole)
  • 4 garlic cloves peeled (minced)
  • 3/4 tsp salt
  • 1 tsp pepper
  • 1 cup wild rice (Lundberg Wild Blend is my preferred rice for this)
  • 4 Tbsp butter
  • 1 pound cremini mushrooms,trimmed and sliced into 1/4 inch pieces
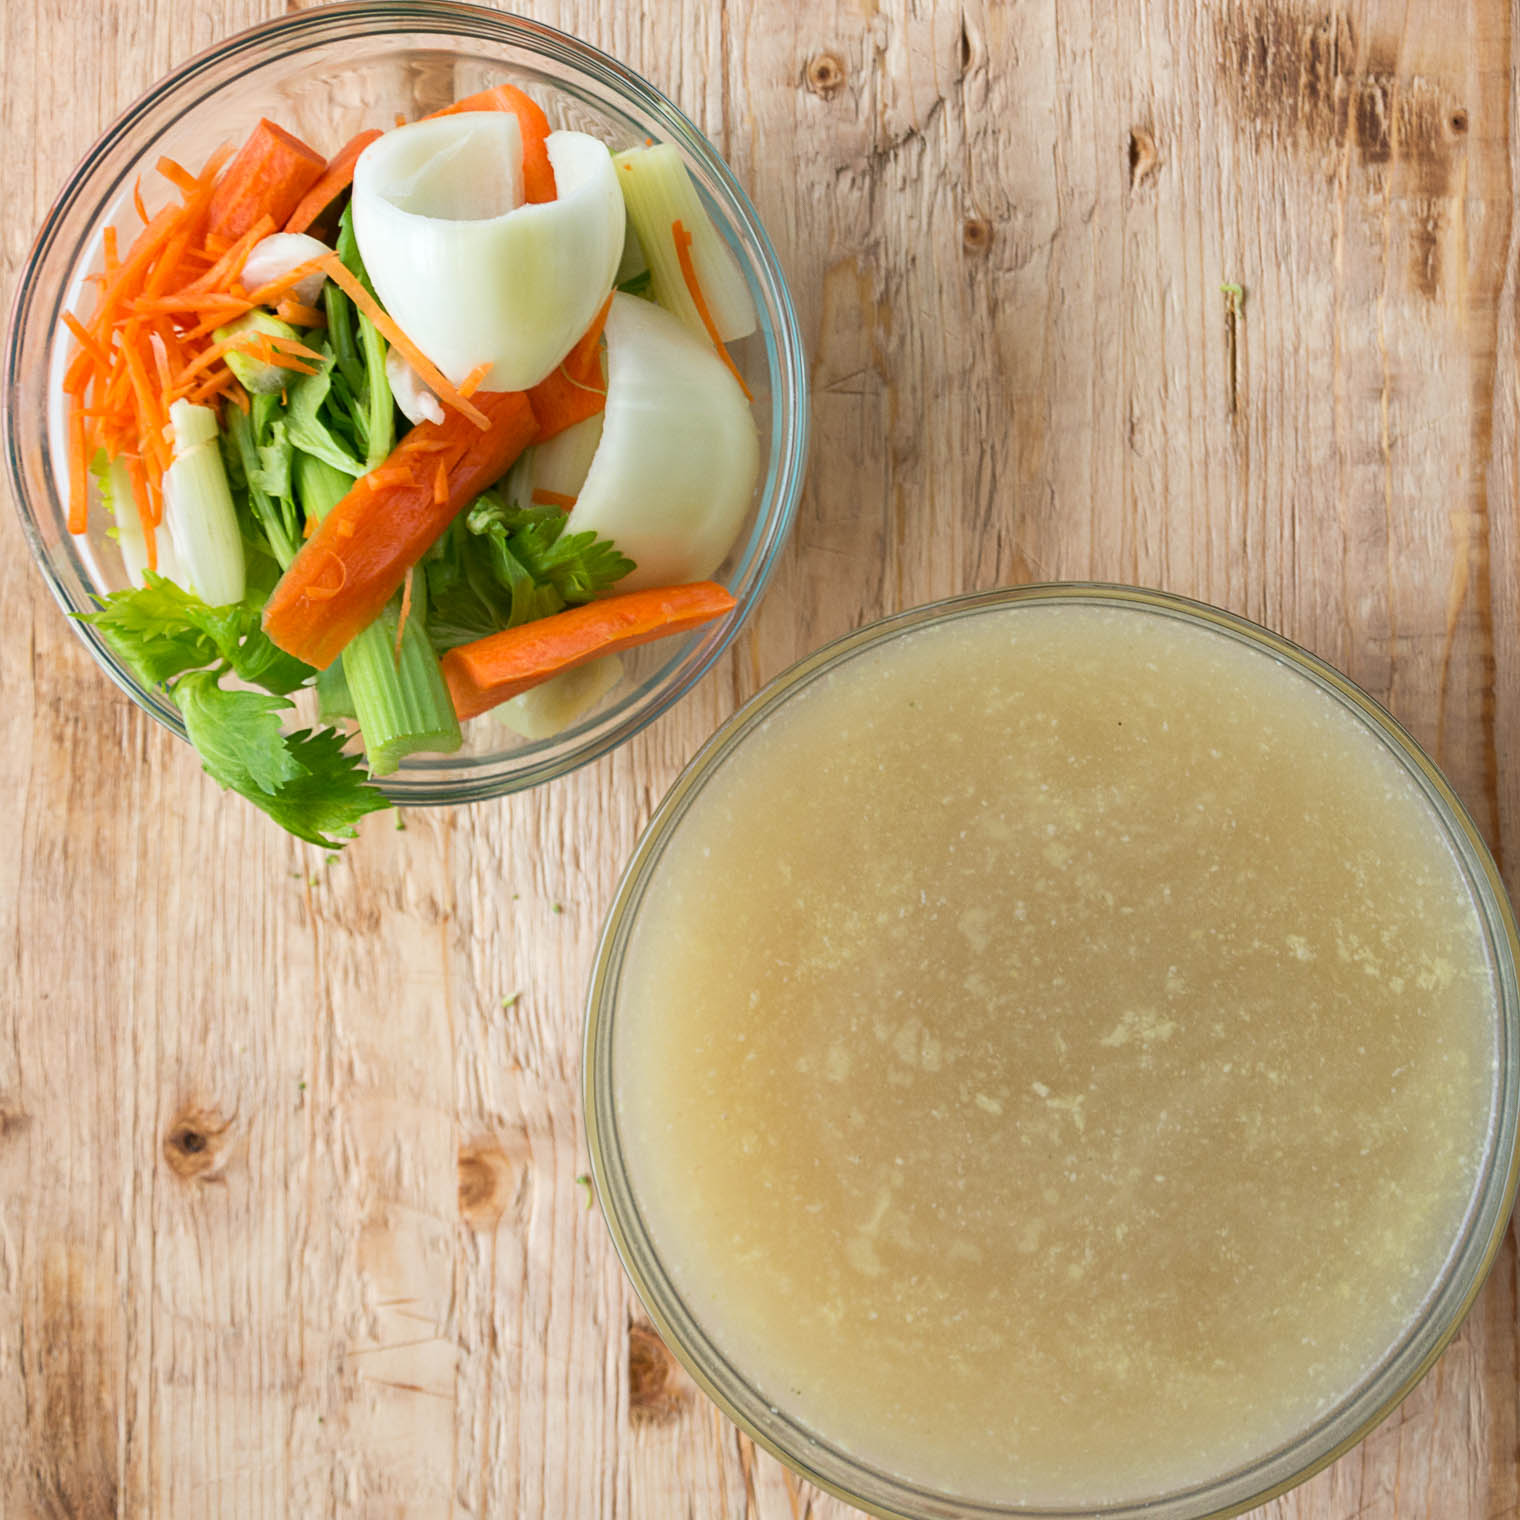
  • 1 onion, chopped fine
  • 1 teaspoon tomato paste
  • 2/3 cup sherry
  • 4 cups chicken broth
  • 1 tablespoon soy sauce
  • 1/4 cup cornstarch
  • 1/2 cup heavy cream
Instructions
  1. Bring water, thyme, bay leaf, garlic clove, 3/4 tsp salt to a boil in saucepan over high heat. Add rice and return to boil.
  2. Cook until rice is tender, 35 to 45 minutes.
  3. Remove from heat, and drain (reserve liquid)
  4. Discard thyme, bay leaf, and garlic.
  5. Melt butter in Dutch oven over high heat. Add mushrooms, onion, minced garlic, tomato paste, 3/4 tsp salt, and 1 tsp pepper.
  6. Cook, stirring occasionally until vegetables are browned.
  7. Add sherry, scraping up browned bits and cook until reduced.
  8. Add reserved liquid from rice, broth and soy sauce. Bring to a boil.
  9. Reduce heat to low and simmer, covered about 20 minutes.
  10. Whisk cornstarch and 1/4 cup water in a bowl. Stir slowly into soup, return to simmer and cook about 2 minutes.
  11. Remove pot from heat, stir in rice and cream.
  12. Let sit for 10 minutes.
3.5.3208

Enjoy!

Mushroom Wild Rice Soup, Please put this mushroom soup with wild rice on your menu for the upcoming week—it's hearty, flavourful, and filling, and I'm willing to guess it will become a family favourite.

Filed Under: Soups Tagged With: mushroom, rice, savoury

The Freshest Turkey Soup Ever

January 10, 2017 by Barb 6 Comments

Today I have a few tips on how to serve up the freshest turkey soup ever! It’s an explosion of flavour and is definitely not your grandmothers turkey soup ;)

This year I’m re-evaluating how I shop, cook, and serve meals to the hubs and myself, and one of my goals is to eat fresher—certainly that can’t be too hard?!

To make myself accountable, I plan to share my cooking adventures in a new category I’m calling “Cooking for Two”. No earth-shattering title here … I’m simply looking for ways to cook for two in more manageable and inspired ways.

So lets start with turkey soup shall we? and that is because my daughter gifted us with a turkey carcass at Christmas ;)

Turkey soup is something I associate with large families and lots of mouths to feed. I also associate it with tired veggies and unidentifiable starches … but wait … I have a solution!! It takes a bit of preparation, but it’s worth it.

First of all, I’m sure everyone knows how to make stock (am I right?) You basically:

  • throw the bones in a large stock pot
  • fill it 3/4 of the way to the top with water
  • to add flavour, add a few chunks of onions, carrots, celery tops, and parsley, etc. (to be discarded when stock is strained)
  • place pot on stove
  • turn burner on high
  • bring to a boil
  • reduce heat
  • and let simmer for a couple hours
  • strain and place stock in fridge, let cool completely, skim off fat
  • divide stock into as many large containers as necessary and store in fridge

Meanwhile, using your hands, pick meat off bones. Shred slightly and store in plastic container in refrigerator.

Turkey Soup

Tips on how to serve the freshest turkey soup ever!

After making the stock, shredding the meat, and putting it all back in the fridge, spend an hour or two washing and preparing enough fresh vegetables to last 3 or 4 days. Place each vegetable in small plastic containers. Try:

  • carrots (sliced, diced, julienned … you decide)
  • celery (chopped small)
  • bean sprouts (washed)
  • broccoli (in chunks)
  • green onions (sliced)
  • small sugar peas
  • cauliflower (in chunks)
  • etc. etc. etc.

Turkey Soup

Pre-cook and store in plastic containers your starches of choice. Try:

  • wild rice
  • couscous
  • quinoa
  • etc.

When you come home after a busy day and are ready to have a beautiful and fresh bowl of turkey soup (for two) simply place 1/4 to 1/2 cup rice or other starch in each bowl:
Turkey Soup

In a medium pot:

  • place about 4 cups of prepared stock and bring to a boil
  • add 1 or 2 chicken bouillon cubes for flavour (to your taste … check package directions)
  • add celery and let boil for 1 more minute
  • add bean sprouts, and let cook for another minute
  • turn off heat and add as much shredded turkey meat and chopped veggies as you like
  • let sit for a few minutes, then pour over rice
  • garnish with fresh green onions, or parsley … whatever suits your fancy

Have your choice of these condiments on the table for people to add as desired:

  • soy sauce
  • grated ginger
  • grated lemon zest, etc. etc.

Now you have a delicious bowl of turkey soup minus tough turkey meat, mushy vegetables and exploded rice.

Brilliant! Why has it taken me so many years to figure this out? It’s a real winner winner!

I ended up serving this several times during the week and each meal was a completely different experience. Maybe we’re easy to please, but we didn’t get tired of it.Turkey Soup

SO fresh!

Turkey soup at our house will never be the same.

Filed Under: Cooking for Two, Soups Tagged With: savoury, stock, turkey

Onions and Parmesan Casserole

January 3, 2017 by Barb 9 Comments

Onions and Parmesan Casserole is a rich and delicious side dish. It’s also a fast and easy meal solution since most of the ingredients are ones I have on hand (including the canned milk.)

The recipe was given to me more than 25 years ago by a friend. When I mentioned it to her recently, she said had forgotten about it completely and never makes it anymore … I couldn’t believe it!

Well, I’ve prepared it countless times and my family loves it. Now I often make it when I’m on my own. It’s creamy and tangy with parmesan cheese and is a meal in itself.

Better comfort food I’ve never found!

Onions and Parmesan Casserole, Keeping With the Times

Onions and Parmesan Cassserole

Onions and Parmesan Casserole, Keeping With the Times

Print
Onions and Parmesan Casserole
 
Ingredients
  • 4 cups sliced yellow or sweet onions
  • 1/3 cup butter
  • 2 eggs
  • 1 cup cream (I use Evaporated Milk and it tastes delicious)
  • 2/3 cup parmeson cheese
  • salt and pepper
Instructions
  1. Sauté onions in butter until soft.
  2. Place in ovenproof casserole.
  3. Meanwhile, in a separate bowl, beat eggs lightly.
  4. Mix in cream, salt, and pepper.*
  5. Sprinkle top with 1/3 cup parmeson cheese and bake, uncovered, for 15 minutes at 425 degrees.
Notes
Evaporated milk, known in some countries as unsweetened condensed milk, is a shelf-stable canned milk product with about 60% of the water removed from fresh milk. It differs from sweetened condensed milk, which contains added sugar.
3.5.3226

*To make this casserole more robust, I often throw in whatever other cheeses I may have on hand right into the egg mixture.

Try a few tablespoons of:

  • grated mozzarella
  • asiago
  • ricotta

Think outside the box: dried cottage cheese could be added as extra protein (and I often have dried cottage cheese in 1/4 cup servings stowed away in my freezer.) You could also serve this dish with a bit of baked chicken or pork.

NOTE: Evaporated milk, known in some countries as unsweetened condensed milk, is a shelf-stable canned milk product with about 60% of the water removed from fresh milk. It differs from sweetened condensed milk, which contains added sugar. Wikipedia

You can also read about the difference between evaporated milk and condensed milk here at The Kitchn.

Enjoy!

Filed Under: Cooking for Two, Side Dishes Tagged With: onions, parmesan, savoury

Classic Nuts and Bolts

December 1, 2016 by Barb 4 Comments

My absolute favourite snack during the holidays is nuts and bolts. It’s the first seasonal treat I make and I end up eating it for lunch and/or dinner … depending on who may or may not be around ;)

When you think about it, nuts and bolts has all the nutrition you find in cereals, plus the protein found in nuts (he he).Nuts and Bolts, Keeping With the Times

It’s funny how a person can use still life imagery to tell the story of their lives. I always make nuts and bolts this time of year. I use my Mom’s recipe and it’s like she’s here in the kitchen with me.

That old wooden spoon is mine, but has somehow come to look like my mother’s used to ;)Classic Nuts and Bolts, Keeping With the Times

So this was my Mom’s recipe, but I tend to reduce the oil by about 1/4 cup. Both give great results, it just depends on your taste. I also reduced the salt (which is reflected in this recipe version.)

Print
Classic Nuts and Bolts
Recipe type: Snacks
 
Ingredients
  • 2 lbs salted mixed nuts
  • 345 gram box Life Brand cereal
  • 280 gram box Cheerios (original or multi grain, or both)
  • 180 gram box Crispix
  • 140 gram box pretzels
  • 1 3/4 cups or up to 2 cups salad oil
  • 2 Tbsp Worcestershire Sauce
  • 1 Tbsp garlic powder
  • 1 Tbsp Lawry’s Seasoned Salt
Instructions
  1. Mix all cereals, nuts, and pretzels in large roaster (should just about fill it up).
  2. Whirl oil, sauce and salts in a blender.
  3. Drizzle over cereal and bake in a slow oven - 250 degrees for 2 hours turning and stirring every 15 minutes.
3.5.3226

Enjoy!

Filed Under: Snacks Tagged With: savoury

Rosemary Thyme Parmeson Shortbread

July 28, 2015 by Barb 10 Comments

On Sunday I whipped up a batch of Rosemary Thyme Parmeson Shortbread as a way to make use of the abundance of herbs I have growing on my deck.

For me, one of the most calming and satisfying moments in gardening is walking outside with a pair of clippers in hand, ready to snip herbs for a meal I’m preparing. I have fond memories of this ritual going back years and years; back to when I was a newlywed, and we had to drive out to a farmer’s field where we rented a patch of land and filled it with everything from parsley to corn.

I love savoury dishes and anything using herbs paired with parmesan sets my mouth to watering. This recipe is so simple and easy there’s no excuse to not have these on hand all the time. Served with a lovely potato soup … well, does it get any better?

Rosemary Thyme Parmeson Shortbread, Keeping With the Times

Print
Rosemary Thyme Parmeson Shortbread
 
Ingredients
  • 1/2 cup butter
  • 1/4 cup grated parmesan
  • 1/4 tsp salt
  • 1/2 tsp pepper
  • 1 teaspoon chopped fresh thyme leaves
  • 1 teaspoon chopped fresh rosemary leaves
  • 1 1/4 cups all-purpose flour
  • 1 Tbsp water
Instructions
  1. In a small bowl, mix together parmesan, salt, pepper, herbs and flour.
  2. Place butter in mixer, and mix on low until fluffy.
  3. Add the parmesan-herb mixture to the butter and beat until combined.
  4. Add 1 tablespoon of water to help bring the dough together.
  5. Flatten the dough into a disc, wrap in plastic, and chill at least 30 minutes.
  6. Roll dough to about 1/4 inch thick.
  7. Use cookie cutters to cut small shapes, re-rolling dough as needed.
  8. Place shortbread on a cookie sheet.
  9. Bake at 350 degrees for 10 - 20 minutes. The time depends on how thin the shortbread is, as well as how crispy and toasty you want the finished product.
3.3.3077

Rosemary Thyme Parmeson Shortbread, Keeping With the Times
I hope you enjoy these as much as I have!

For my photography tribe … I have a post coming soon describing my food styling process – hope to see you then!

Recipe inspired by the lovely Jennifer Farley of Savory Simple

Filed Under: Cooking With Herbs Tagged With: herbs, rosemary, savoury, thyme

Roasted Garlic, Onion, Raspberry, Rosemary Jam

December 3, 2013 by Barb 10 Comments

Roasted Garlic, Caramelized Onion, Raspberry, Rosemary Jam… now that’s a mouthful!

Roasted Onion Garlic Raspberry Rosemary Jam

There are lots of recipes for roasted garlic and onion jams, but this one has a twist that I haven’t seen before.

We were on holidays and I was trying to make this when I realized I didn’t have any sugar. As I rummaged through the cupboard I found a jar of (seedless) raspberry jelly… hmmmm… I wonder how that would taste….

Well, delicious, that’s how! The raspberry jelly makes this tasty treat go right off the charts.

Once I start eating it, quite honestly I can’t stop. Hubby and I have spent quite a bit of time debating as to how best to serve it.

Roasted Onion Garlic Raspberry Rosemary Jam

We came up with quite a few suggestions…

1. With a spoon (me)

2. With meat (he)

3. With crackers and brie (me, he)

4. On a whole baked brie (me, he)

5. With crackers and cream cheese (me)

6. With a fork, or even a knife if needs be (me)

So I thought I’d share my super not so secret recipe here with you, and for me, when next I go to make it and can’t remember what I did.

I hope you enjoy it as much as we do!

Print
Roasted Garlic, Caramelized Onion, Raspberry, Rosemary Jam
 
Ingredients
  • 3-4 large onions, chopped
  • 1 Tbsp butter
  • 2 heads garlic (roasted)
  • 1 Tbsp balsamic vinegar
  • 1 Tbsp water
  • 1 jar seedless red raspberry jelly
  • 4 garlic cloves - sliced
  • 3 - 4 Tbsp minced fresh rosemary
Instructions
  1. Cut the top off of the garlic heads and cover in foil. Roast in 350 degree oven for 45 minutes.
  2. In a heavy skillet, slowly saute onions in butter until they have turned a light caramel colour. It may take up to half an hour. Add the balsamic vinegar and water as needed to keep them from drying out. You can't really walk away from this task - you don't want to burn them, so stay close by, and stir often.
  3. Squeeze the roasted garlic into the onions.
  4. In another skillet, saute the garlic slices in butter until lightly browned - this will take about 5 minutes.
  5. Add the raspberry jelly to the onion, roasted garlic mixture and cook and heat until the jelly has melted. Simmer for 10 minutes.
  6. Add the garlic slices, and the fresh rosemary.
  7. Heat gently for about 5 minutes, and ladle into jars. Store in refrigerator.
3.2.2158

Roasted-Garlic-Onion-Rosemary-Jam-Collage

Don’t forget the fresh rosemary!

Roasted Onion Garlic Raspberry Rosemary Jam

Filed Under: Appetizers, Cooking With Herbs, Preserves Tagged With: jam, rosemary, savoury, sweet

Halloween horror d’oeuvres

October 12, 2012 by Barb 16 Comments

Looking for Halloween party ideas? When we hosted a Halloween dinner party for our friends, one of the things I served was this HEAD cheese. Seriously? you ask. Well, yes I did.

I found the mold at Michaels so it can’t be that bizarre can it? OK, maybe it is… and it was a little hard to make that first cut into it. No one wanted to do it so I had to take matters into my own hands and I chopped off a cheek.

I would have chopped off the nose but wait… there was no nose…

 .
resting in a bed of lettuce…

.

chin up…

.

serious set of choppers going on here…

.
RIP Mr. Head Cheese
.

I will stand by the recipe though – I’ve made it several times and if you like head cheese, this is pretty darn good!
bwahahahahaha!!
.
Print
Head Cheese
 
Ingredients
  • 2 tablespoons vegetable oil
  • 3 pounds pork shoulder, trimmed and cubed
  • 2 cups chopped onion
  • 1 cup chopped green bell pepper
  • 1/2 cup chopped celery
  • 2 tablespoons minced garlic
  • 2 tablespoons dried parsley
  • 2 teaspoons dried basil
  • 1 teaspoon salt
  • 1 teaspoon ground black pepper
  • 2 teaspoons Cajun seasoning
  • 3 cups water
  • 4-5 envelopes unflavored gelatin
  • 1 cup boiling water
Instructions
  1. Heat the oil in a 4 quart pot over medium-high heat. Add the cubed pork, and brown on all sides.
  2. Reduce heat to medium, and add the onion, bell pepper, celery, and garlic.
  3. Season with parsley, basil, salt, pepper, and Cajun seasoning. Pour in 3 cups water and bring to a boil. Cover, and simmer over medium heat for 2 hours, stirring vigorously every 15 minutes. When the pork is ready, it should be completely shredded and reduced to a stringy consistency.
  4. Dissolve the gelatin in 1 cup of boiling water, then stir into the pork mixture very well. Pour into a mold or casserole dish, and chill until set, about 8 hours. To unmold, dip the bottom of the mold in hot tap water for about 1 minute, then invert onto a serving tray. If it doesn't seem to be setting - reheat and add more gelatin.
  5. Serve with your favourite crackers.
3.2.1682
 .
.

Filed Under: Appetizers Tagged With: halloween, savoury

Nuts and bolts – with a twist!

November 16, 2011 by Barb 27 Comments

I have been making Nuts and Bolts at Christmas forevah! and I still use my Mom’s original recipe with just a few different cereals.

However, this year I made it with a twist . . . hmmmm, an accidental twist. I bought the wrong Cheerios! Blasphemous! I thought multi grain Cheerios meant ordinary whole grain . . . not sweet!

Imagine my horror after mixing up all the cereals together when I popped a Cheerio in my mouth and it was sweet! Oh No! What to do? I certainly wasn’t going to pick out every single Cheerio and start over.

The only thing to do was to go with it . . . and make another regular batch later.

Well, I have to tell you – it turned out to be delicious – sweet and salty – yeeeummmy! Really, truly. The Cheerios are the best part in my opinion and I always pick them out and eat them before anyone else gets a chance.

I have eaten nuts and bolts for dinner, and I have eaten them for lunch, and now that they are sweet I may be eating them for breakfast . . . gotta get a spoon . . .

20111116_6670-copy
They also make a great little gift to take when you are out and about visiting family and friends at Christmas. I put some in cellophane bags (available at most craft/baking stores) and stapled them shut with a piece of pretty scrapbook paper.

Nuts and Bolts Snacks

A homemade gift at the ready!

Print
Nuts and bolts - with a twist!
 
Ingredients
  • 2 lbs salted mixed nuts
  • 345 gram box Life Brand cereal
  • 280 gram box Cheerios (original or multi grain - they're both delicious) (insert smile)
  • 180 gram box Crispix
  • 140 gram box pretzels
  • 2 cups salad oil
  • 2 Tbsp Worcestershire Sauce
  • 1 Tbsp garlic powder
  • 1 Tbsp Lawry’s Seasoned Salt
Instructions
  1. Mix all cereals, nuts, and pretzels in large roaster (should just about fill it up).
  2. Whirl oil, sauce and salts in a blender.
  3. Drizzle over cereal and bake in a slow oven - 250 degrees for 2 hours turning and stirring every 15 minutes.
3.2.2158


Filed Under: Appetizers Tagged With: savoury

Welcome! I'm Barb, and this is where I practice my mantra to "learn something new, try something different". It's my hope that something I do here may inspire you! Read More…

Categories

Archives

Copyright 2020 * Keeping with the Times * All rights reserved.