Keeping With The Times

living, learning, and keeping with the times

  • Home
  • About
  • Site Information
  • Privacy Policy

Mint Tea Refresher Tips for the Best Tea

May 24, 2017 by Barb 6 Comments

Today I have a few mint tea refresher tips for the best tea experience! Mint tea is soothing and refreshing, and if you can use fresh mint it’s especially delightful.

If you are cold, tea will warm you;
if you are too heated, it will cool you;
If you are depressed, it will cheer you;
If you are excited, it will calm you.
William Ewart Gladstone

Mint tea is soothing and refreshing, and if you can use fresh mint it's especially delightful. Growing mint is easy and satisfying as this plant is vigorous and aggressive. If you're growing mint, I would suggest you plant it in a container up off the ground or it will take over your garden!I recently purchased these sweet pots of Mojito Mint from a local greenhouse.Mint tea is soothing and refreshing, and if you can use fresh mint it's especially delightful. Growing mint is easy and satisfying as this plant is vigorous and aggressive. If you're growing mint, I would suggest you plant it in a container up off the ground or it will take over your garden!
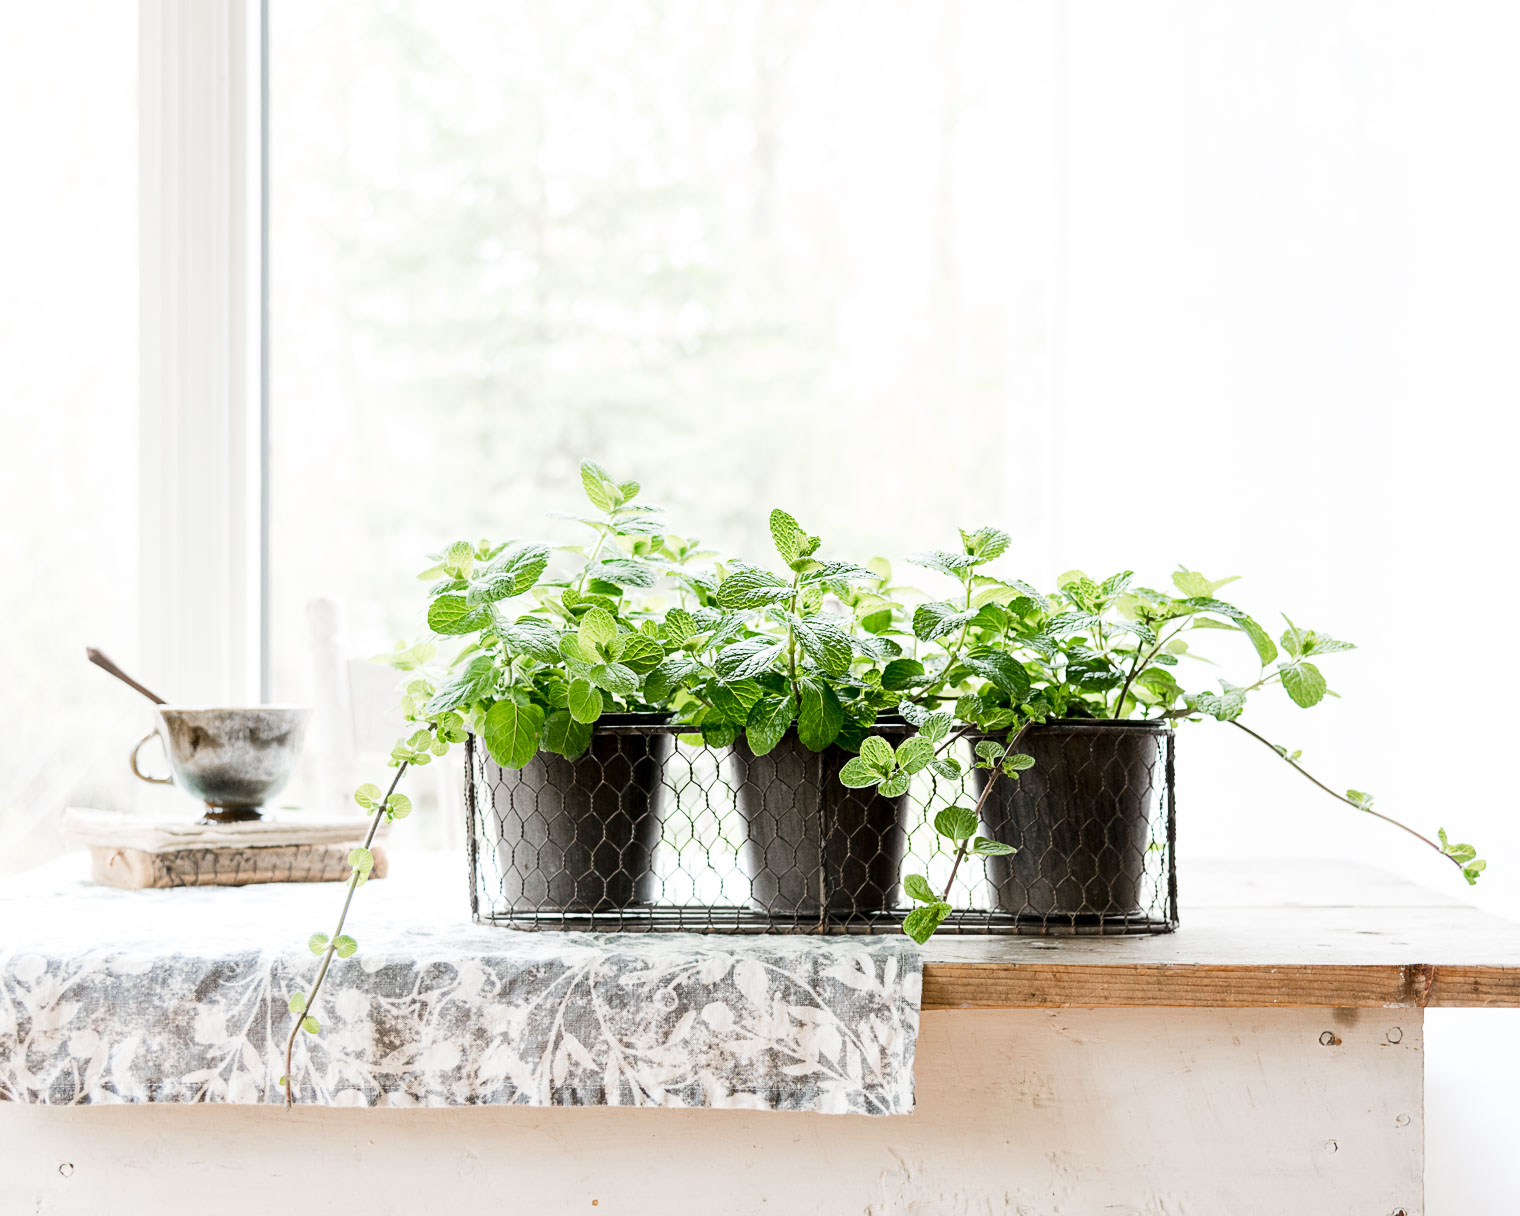
Growing mint is easy and satisfying as this plant is vigorous and aggressive. Most experts advise planting it in a container, up off the ground, or it will take over your garden! It will even send out shoots and sprout new plants where they land :)

When planting mint, make sure to provide good air circulation and well-drained soil to prevent rust or powdery mildew. If you see wilted leaves or dark spots, pinch off the affected leaves immediately and watch the plant closely.

How to Prepare Mint Tea

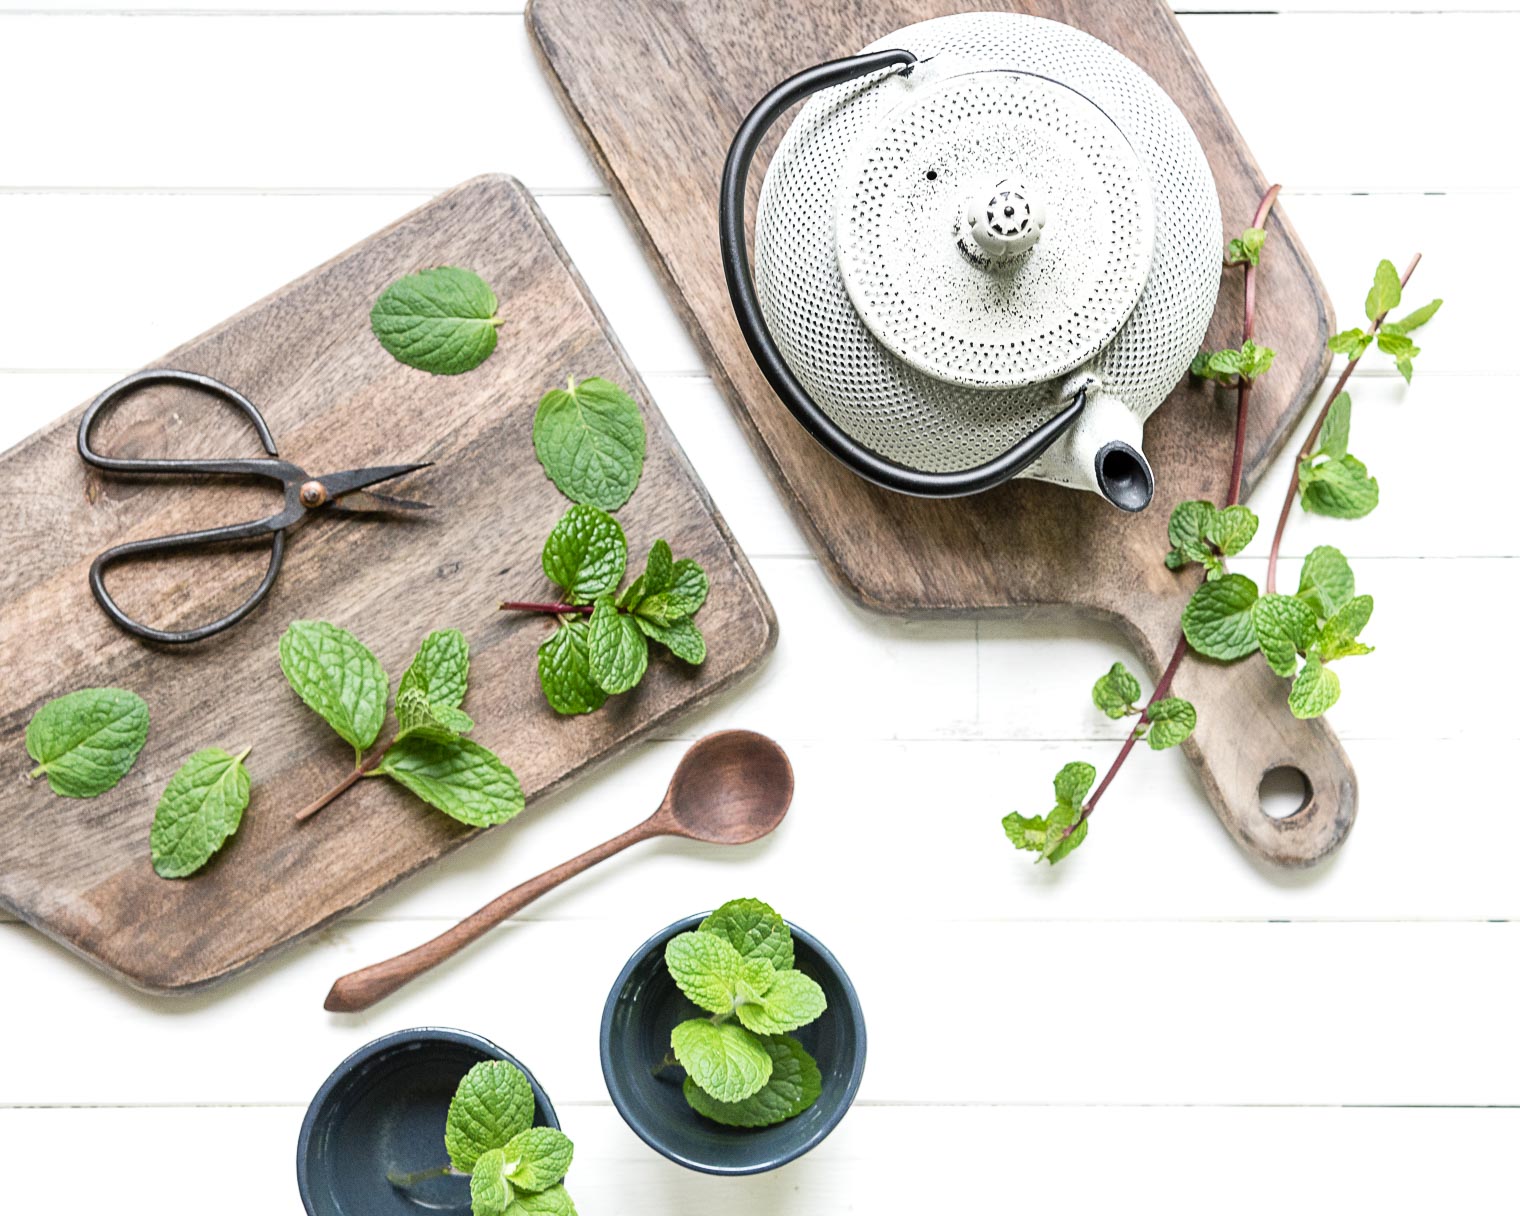
  • Harvest 1/2 cup of fresh mint (I use stems and all). Rinse and pat dry.
  • Place mint in the strainer that fits in your teapot. I love using my little cast iron pot I found at Chapters/Indigo. They don’t always carry these lovely little pots, but you can also get them from Teavana.
  • Meanwhile, to warm up the teapot, boil water and pour in about 1/4 cup. Cover and let sit for a minute or two (this is without the mint!)
  • Discard the water used to warm the pot.
  • Set the strainer filled with mint into the pot and fill with the remaining hot water.
  • Let sit for 5 minutes.
  • Pour into cups, add a fresh mint leaf and enjoy!

Mint tea is soothing and refreshing, and if you can use fresh mint it's especially delightful. Growing mint is easy and satisfying as this plant is vigorous and aggressive. If you're growing mint, I would suggest you plant it in a container up off the ground or it will take over your garden!Did you know mint contains vitamins A and C, as well as Calcium and Iron?Mint tea is soothing and refreshing, and if you can use fresh mint it's especially delightful. Growing mint is easy and satisfying as this plant is vigorous and aggressive. If you're growing mint, I would suggest you plant it in a container up off the ground or it will take over your garden!
.
If you enjoyed this post, you may also enjoy these:

Chamomile Tea, Photography
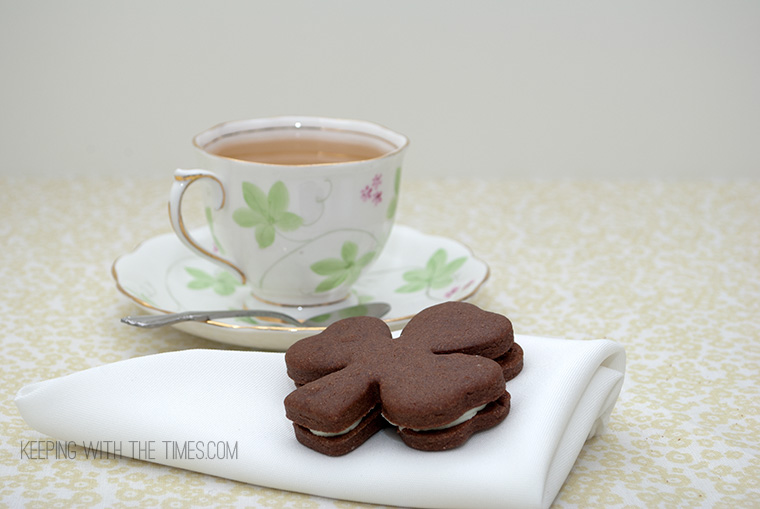
Photographing Chamomile Tea
Interview with a Neighbour
Interview With a Neighbour
DIY Herb Garden Markers, Keeping With the Times
Herb Garden Markers

Please Share :)

Mint tea is soothing and refreshing, and if you can use fresh mint it's especially delightful.  Growing mint is easy and satisfying as this plant is vigorous and aggressive. If you're growing mint, I would suggest you plant it in a container up off the ground or it will take over your garden!

Filed Under: Beverages, Cooking With Herbs Tagged With: herbs, mint, mojito, peppermint, tea

Naked Cake with Peppermint Bark and Mascarpone Buttercream

December 28, 2015 by Barb 11 Comments

I’m almost sure there is nothing more decadent than this Naked Cake with Peppermint Bark and Mascarpone Buttercream!

And bonus! It’s easy to make and would be perfect for your next dinner party …
Naked Cake, Peppermint Bark, Keeping With the Times
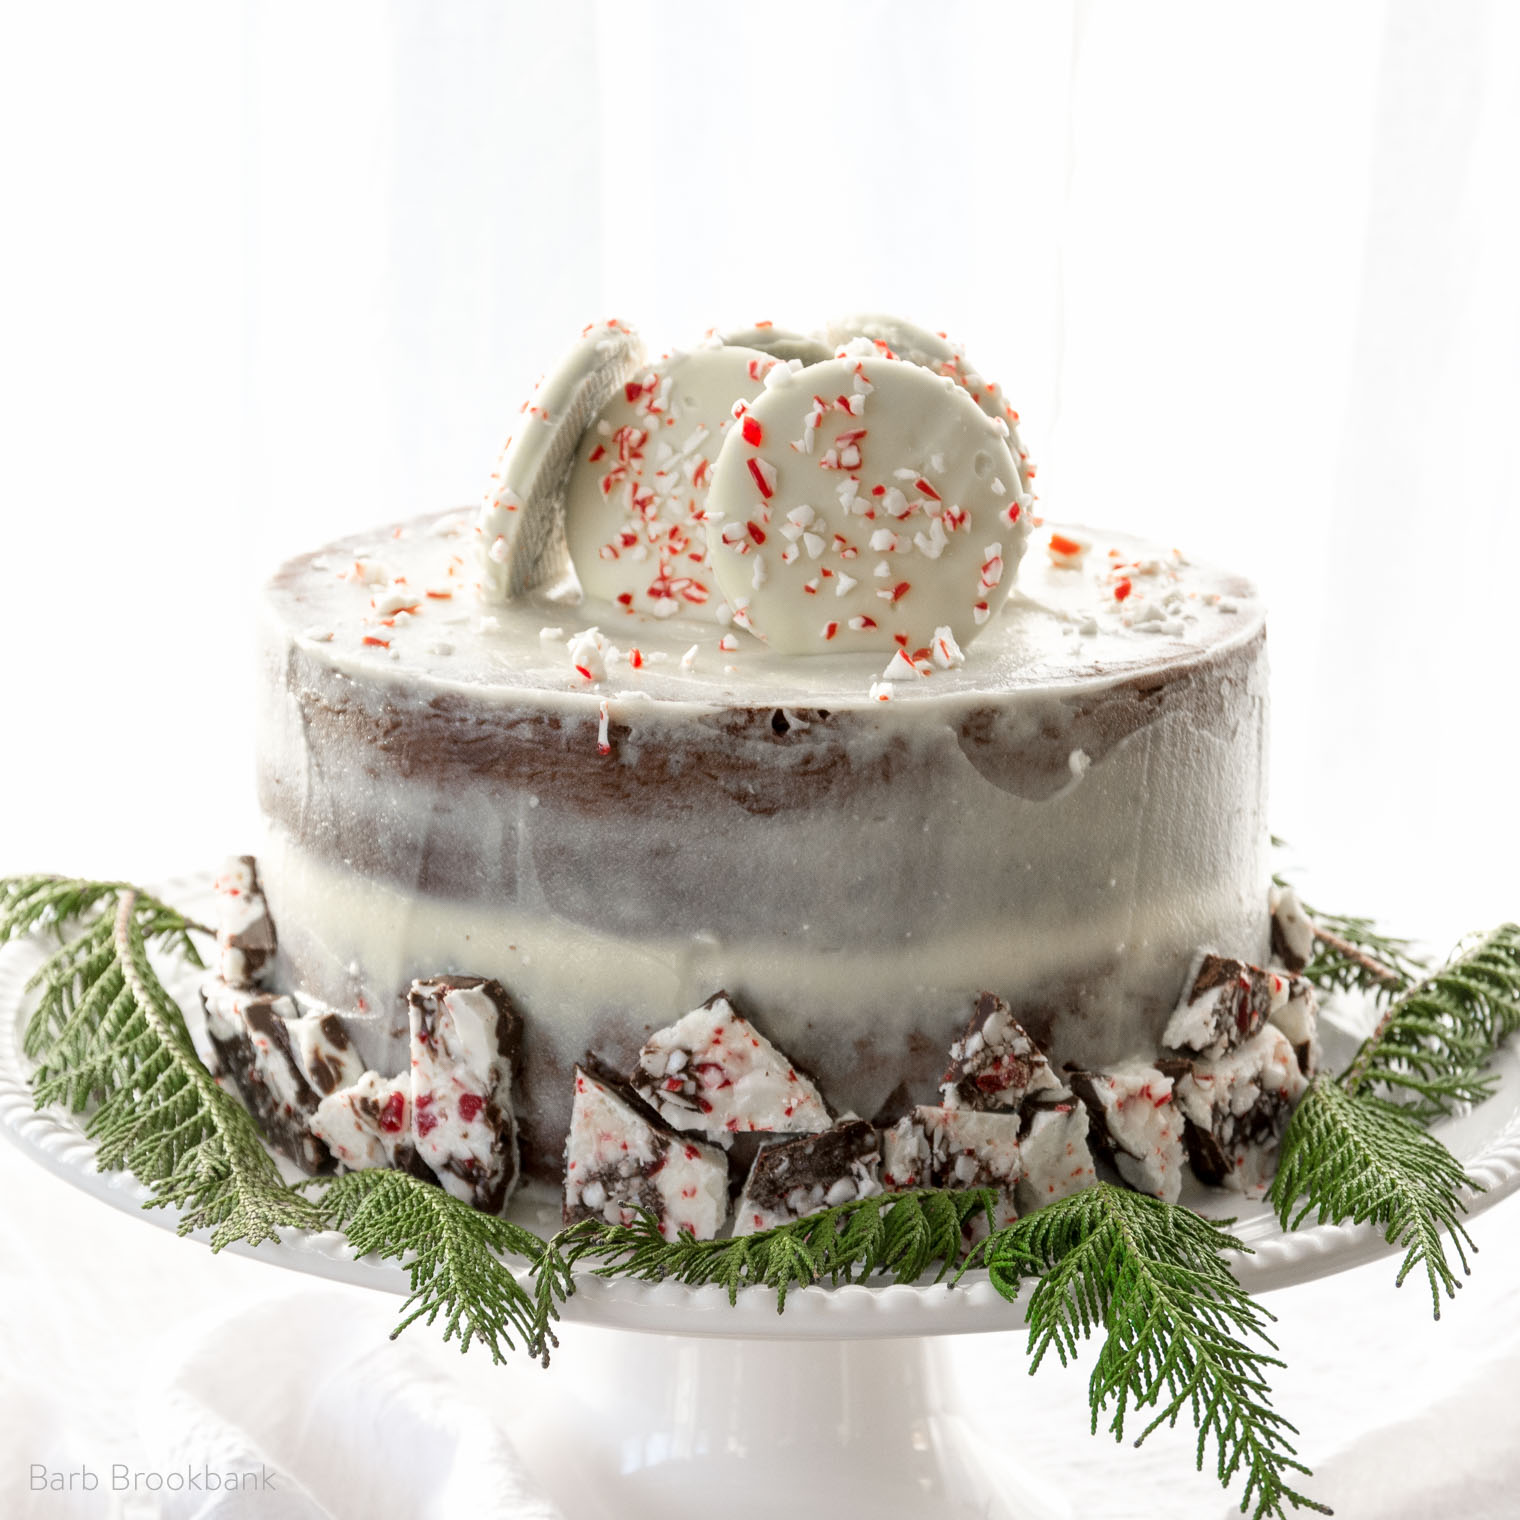
Have you heard of naked cakes? I first became aware of them on Instagram (where else) but I’ve since started a Pinterest board here.

The whole idea has, for me, ignited a sense of fun and adventure in baking cakes once again.

I personally dislike icing cakes simply because I’m not good at it. But these naked cakes use minimal icing and focus on the decorations. I’ve seen everything from cookies to popcorn to donuts piled on top—how fun is that!? and easy!!

For this one, I used peppermint bark I already had, but topped the cake with delicious peppermint bark cookies I found at Williams-Sonoma (they were literally the icing on the cake!)

I think part of the charm of this “naked” style is the perfect shape of the cake, so I purchased specialty cake pans for a more evenly baked result, and I think they are worth every penny. The cakes also came out of the pan like magic … and no, Williams-Sonoma has not sponsored this post ;) it’s just me folks!

After removing cake from pans, try to brush away as many crumbs as possible. You can see that I didn’t succeed in brushing them all away, but it still worked fine.

Place the first layer on a cake stand, cover with icing, and sprinkle with crushed peppermint:

Naked Cake with Peppermint Bark
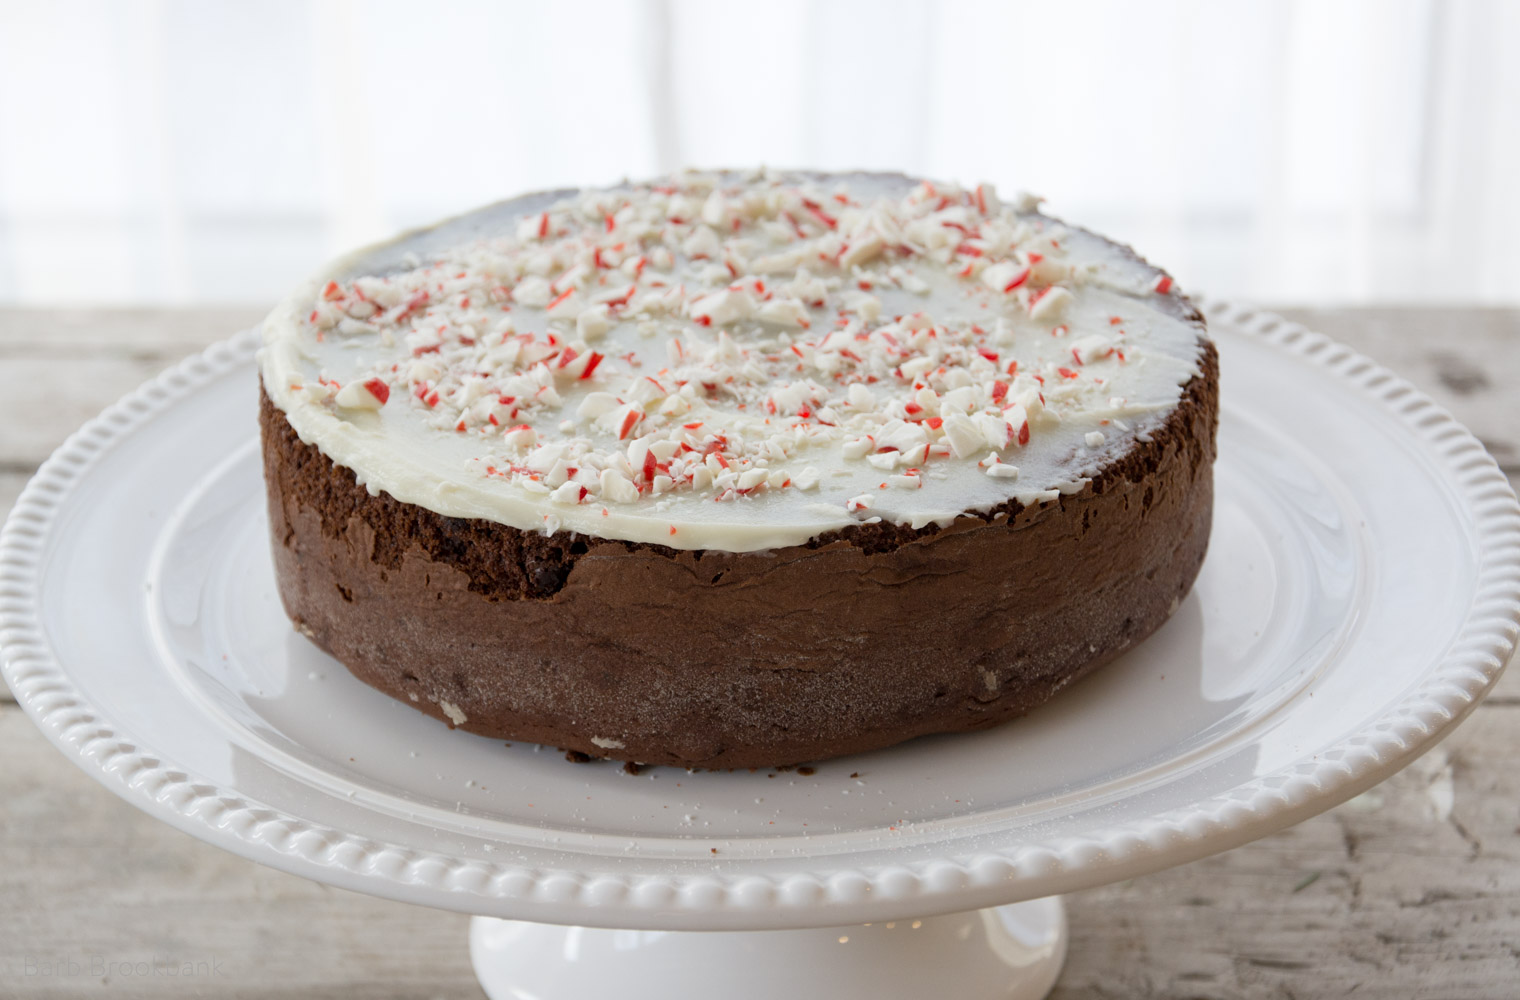
Place second layer on top:

Naked Cake with Peppermint BarkFinish icing the cake then stick broken pieces of bark along the bottom. Top with chocolate covered peppermint cookies, and sprinkle with crushed peppermint. My only warning here is to not eat too much bark …

Naked Cake with Peppermint Bark

So here’s the recipe! Enjoy!

Naked Cake with Peppermint Bark and Mascarpone Buttercream (if you dare)

Print
Naked Cake with Peppermint Bark and Mascarpone Buttercream
 
Ingredients
Cake
  • 1 package Dark Devils Food Cake Mix
  • 1 3-ounce package instant chocolate pudding mix
  • 1 cup sour cream
  • 1/2 cup cooking oil
  • 1/2 cup warm water
  • 4 eggs, beaten
  • 1/2 cup chocolate chips
  • 1/2 cup chocolate mint chips
Topping
  • Chocolate Mint Cookies
  • 1 cup crushed peppermint
Icing
  • Beat together:
  • 8 oz Mascarpone cheese
  • 2 Tbsp Butter
  • 1 1/2 - 2 cups icing sugar
  • 1 - 2 Tbsp heavy cream (just enough to make a soft icing that's easy to spread)
Instructions
Cake
  1. Combine all ingredients except chocolate chips in mixer.
  2. Beat 4 minutes.
  3. Fold in chips.
  4. Pour into two greased and lightly floured cake pans.
  5. Bake at 350 degrees for 30 to 40 minutes or until toothpick comes out clean.
  6. Cool in pans for 15 minutes then turn out on to parchment paper.
  7. Place one layer on cake plate, cover with icing and sprinkle with crushed peppermint.
  8. Place second layer on top and finish icing cake making sure that the layers show through (use an offset icing spatula for best results).
  9. Add broken pieces of peppermint bark along the bottom, sprinkle with crushed peppermint, and top with cookies.
3.5.3208


Naked Cake with Peppermint Bark, Keeping With the Times

Filed Under: Cakes Tagged With: chocolate, peppermint

Brownie Cookies and Peppermint Icing

March 2, 2012 by Barb 26 Comments

I can’t even tell you how delicious these cookies are.

I had frozen some dough that was left over from the Brownie Cookies that I made for Valentine’s Day (from the Smitten Kitchen) and it has been calling me from the freezer ever since.

So today I pulled it out, defrosted it, and rolled it out.

I kept thinking shamrocks, and green, and hmmmm, brownies and hmmmmm . . .  peppermint icing!

Brownie-Peppermint-Cookies

Egad, I almost made myself sick on the icing alone!

It’s just the usual butter icing – 2 cups icing sugar, 4 – 5 Tbsp butter, a splash of milk, a drop of green food colouring and a dash of peppermint flavour. Splash. Drop. Dash. Then I made some green tea to serve as a bit of a tonic to my sugar overdose and I had myself a simply divine teatime all by myself. No regrets.

Print
Brownie Cookies
 
Ingredients
  • 3 cups all-purpose flour
  • 2/3 cup unsweetened cocoa powder
  • 1/2 teaspoon salt
  • 1/2 teaspoon baking powder
  • 1 cup butter
  • 1 1/2 cups sugar
  • 2 large eggs
  • 1 teaspoon vanilla extract
Instructions
  1. Preheat oven to 350 degrees.
  2. Sift flour, cocoa, salt and baking powder together and set aside. Mix butter, sugar, eggs, vanilla in mixer. Gradually add flour mixture, and mix until smooth.
  3. Form into two discs, wrap in plastic and chill for at least one hour.
  4. Roll out cookie dough on counter – I use a bit of cocoa to dust on the surface to keep the dough from sticking. Cut into desired shapes – of course I used hearts for Valentine's Day and Shamrocks for St. Patrick's Day!
  5. Bake on cookie sheets for 8 to 11 minutes until the edges are firm and the centres are slightly soft and puffed. Transfer to a wire rack to cool.
Notes
Recipe from the Smitten Kitchen
3.2.1682


Filed Under: Cookies Tagged With: cocoa, peppermint

Welcome! I'm Barb, and this is where I practice my mantra to "learn something new, try something different". It's my hope that something I do here may inspire you! Read More…

Categories

Archives

Copyright 2020 * Keeping with the Times * All rights reserved.