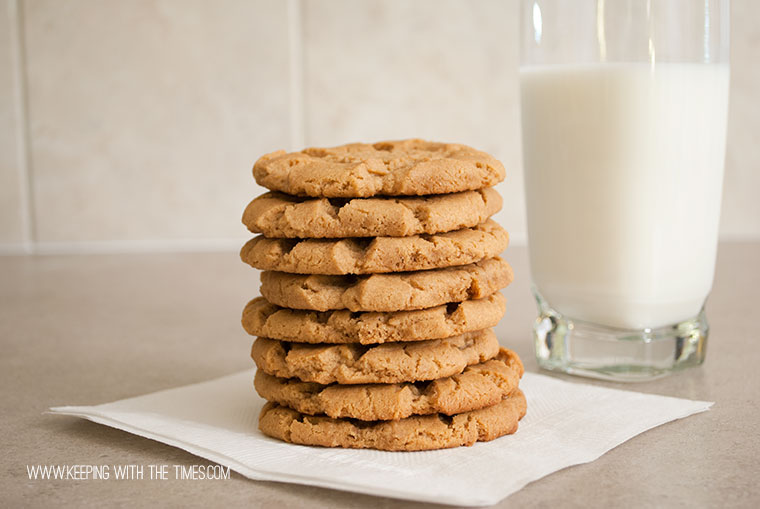
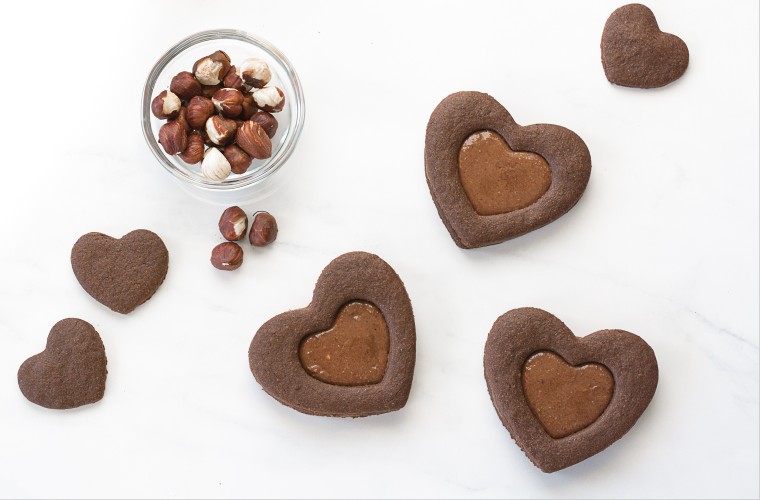
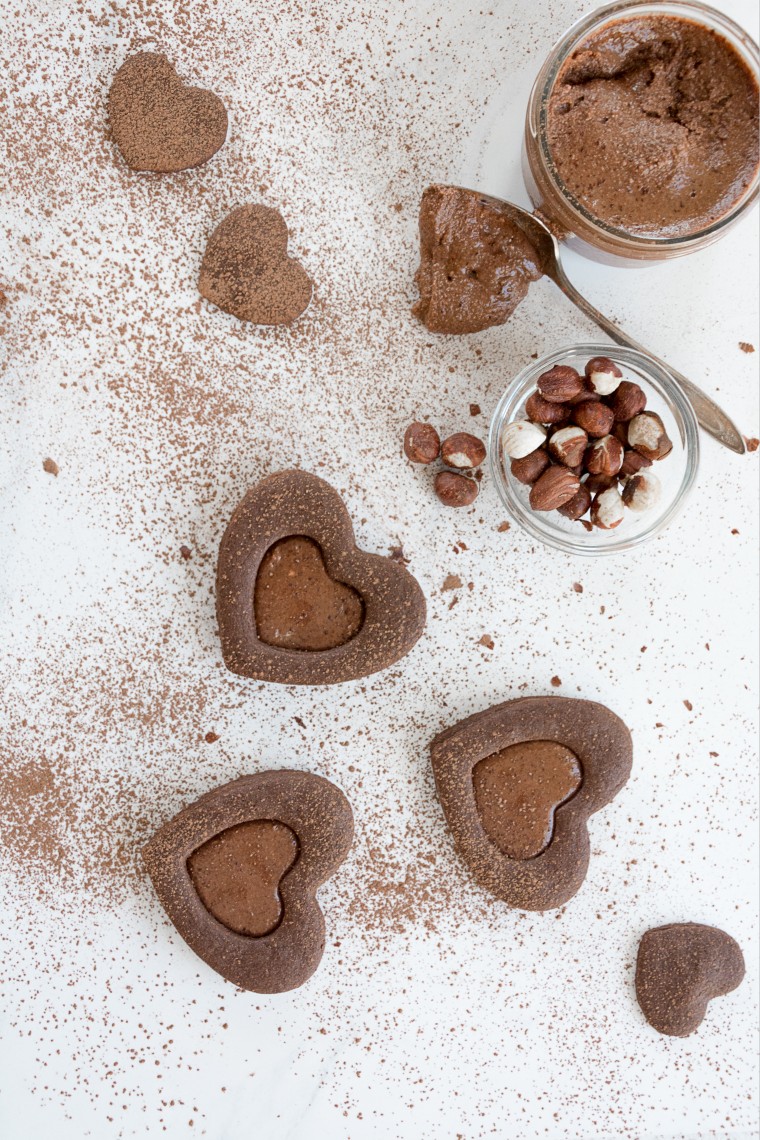
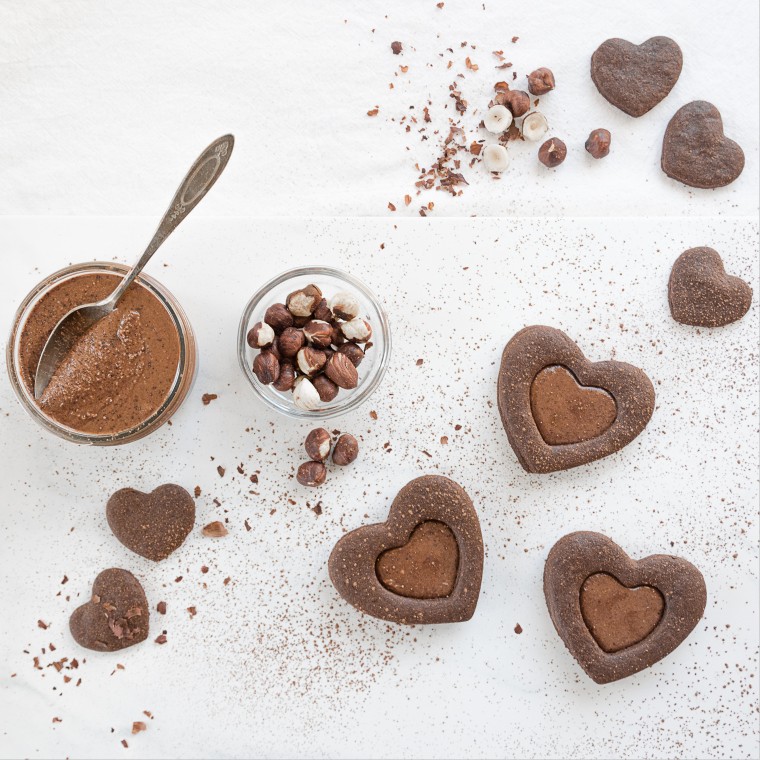
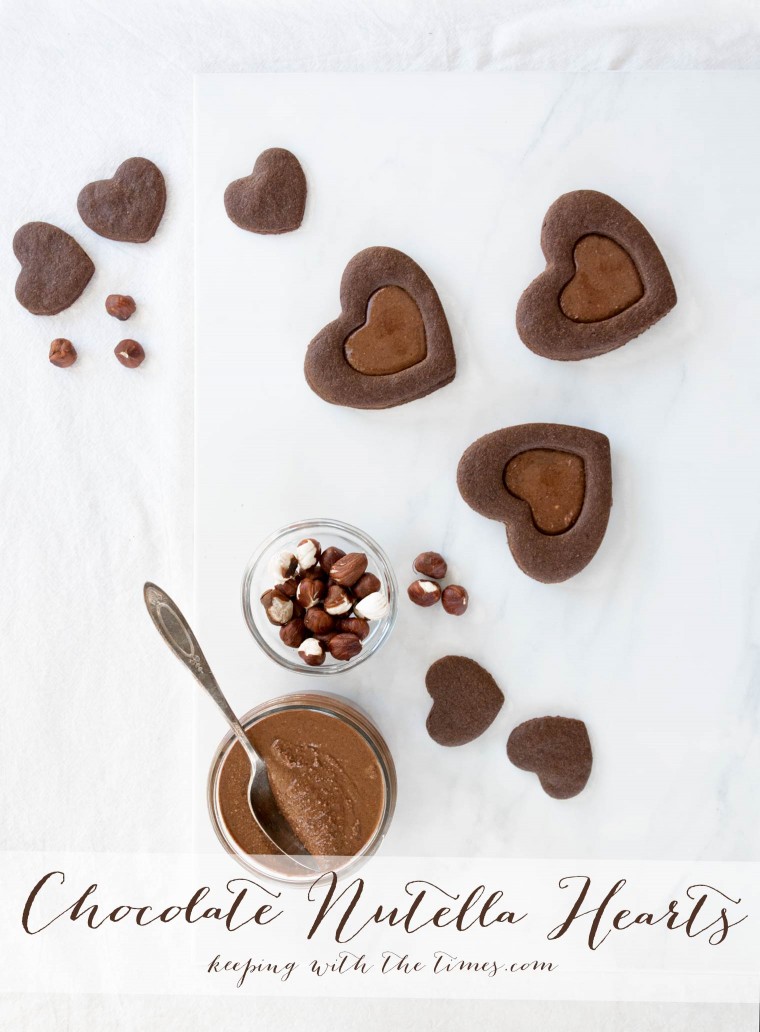
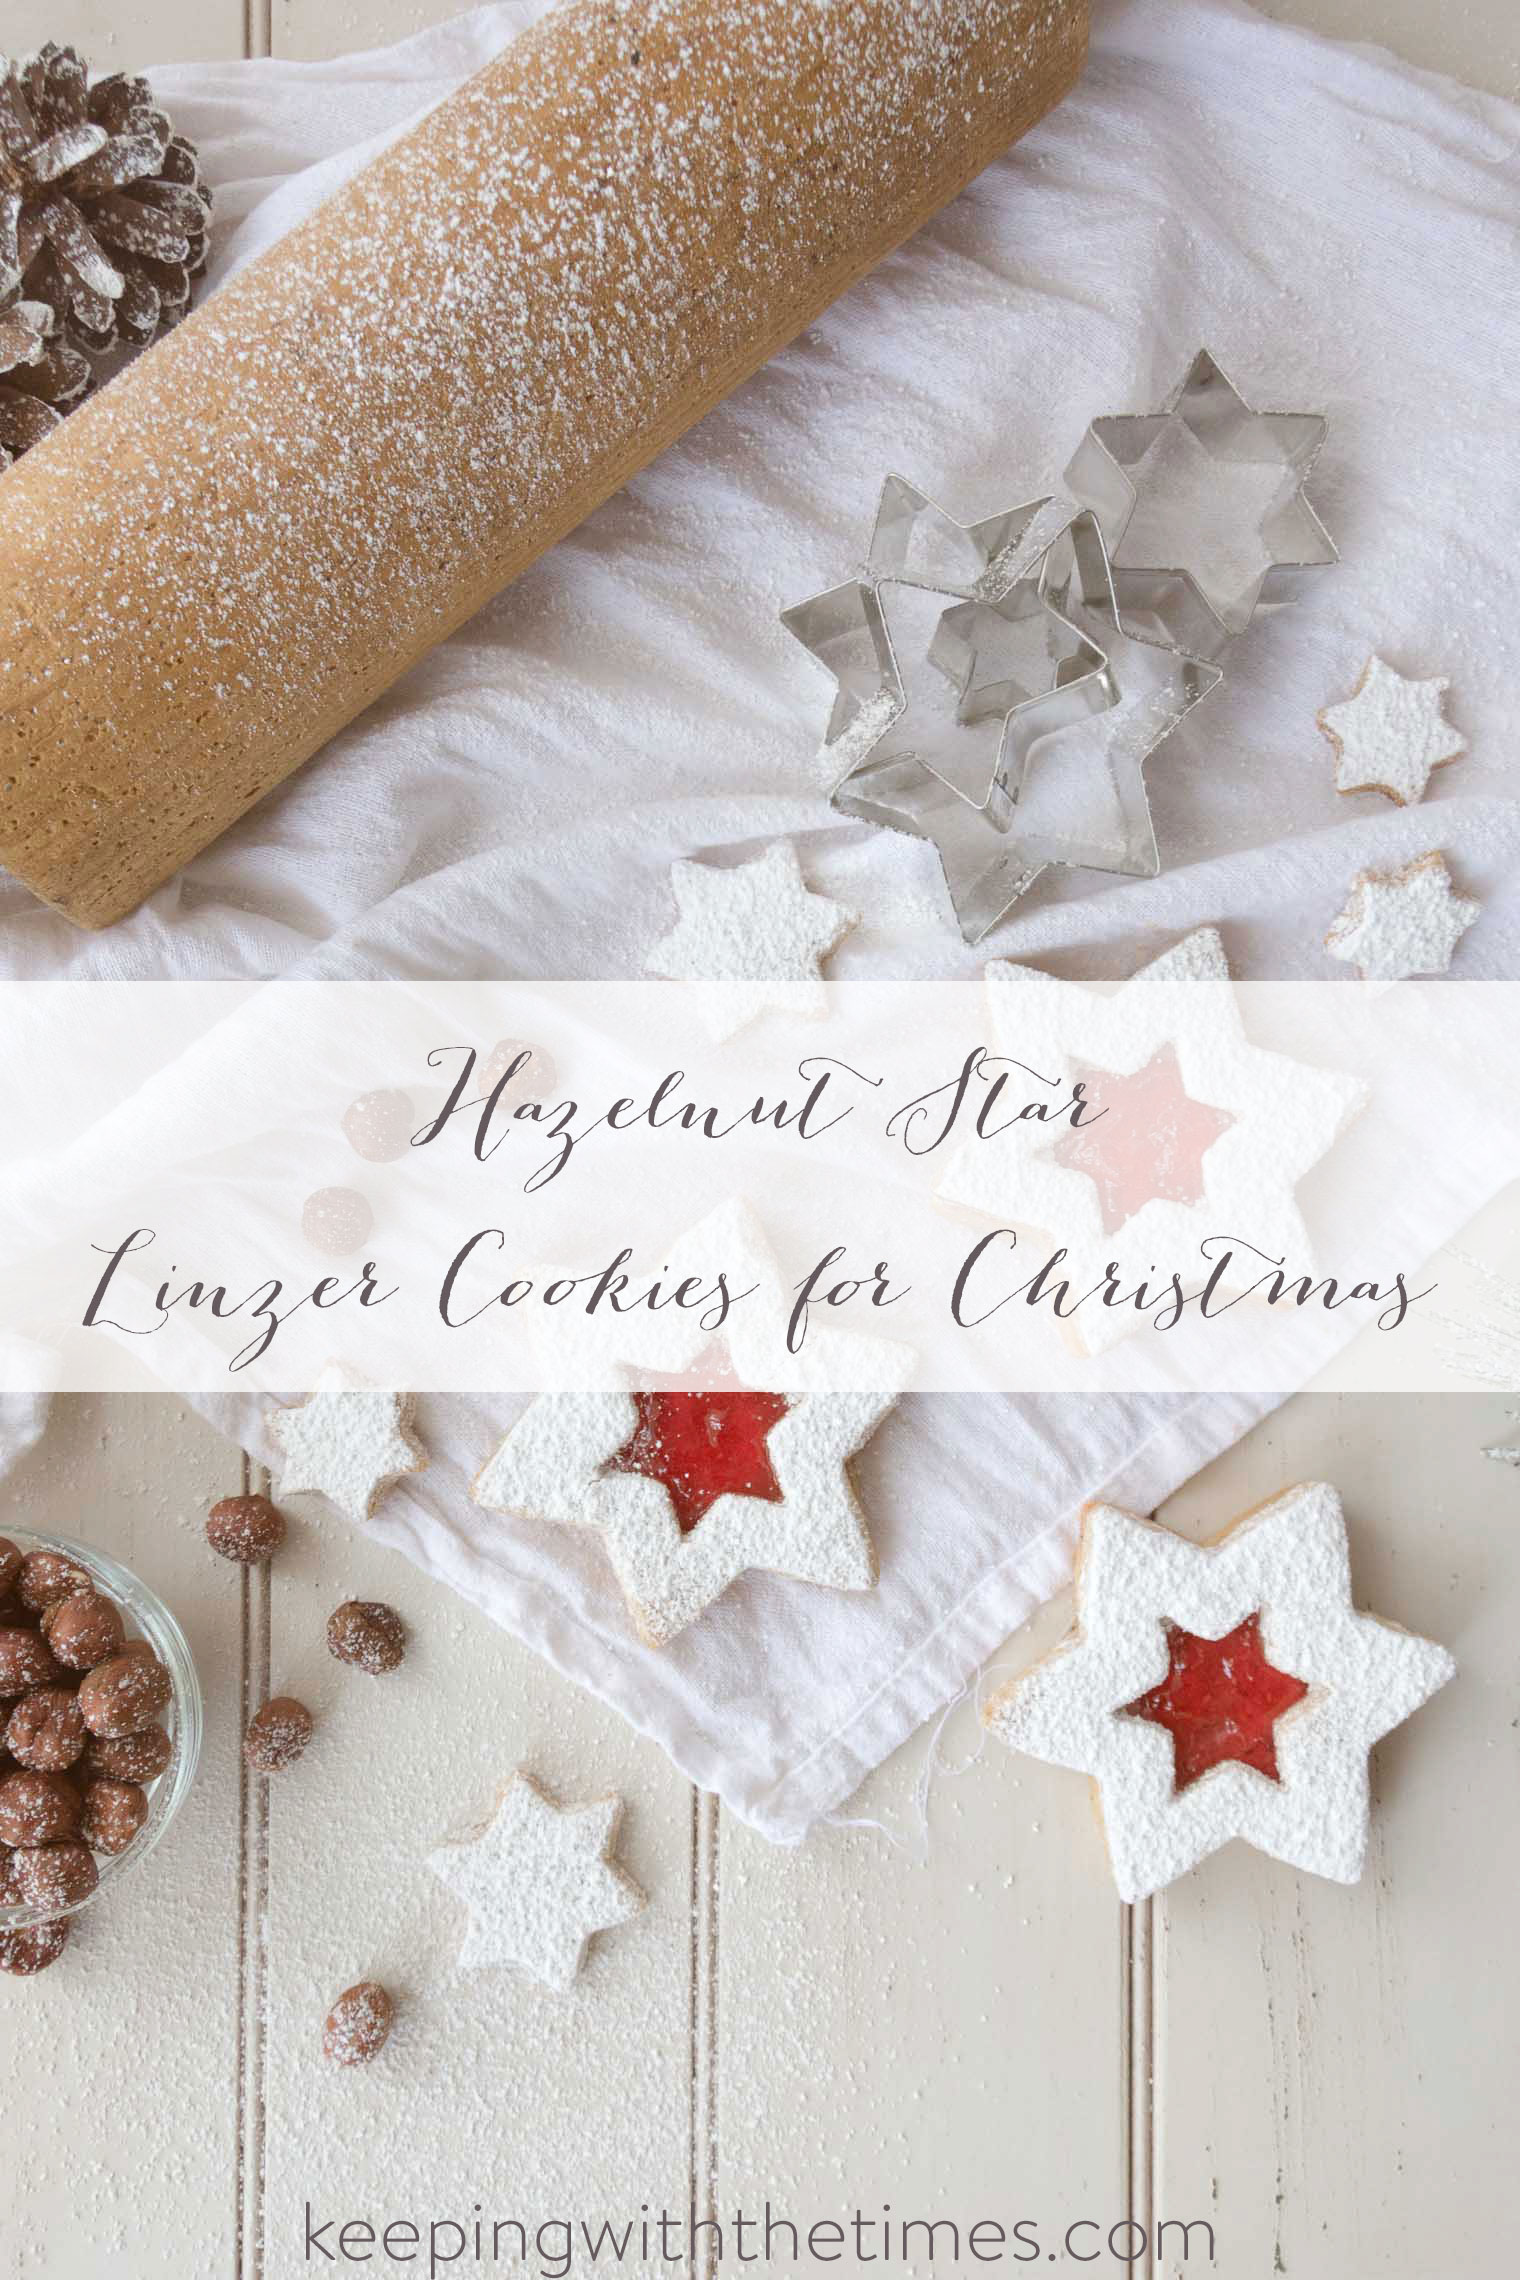
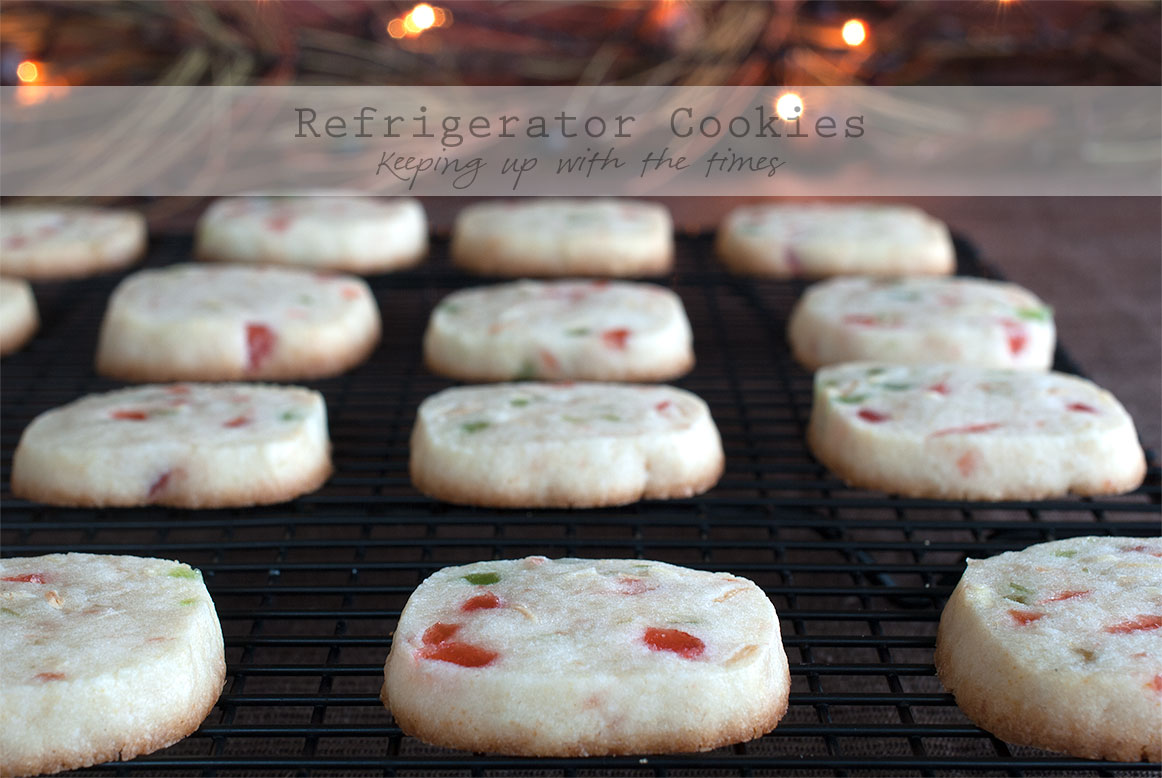
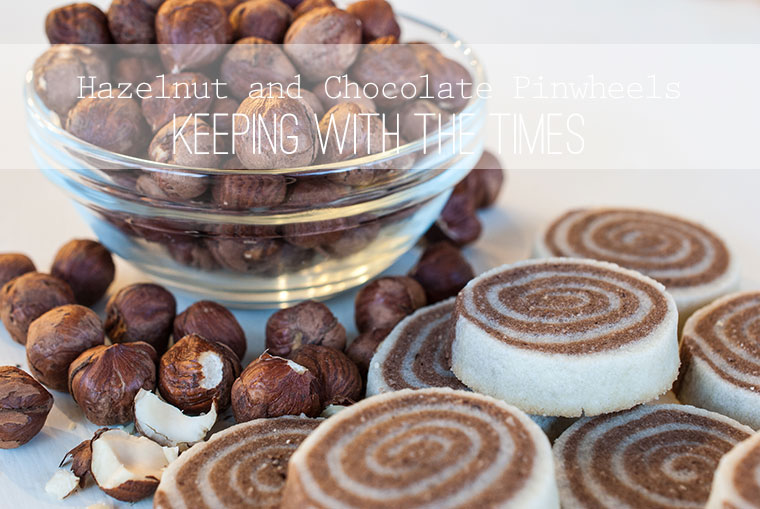
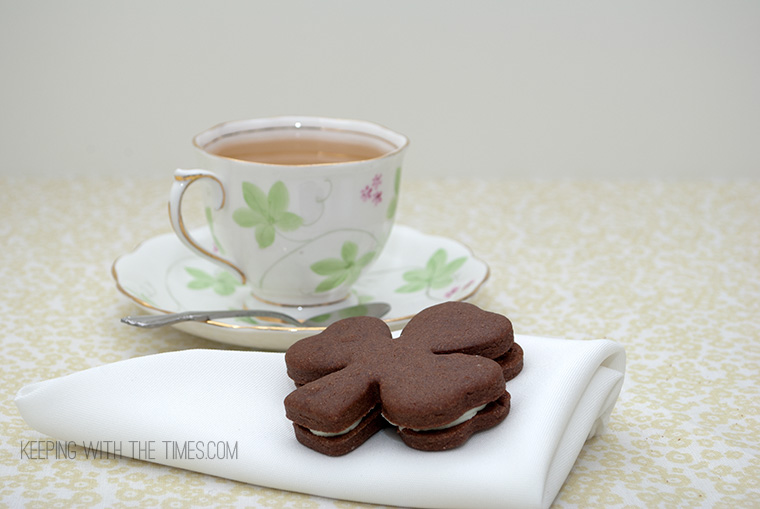
Cream cheese and hazelnut cookies people! Need I say more?
PLUS!! I dipped them in melted chocolate and AGAIN in hazelnuts. OMGoodness.
All I can say is ’tis the season (and maybe if you get out for that daily walk it won’t seem so … so … scandalous ;)
Cream Cheese and Hazelnut Cookies

Cream Cheese and Hazelnut Cookies
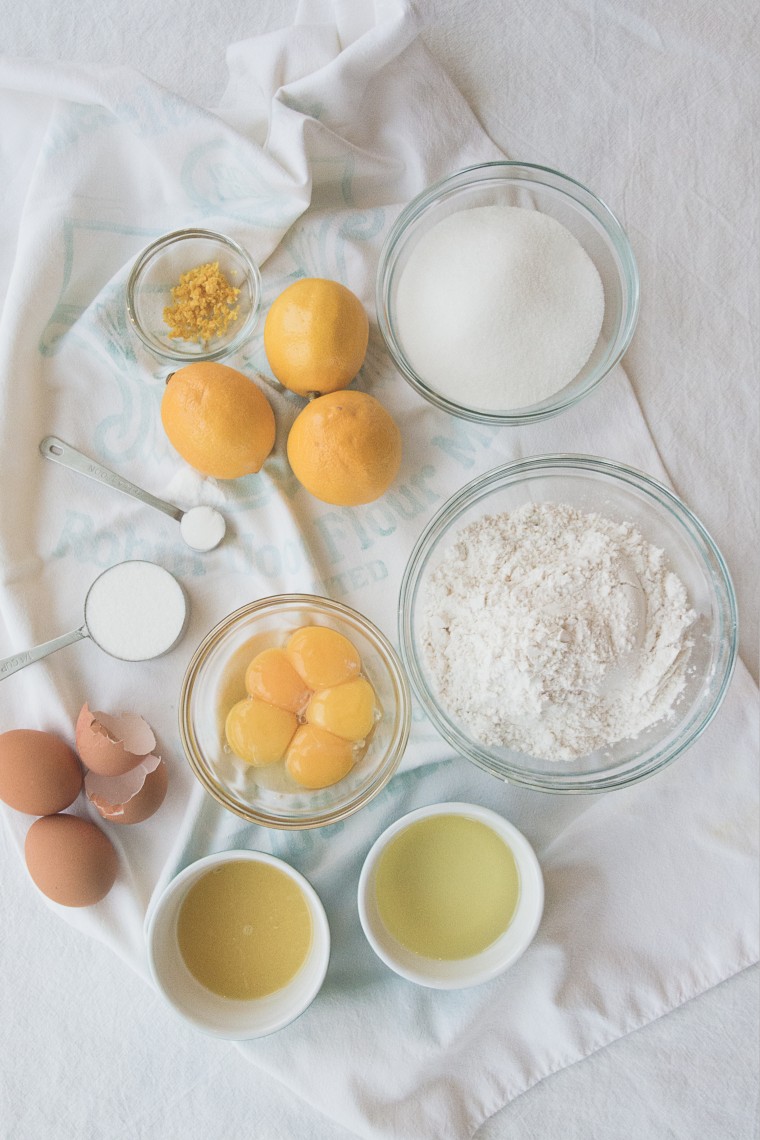
Ingredients
- 4 cups all-purpose flour
- 1 tsp salt
- 1 pound butter, softened
- 6 oz cream cheese, softened
- 1 1/4 cups sugar
- 2 Tbsp plus 1/2 tsp vanilla
- 1 1/2 cups hazelnuts, toasted and chopped fine
- 1 cup hazelnuts, chopped very fine (to roll logs in)
Instructions
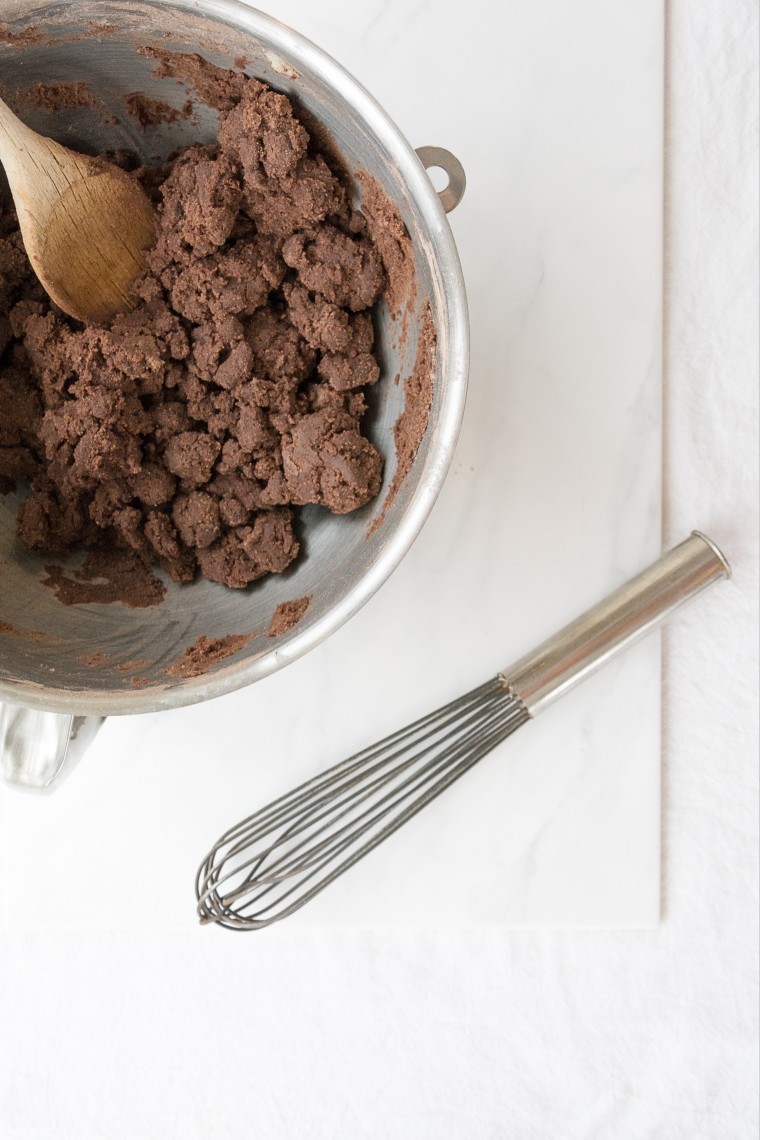
- Sift together flour and salt. Cream butter and cream cheese on medium until pale and fluffy, about 2 minutes. Mix in sugar and vanilla. Reduce speed to low and add flour mixture. Mix until just combined (do not over mix). Mix in toasted hazelnuts.
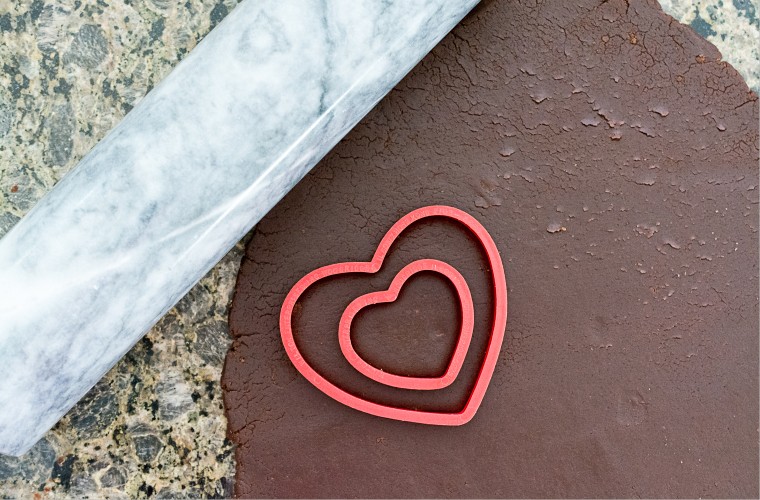
- Divide dough into two equal amounts and shape each piece into an 8 1/2 inch long log (about 2 inches in diameter). Roll each log in 1/2 cup finely chopped hazelnuts.Wrap each log in parchment and freeze until firm, about 30 minutes.
- Preheat oven to 350 degrees with racks in upper and lower thirds. Remove one log from freezer. Cut log into 1/4 inch thick rounds. Transfer to baking sheets.
- Bake, switching positions of sheets and rotating halfway through, until cookies are golden around the edges, 18 - 20 minutes. Transfer to wire racks; let cool. Repeat the process with remaining dough using cooled cookie sheets.
Notes
Recipe adapted from Martha Stewart
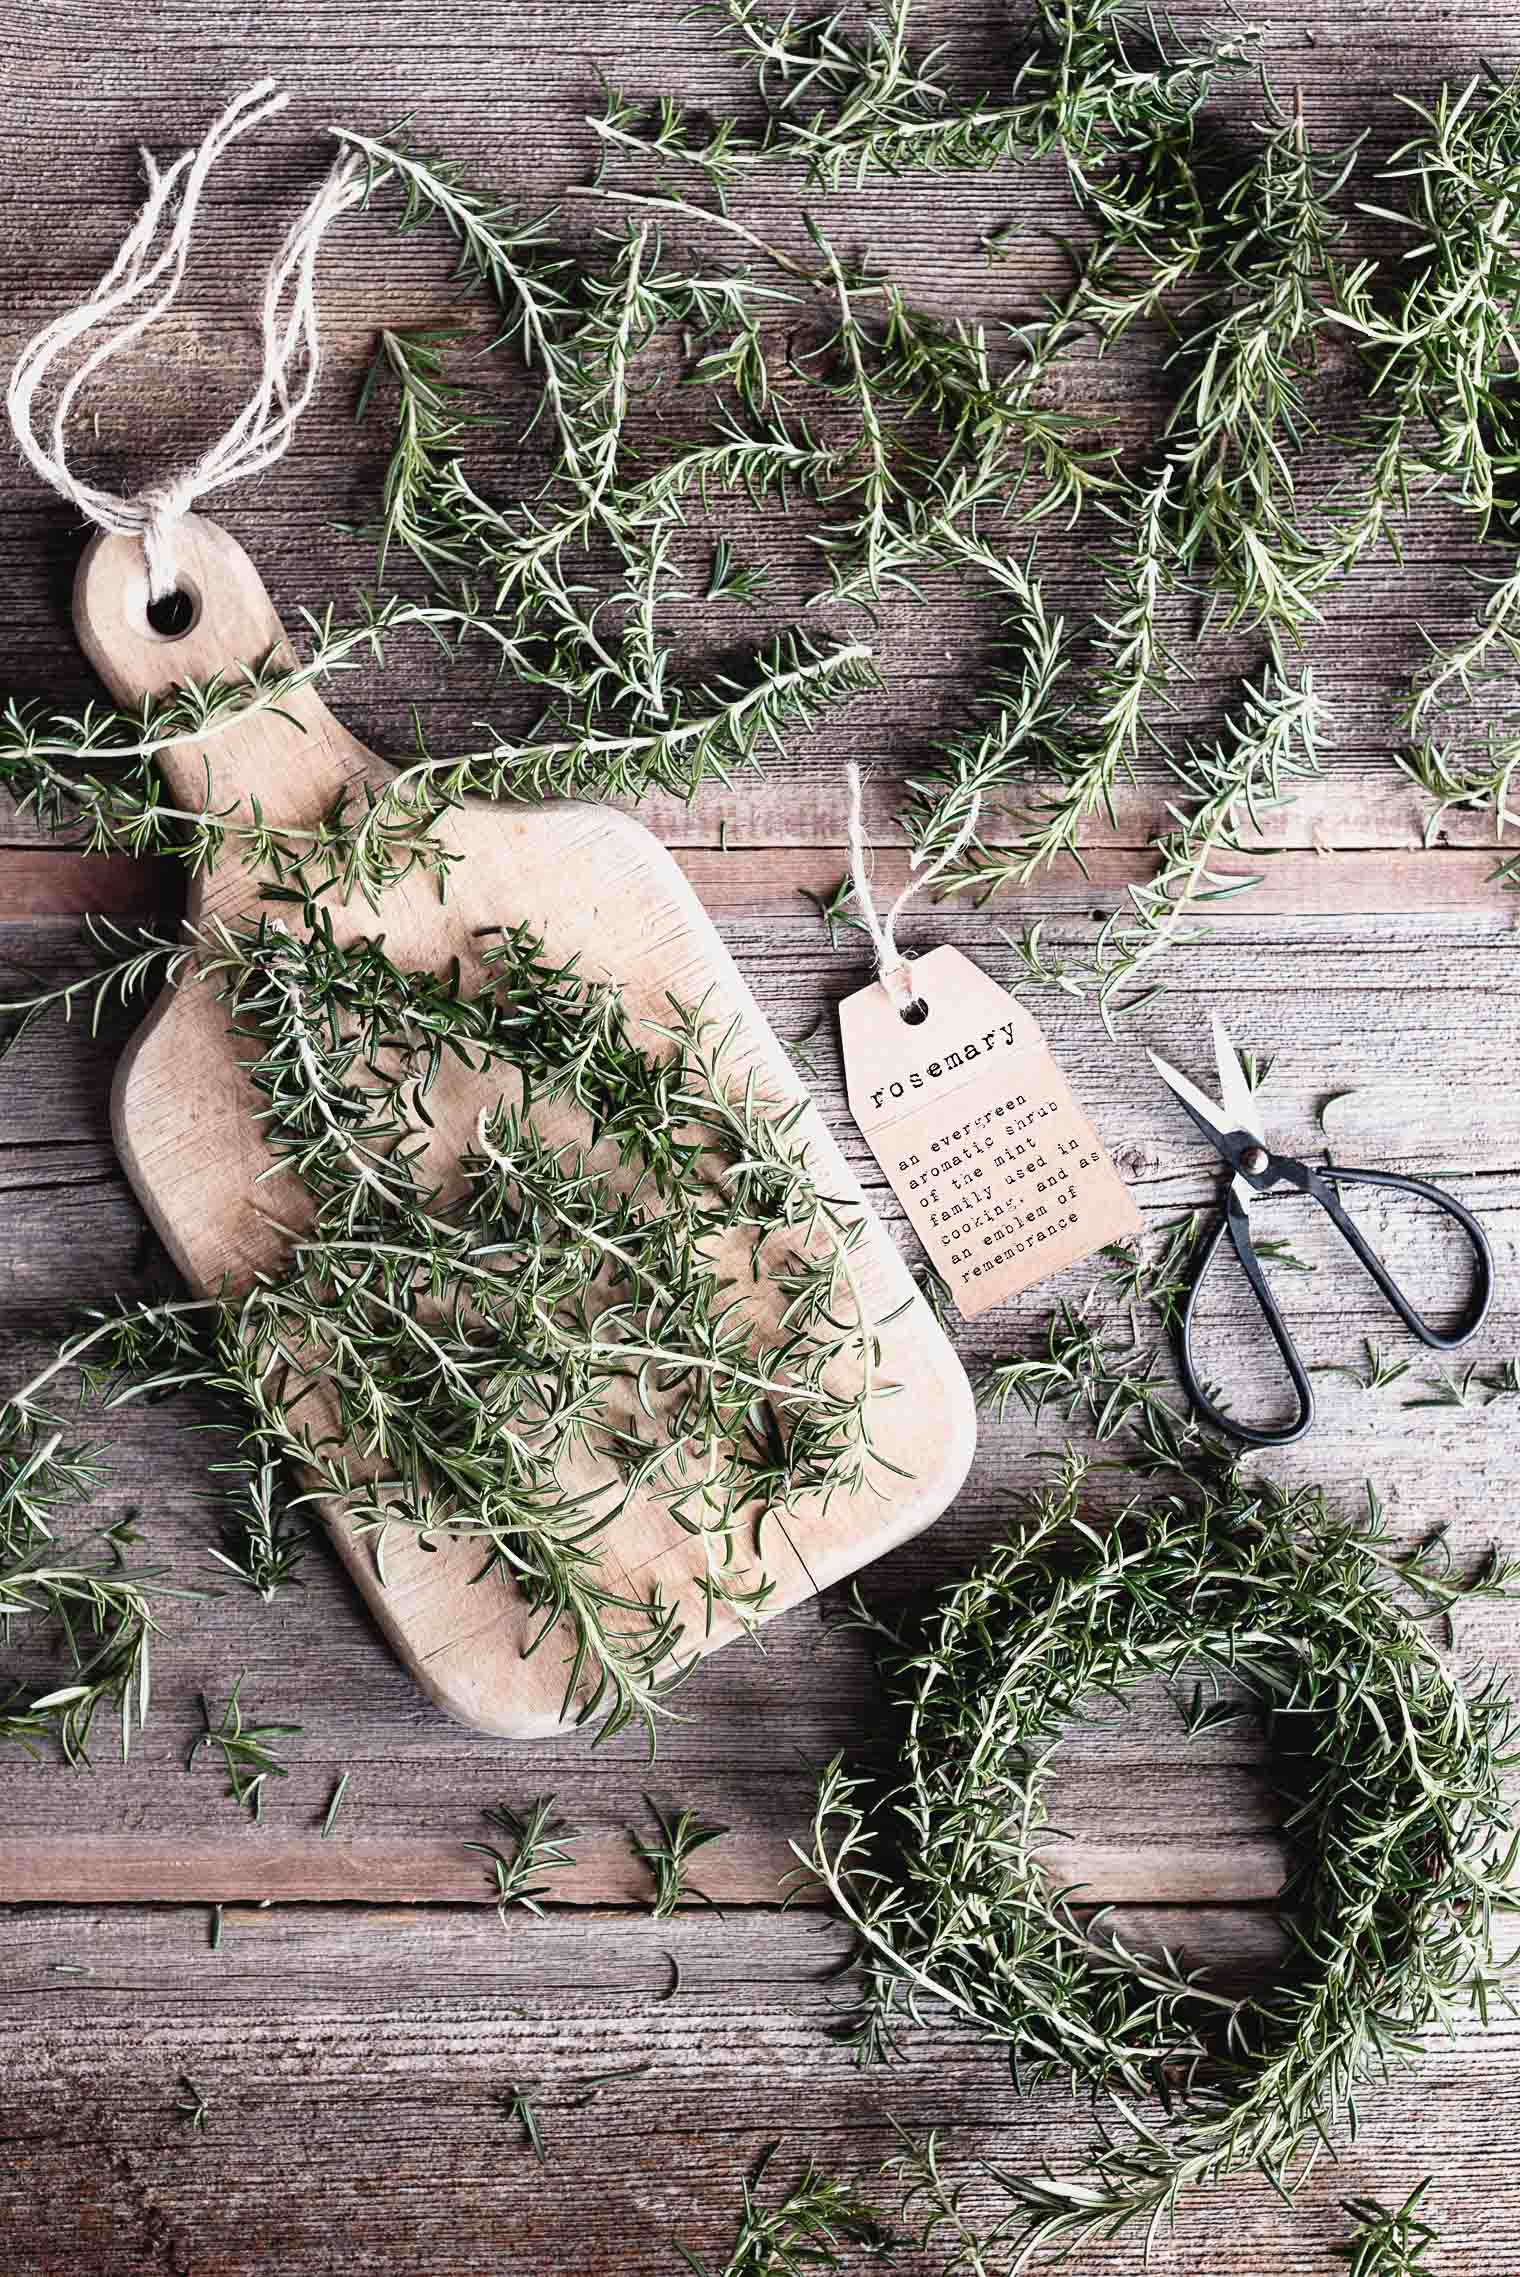 … you put it into little pots and squish the needles and revel in the scent of it all.
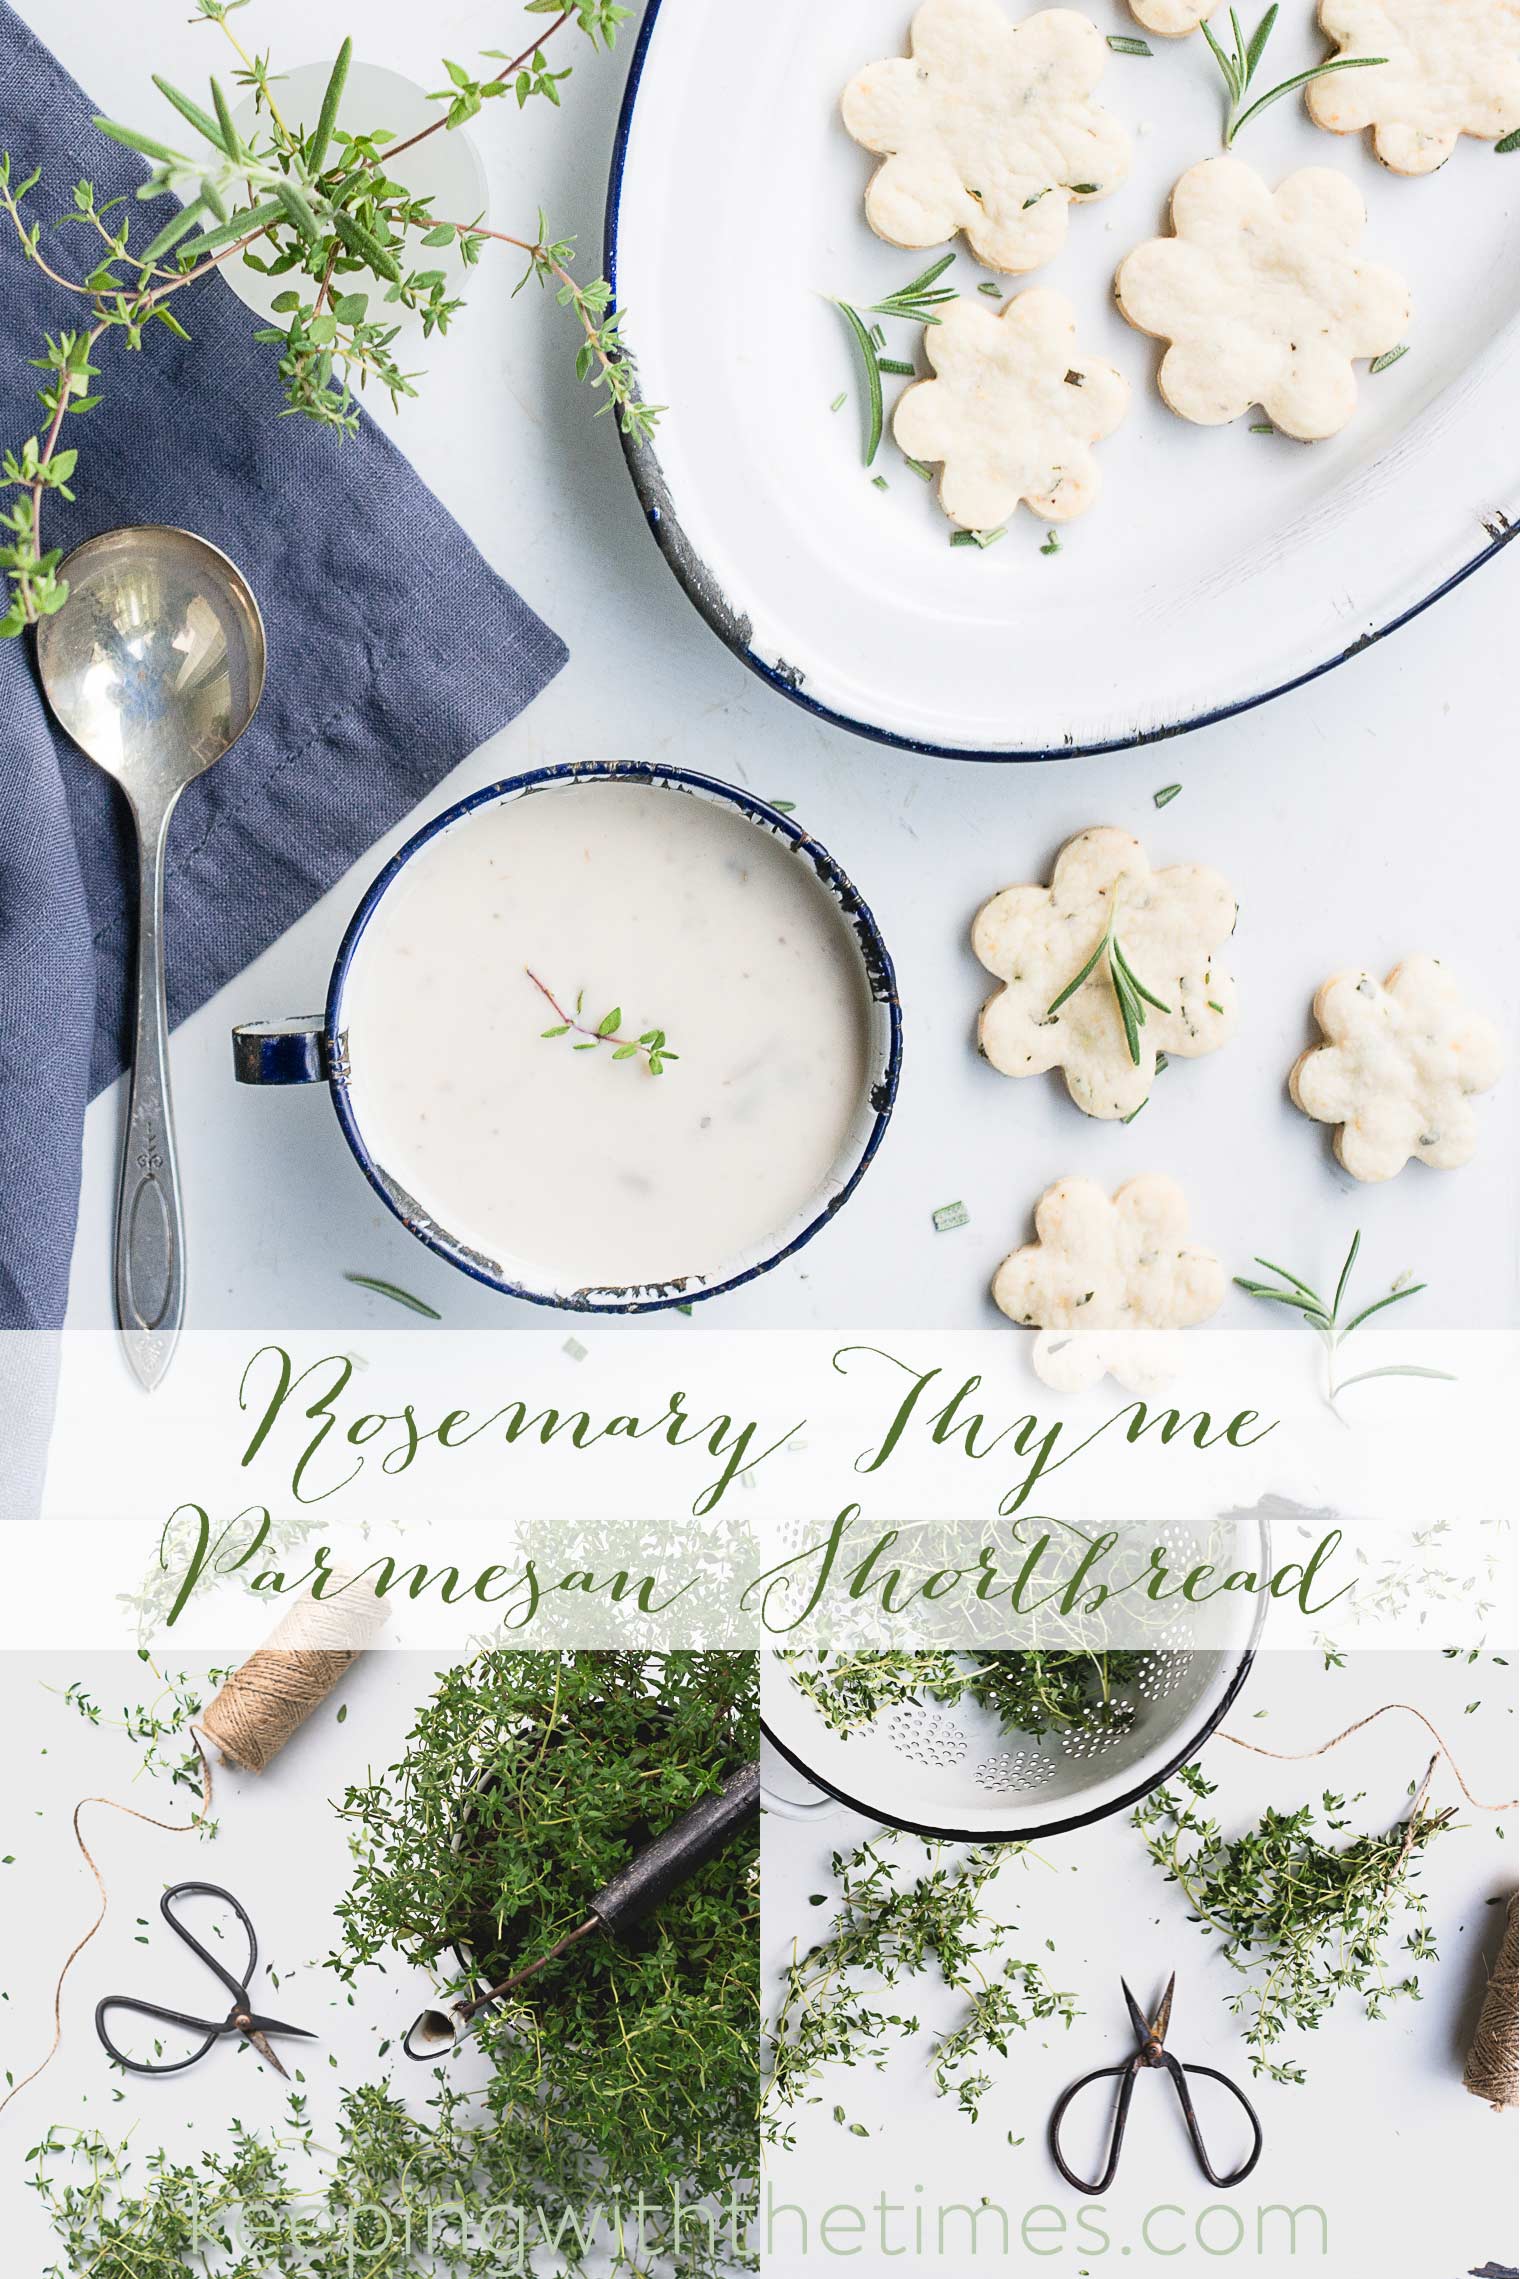 You could also try my scrumptious


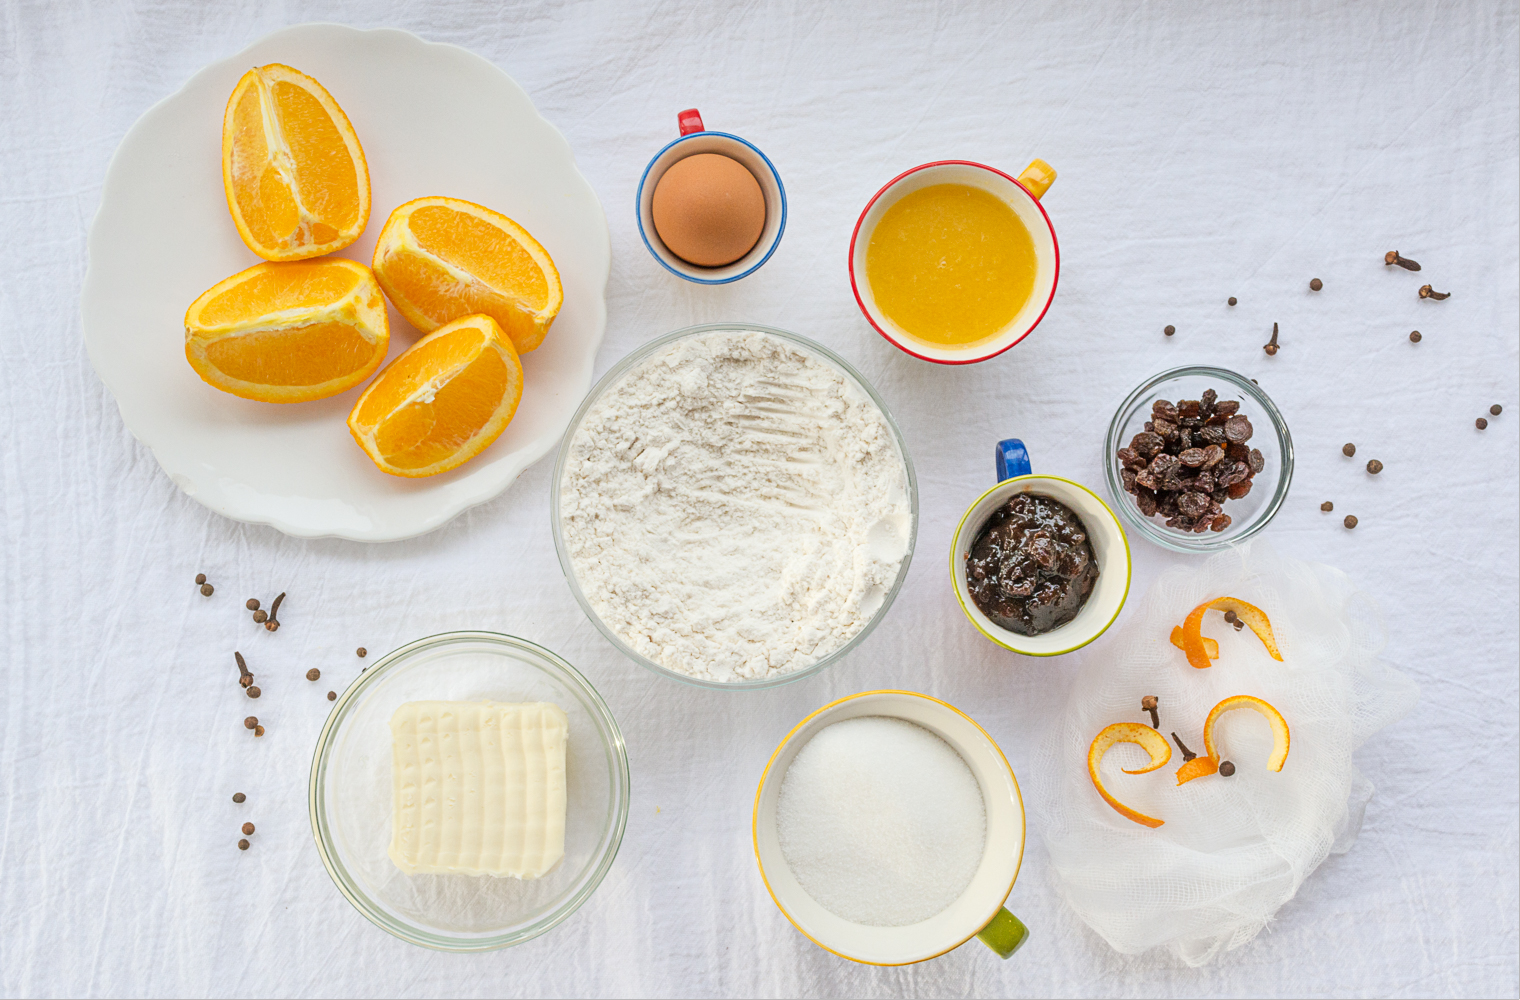
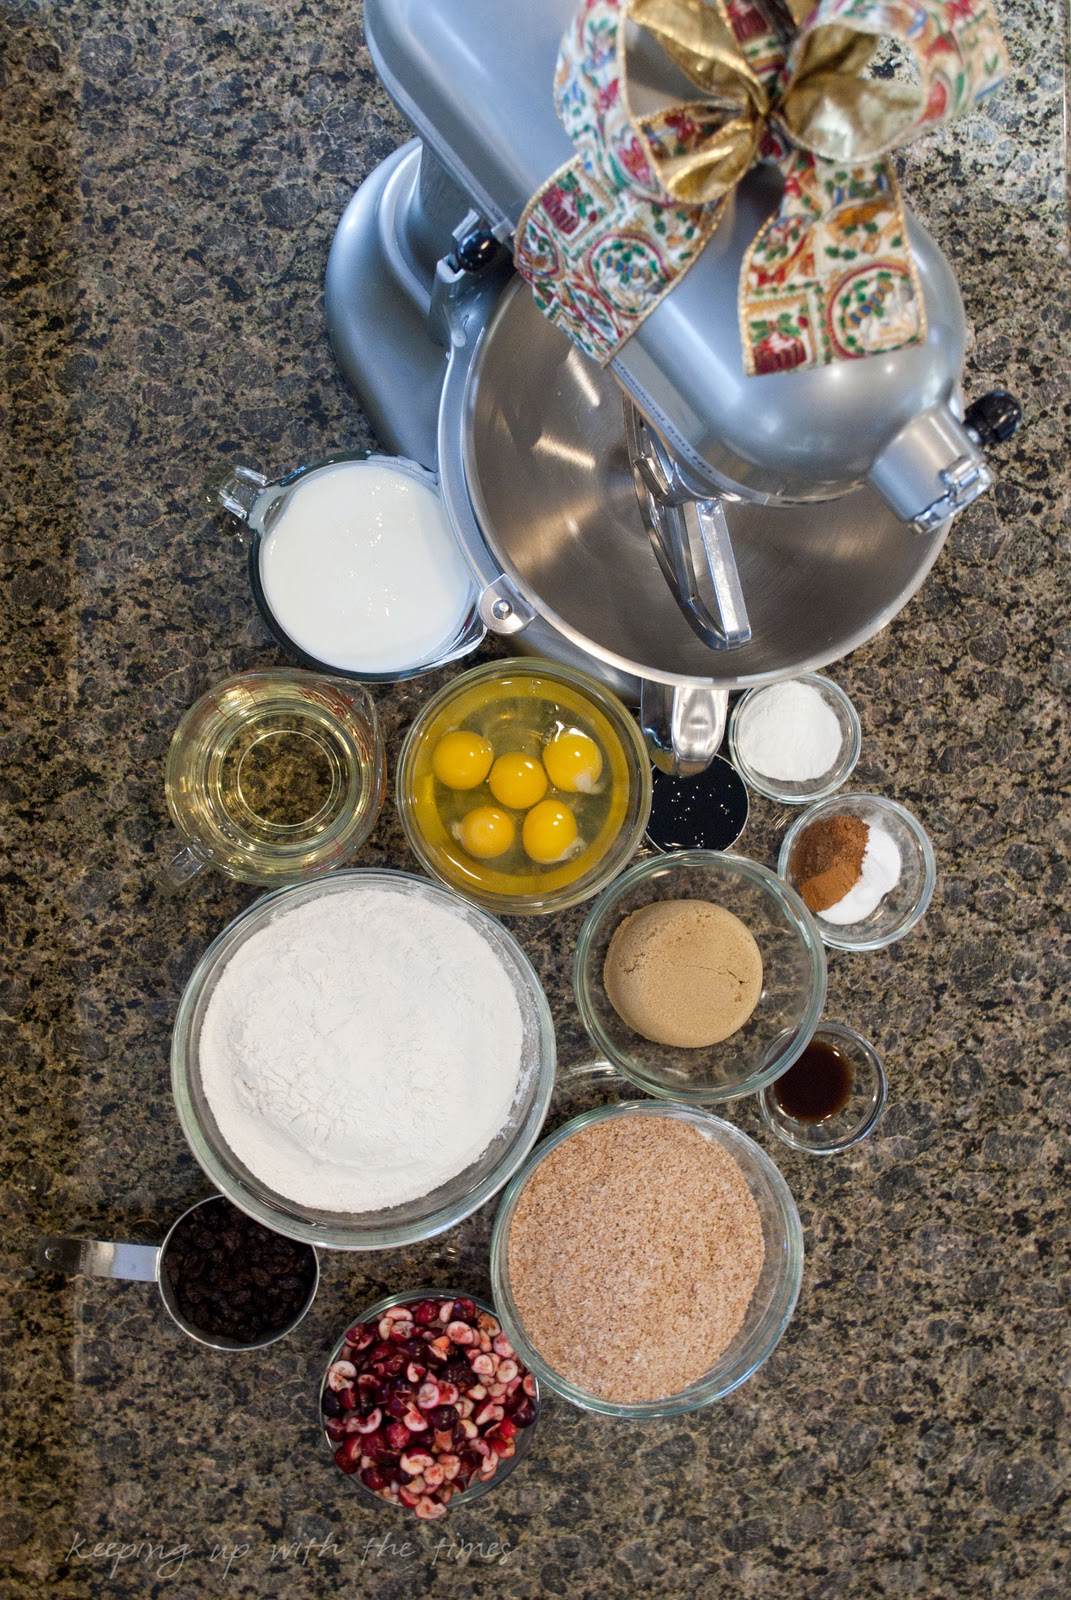
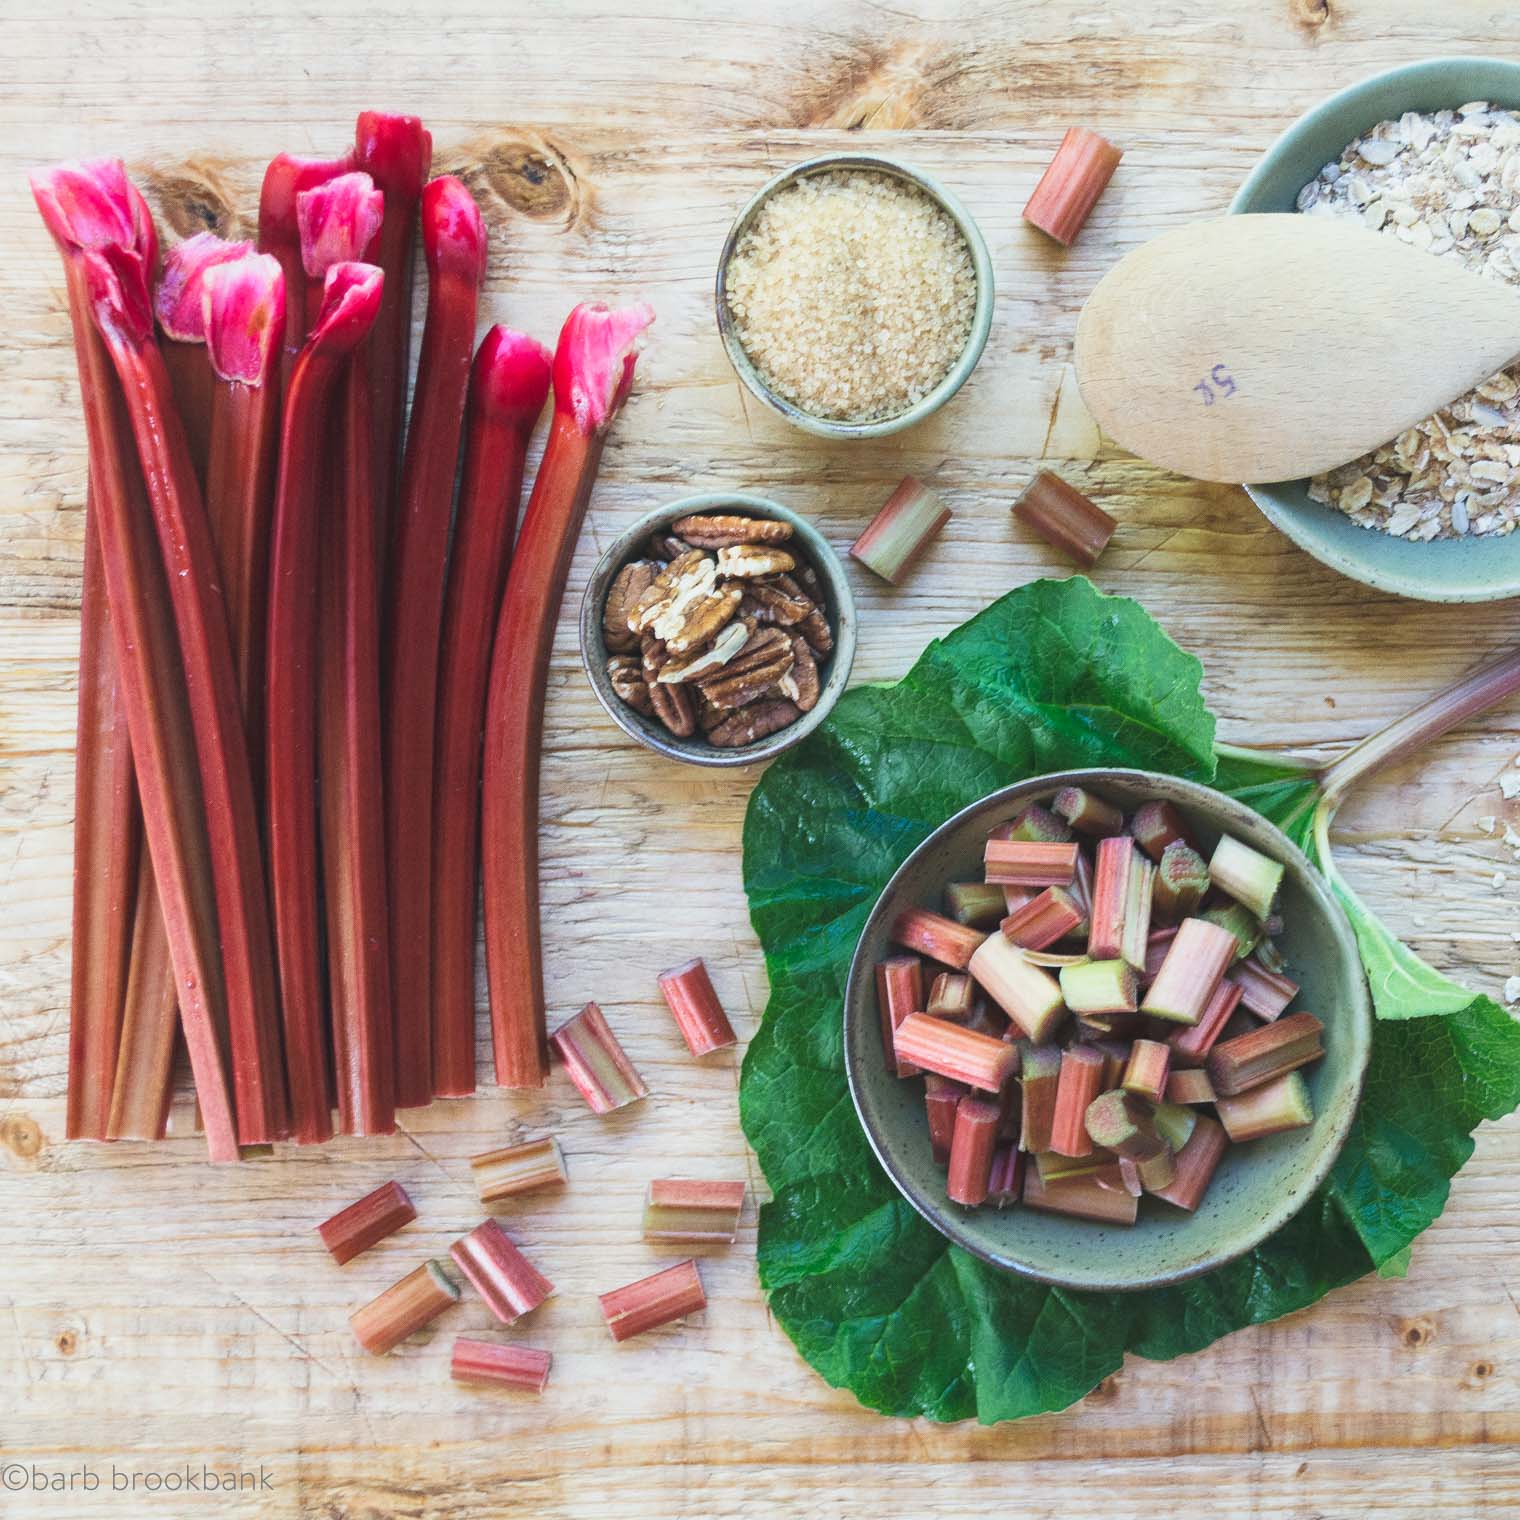
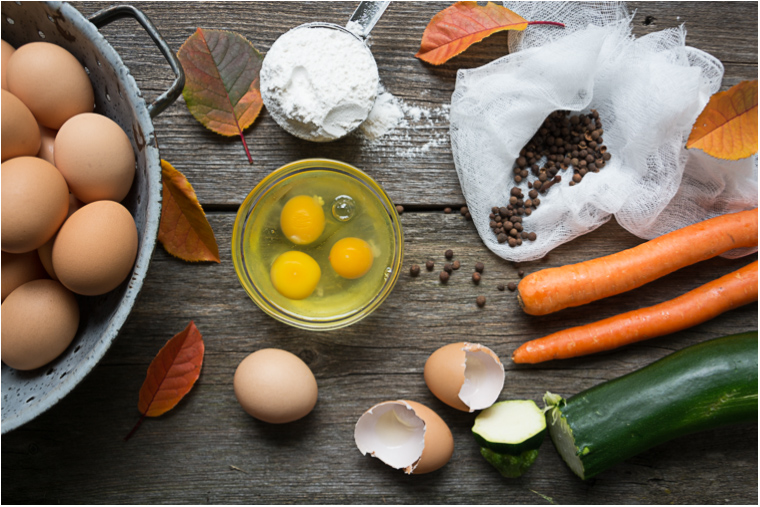
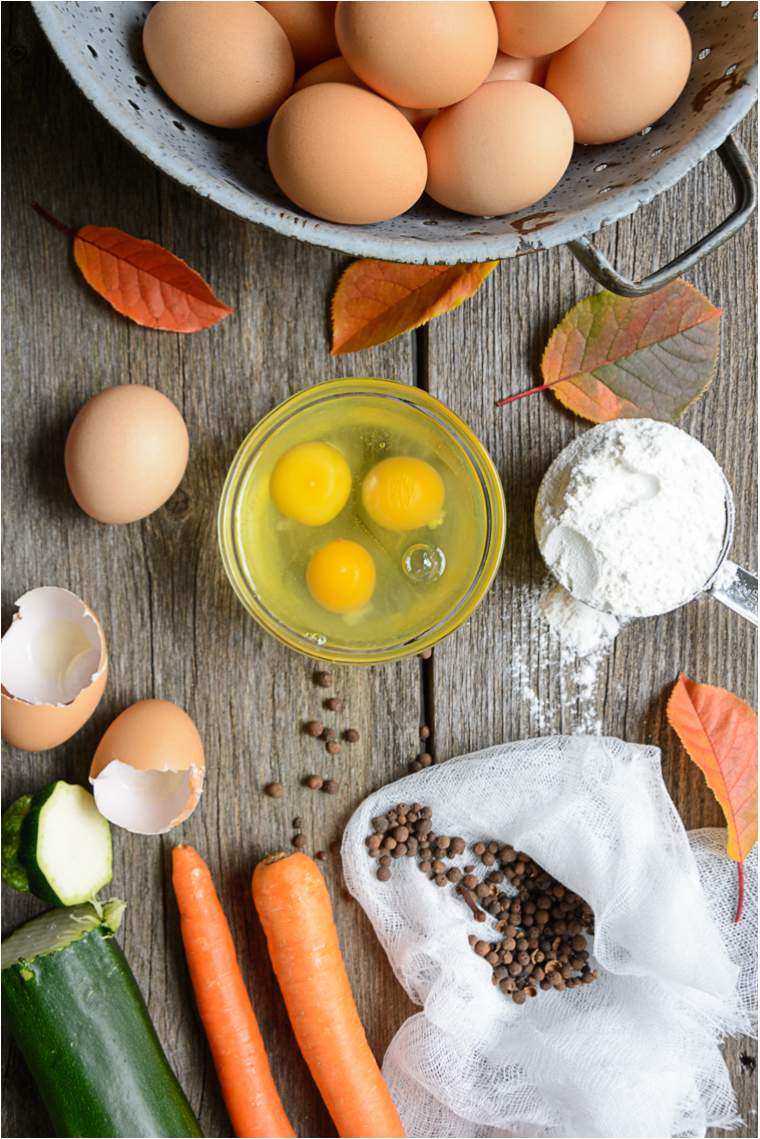
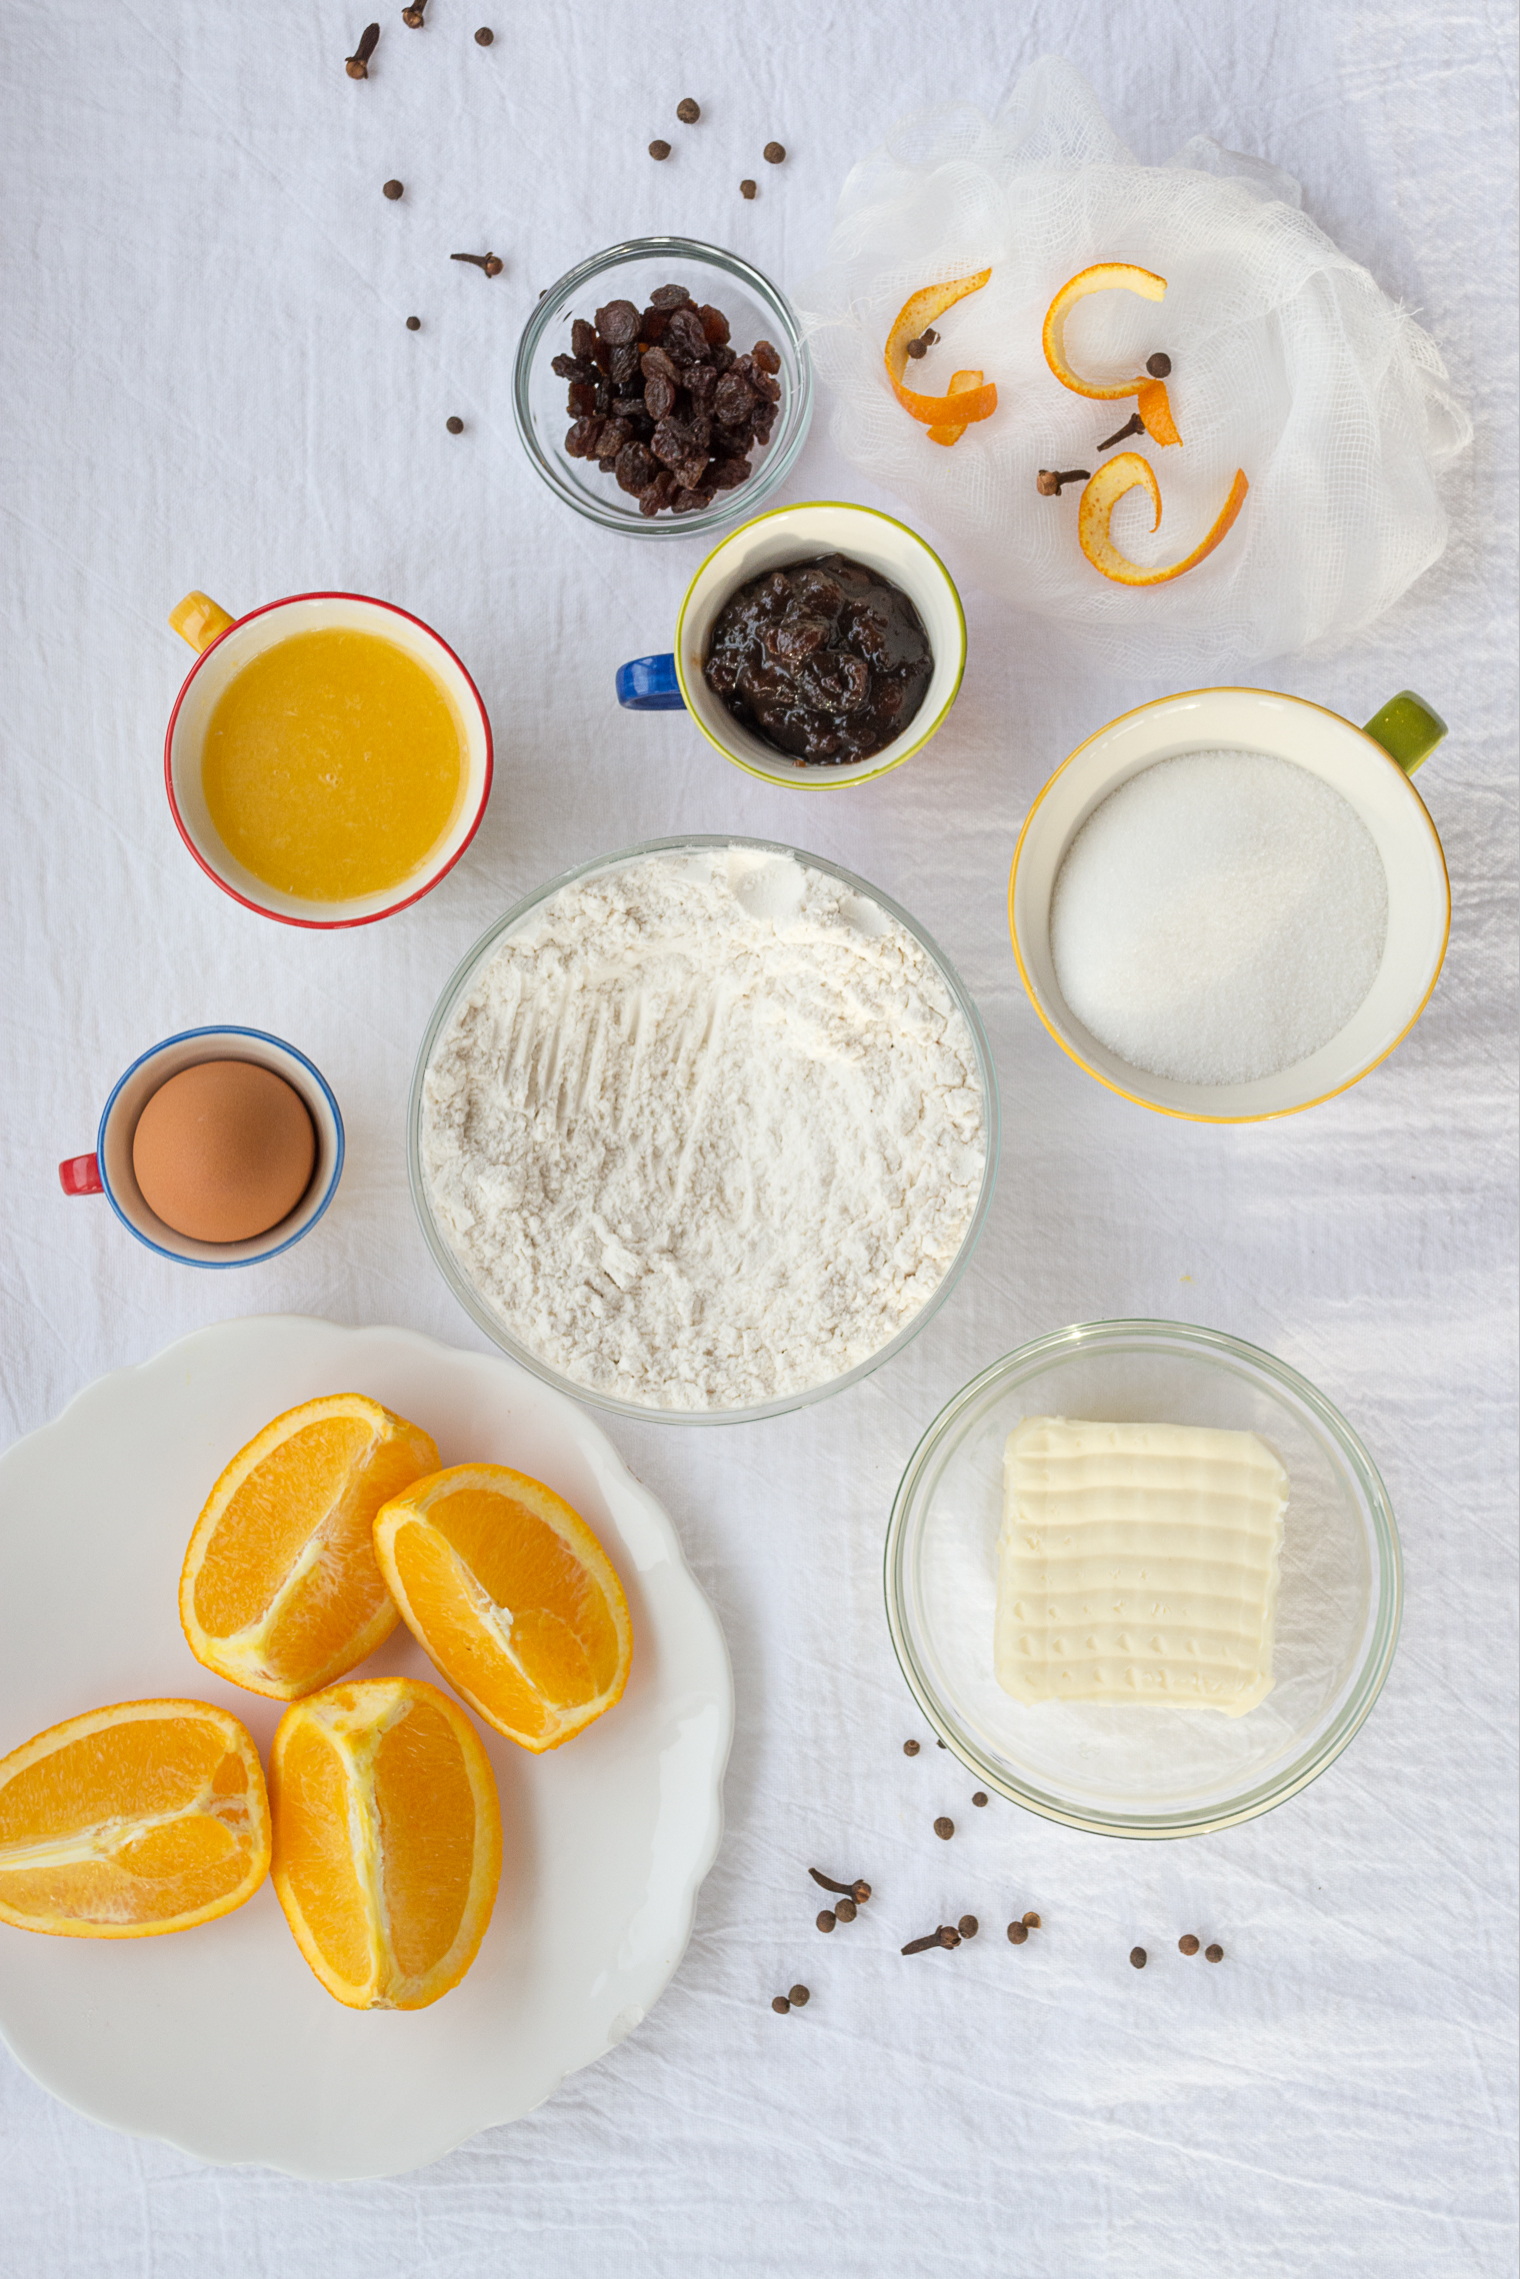 Aren’t these little measuring cups just the sweetest? My oldest daughter gave them to me years ago (from Pier One). They make being organized quite a bit more fun!
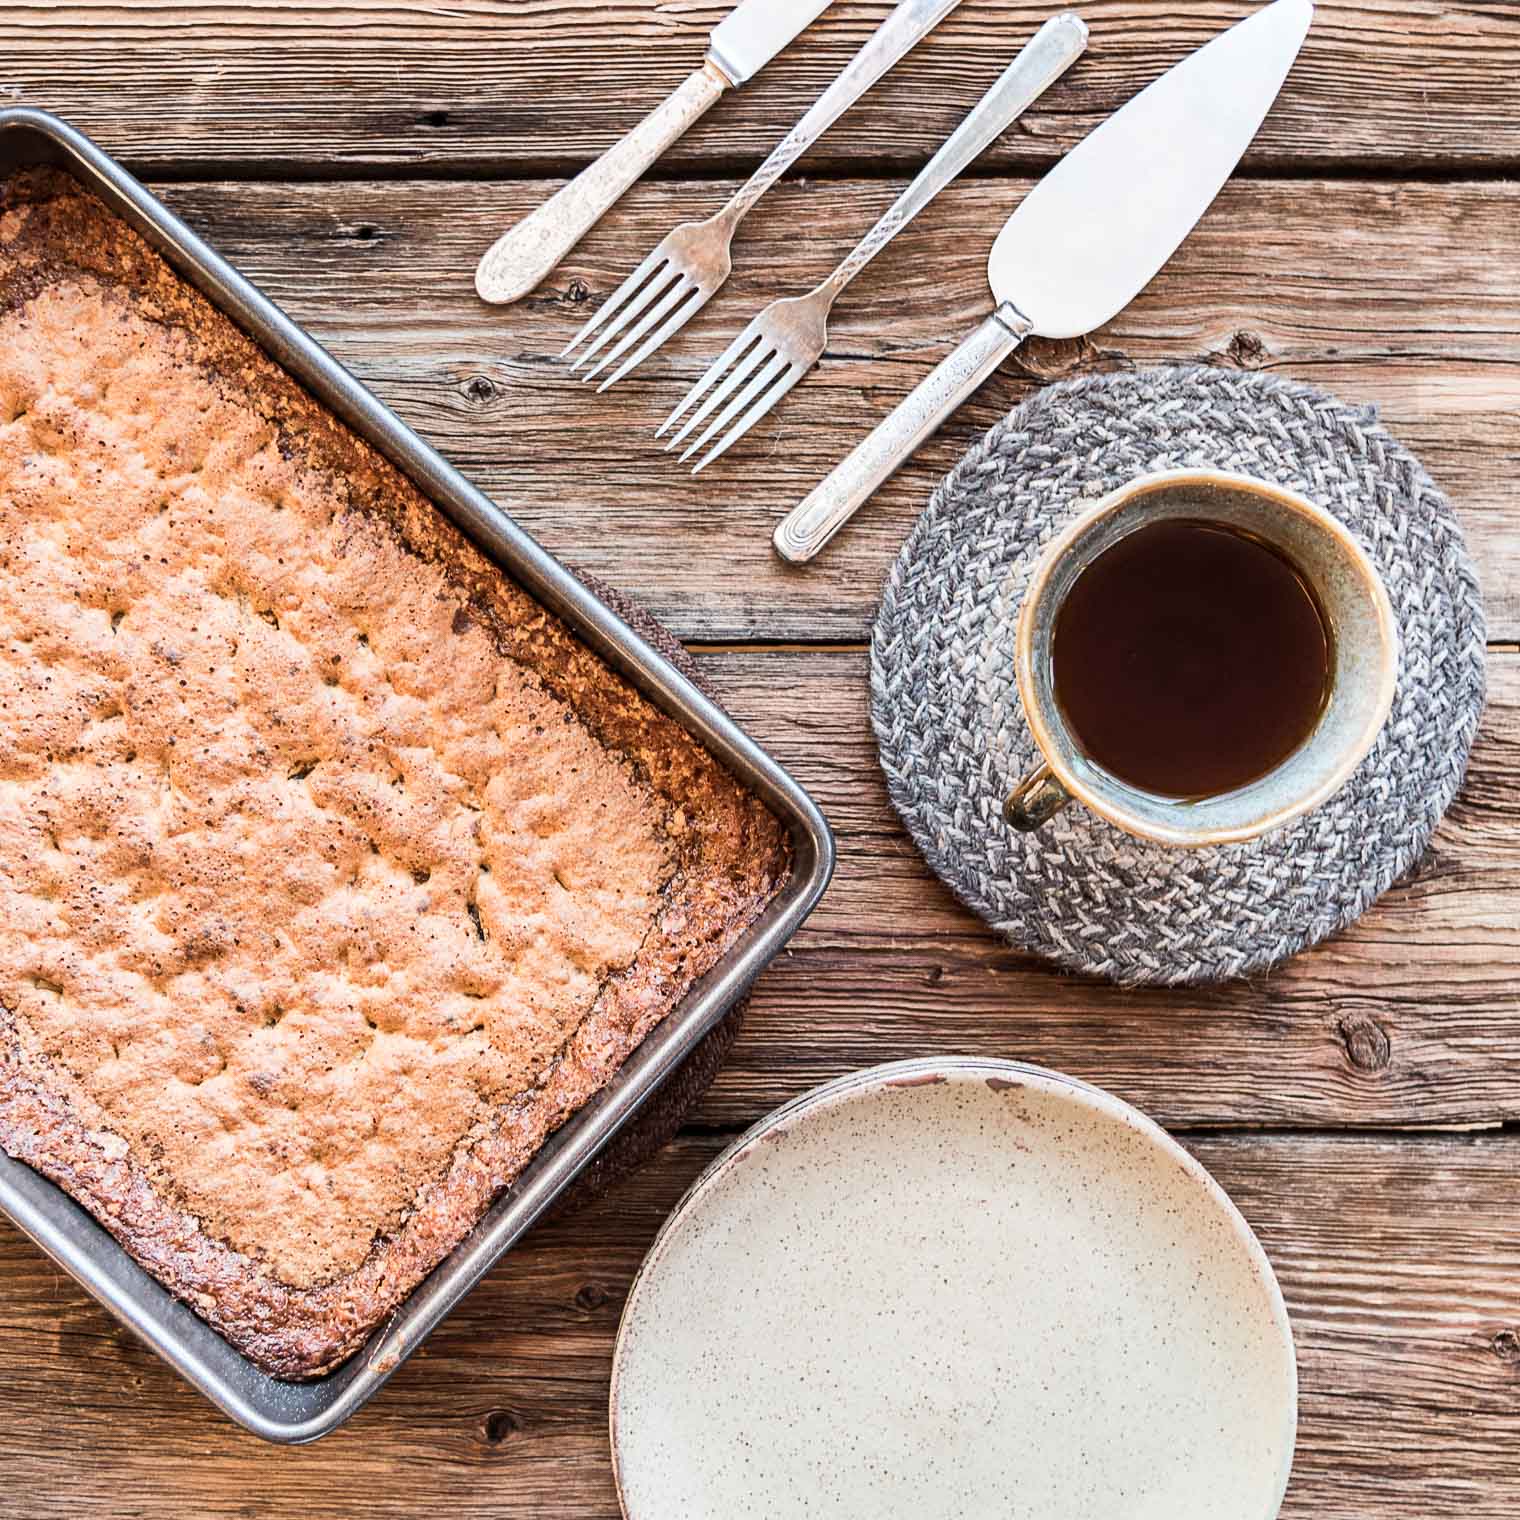
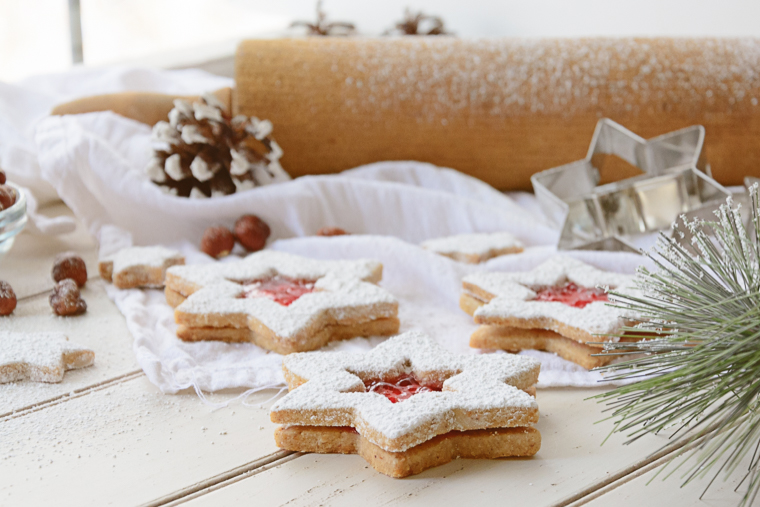
 I think I must be a real fan of hazelnuts because 3 out of 5 Christmas cookies polled have hazelnuts :)
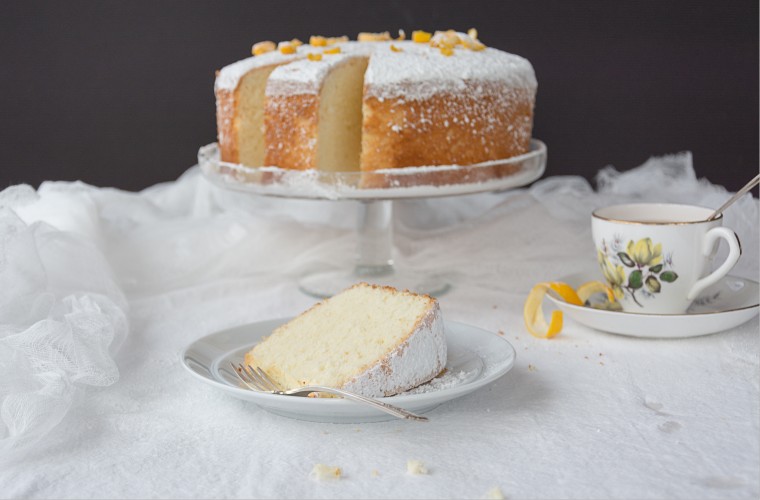
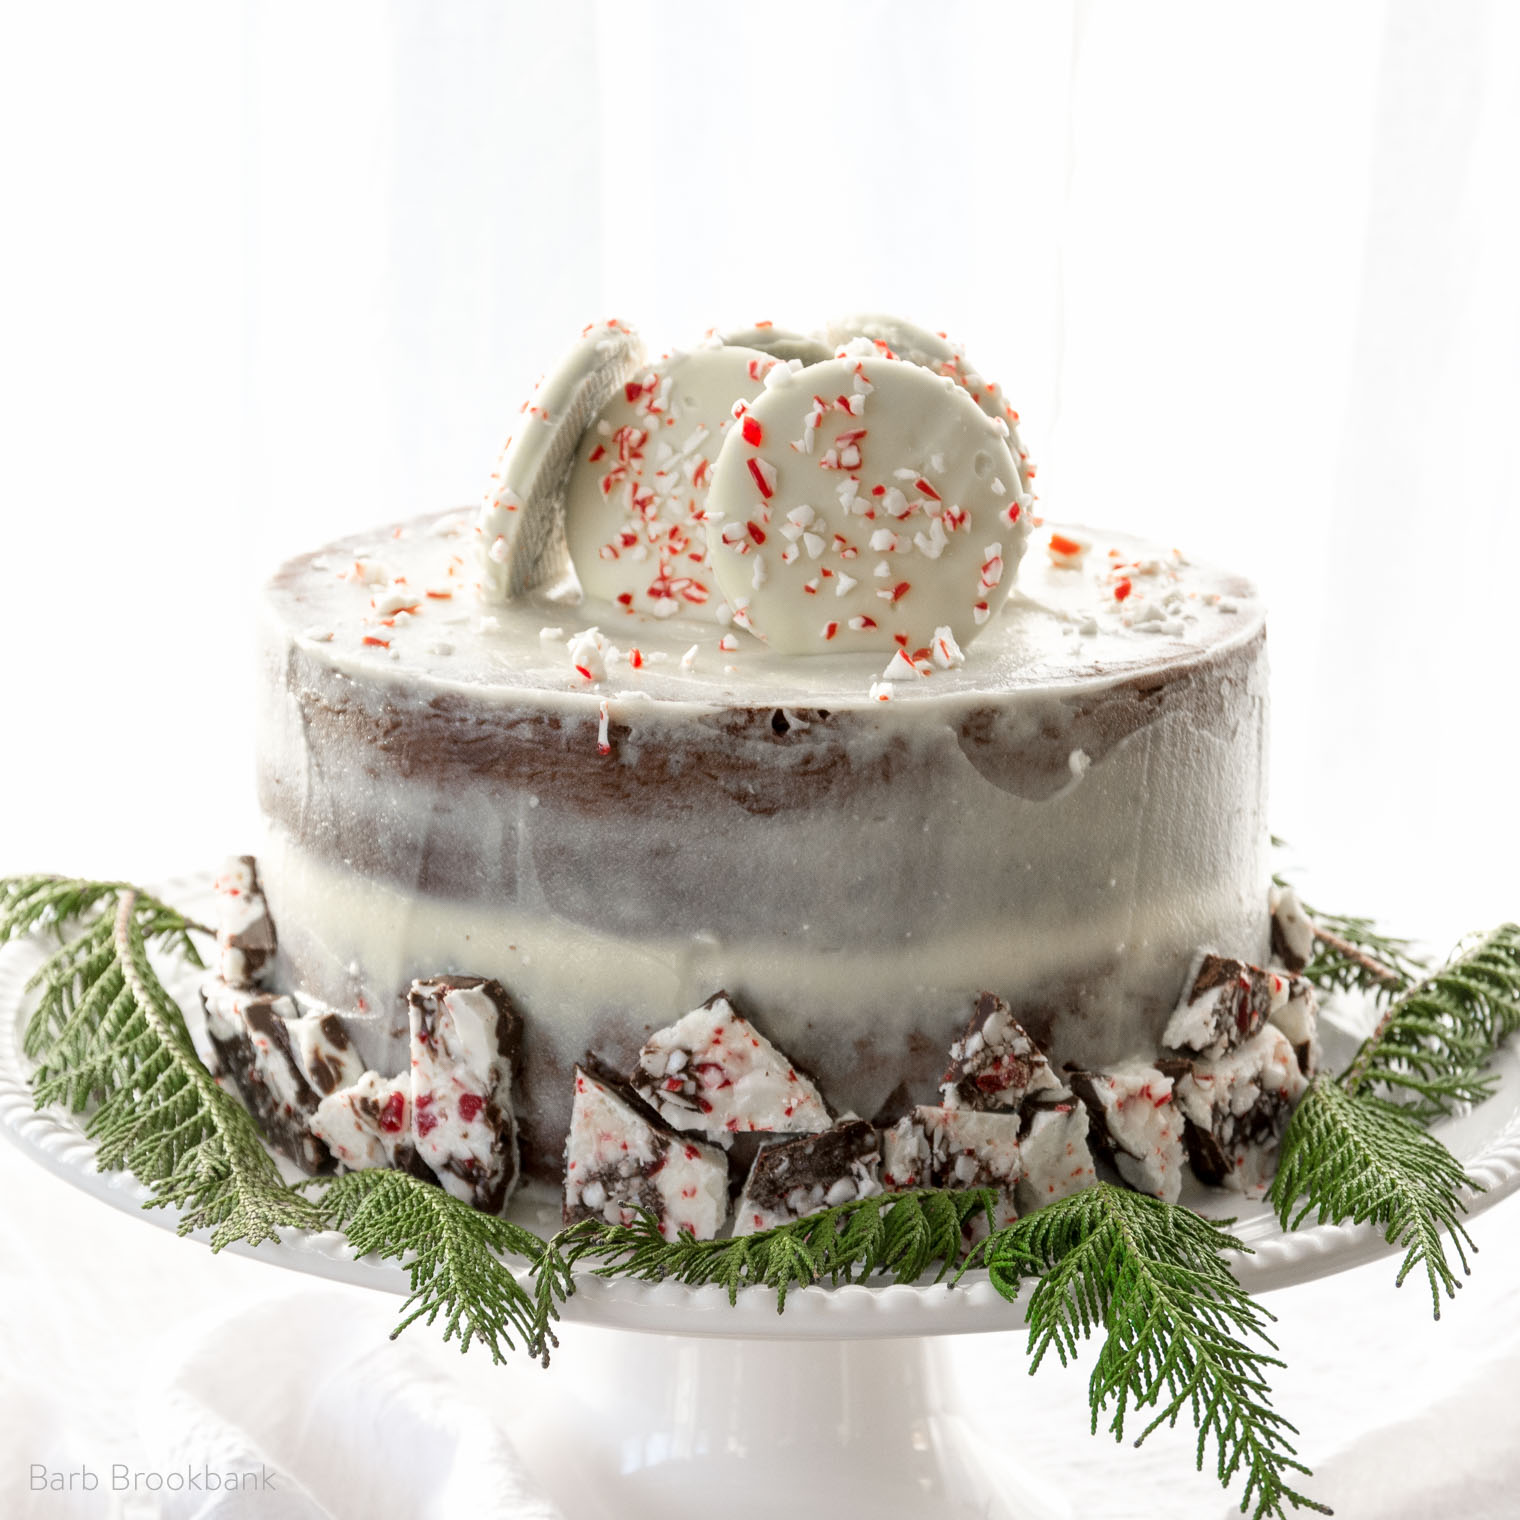 Have you heard of naked cakes? I first became aware of them on Instagram (where else) but I’ve since started a Pinterest board
 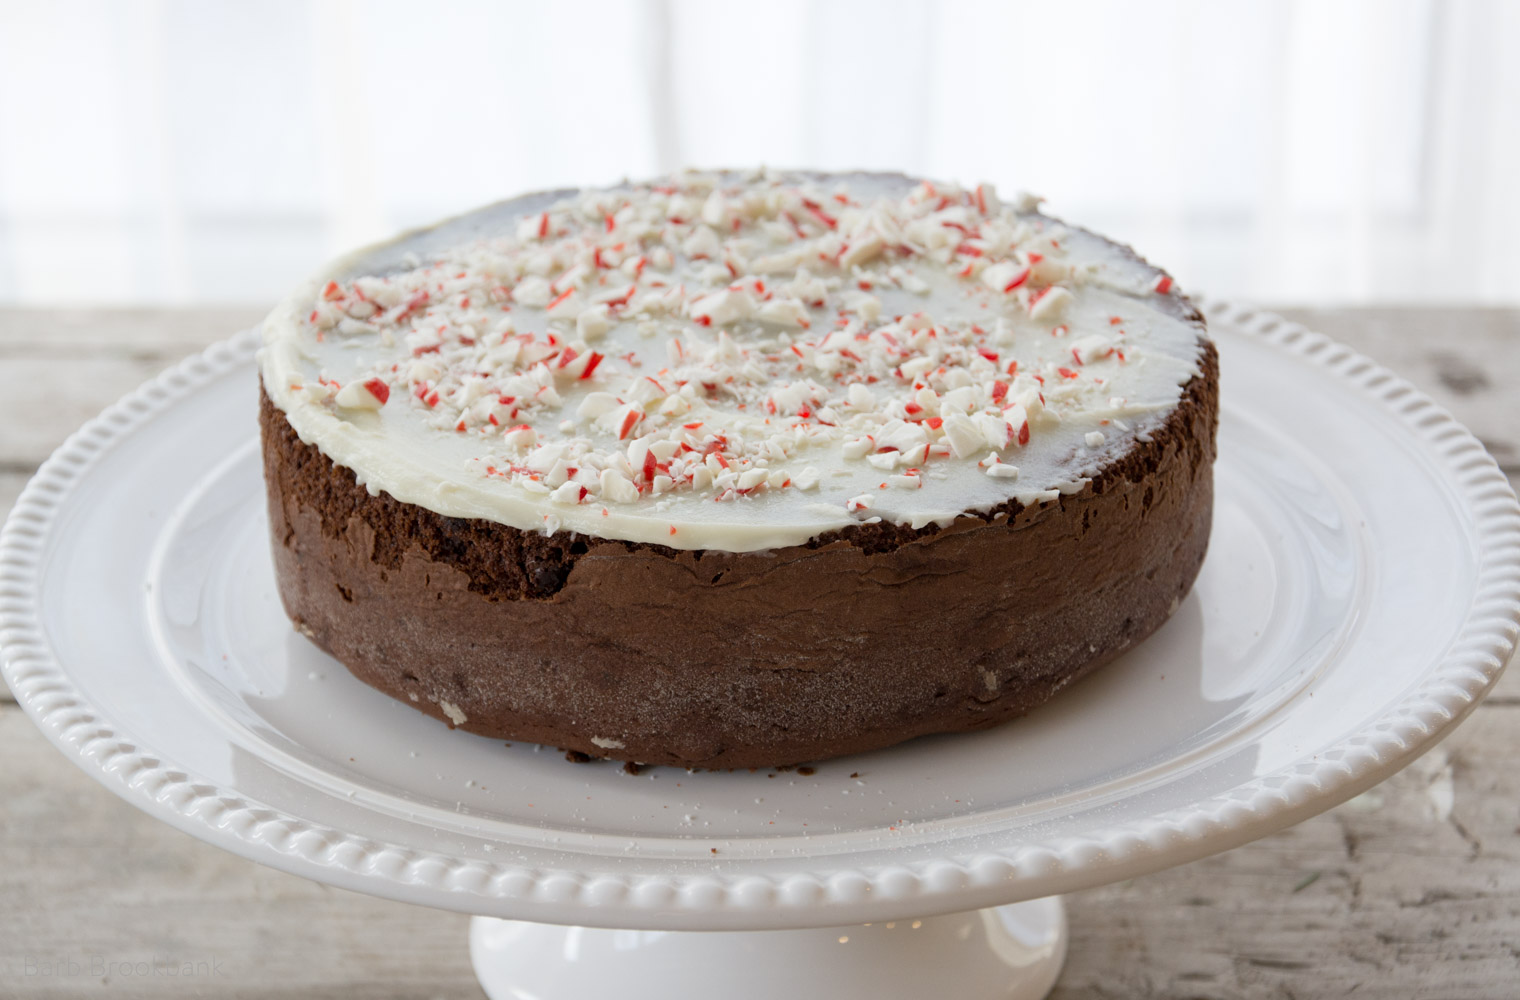 Place second layer on top:
 Finish icing the cake then stick broken pieces of bark along the bottom. Top with chocolate covered peppermint cookies, and sprinkle with crushed peppermint. My only warning here is to not eat too much bark …

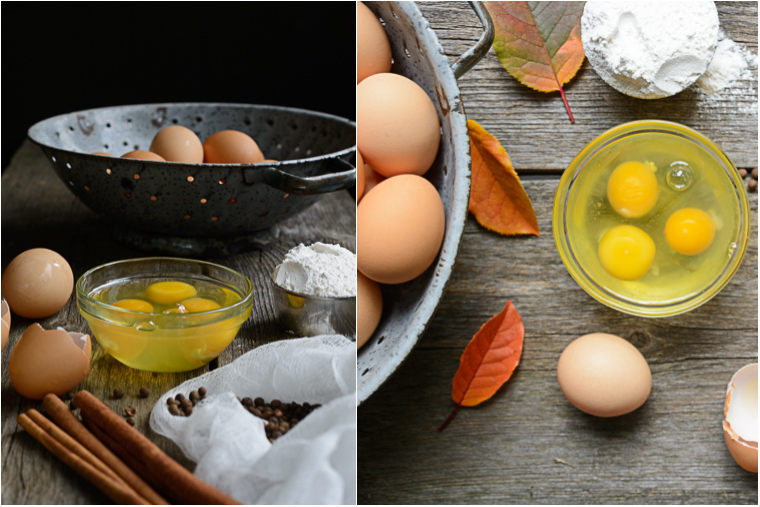
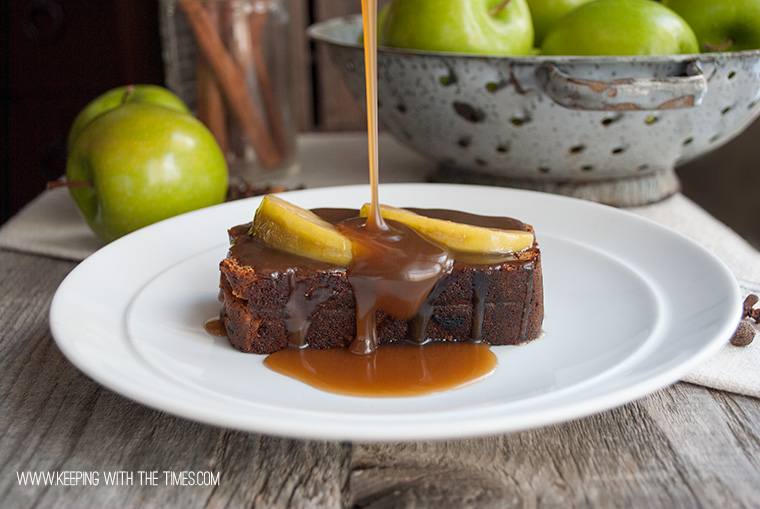
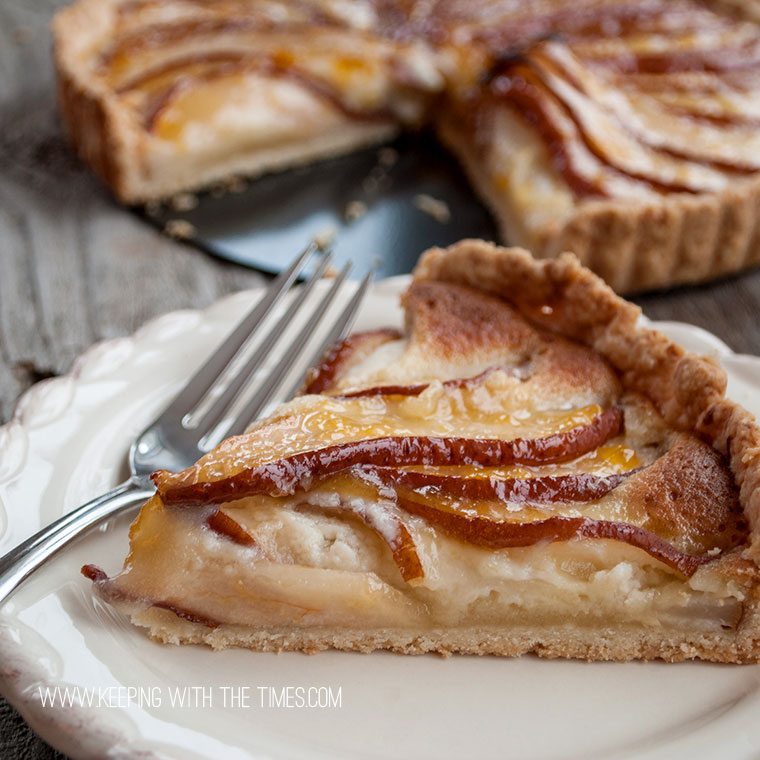
 Our neighbours recently purchased a property that has a orchard on it! Seriously? A dream I tell ya … but anyway … I shouldn’t complain since I’ve become the lucky recipient of the overflow … and not only do I love the apples, I love the leaves that come with them.
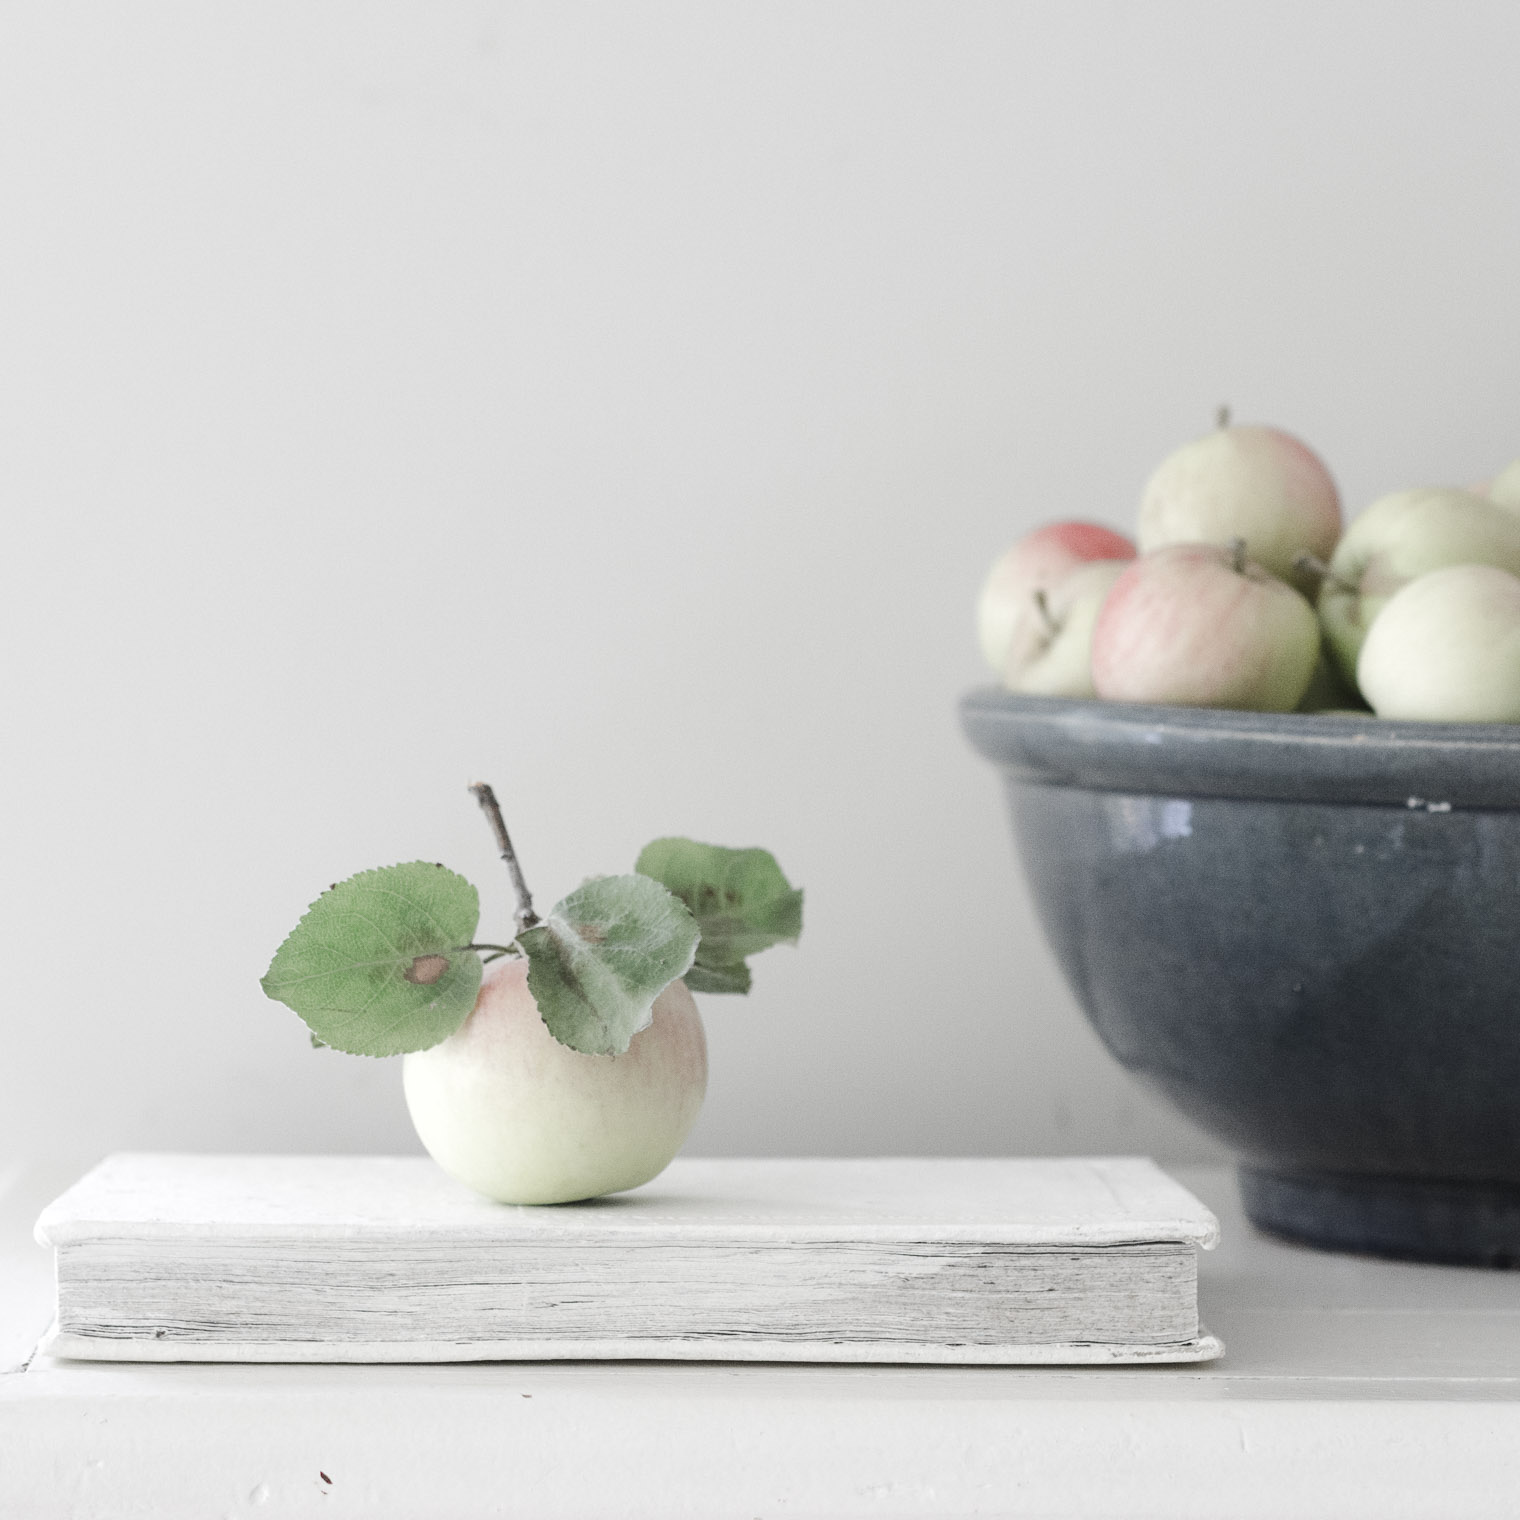 So what’s the first thing you do when someone gives you apples … well you take photos of course!
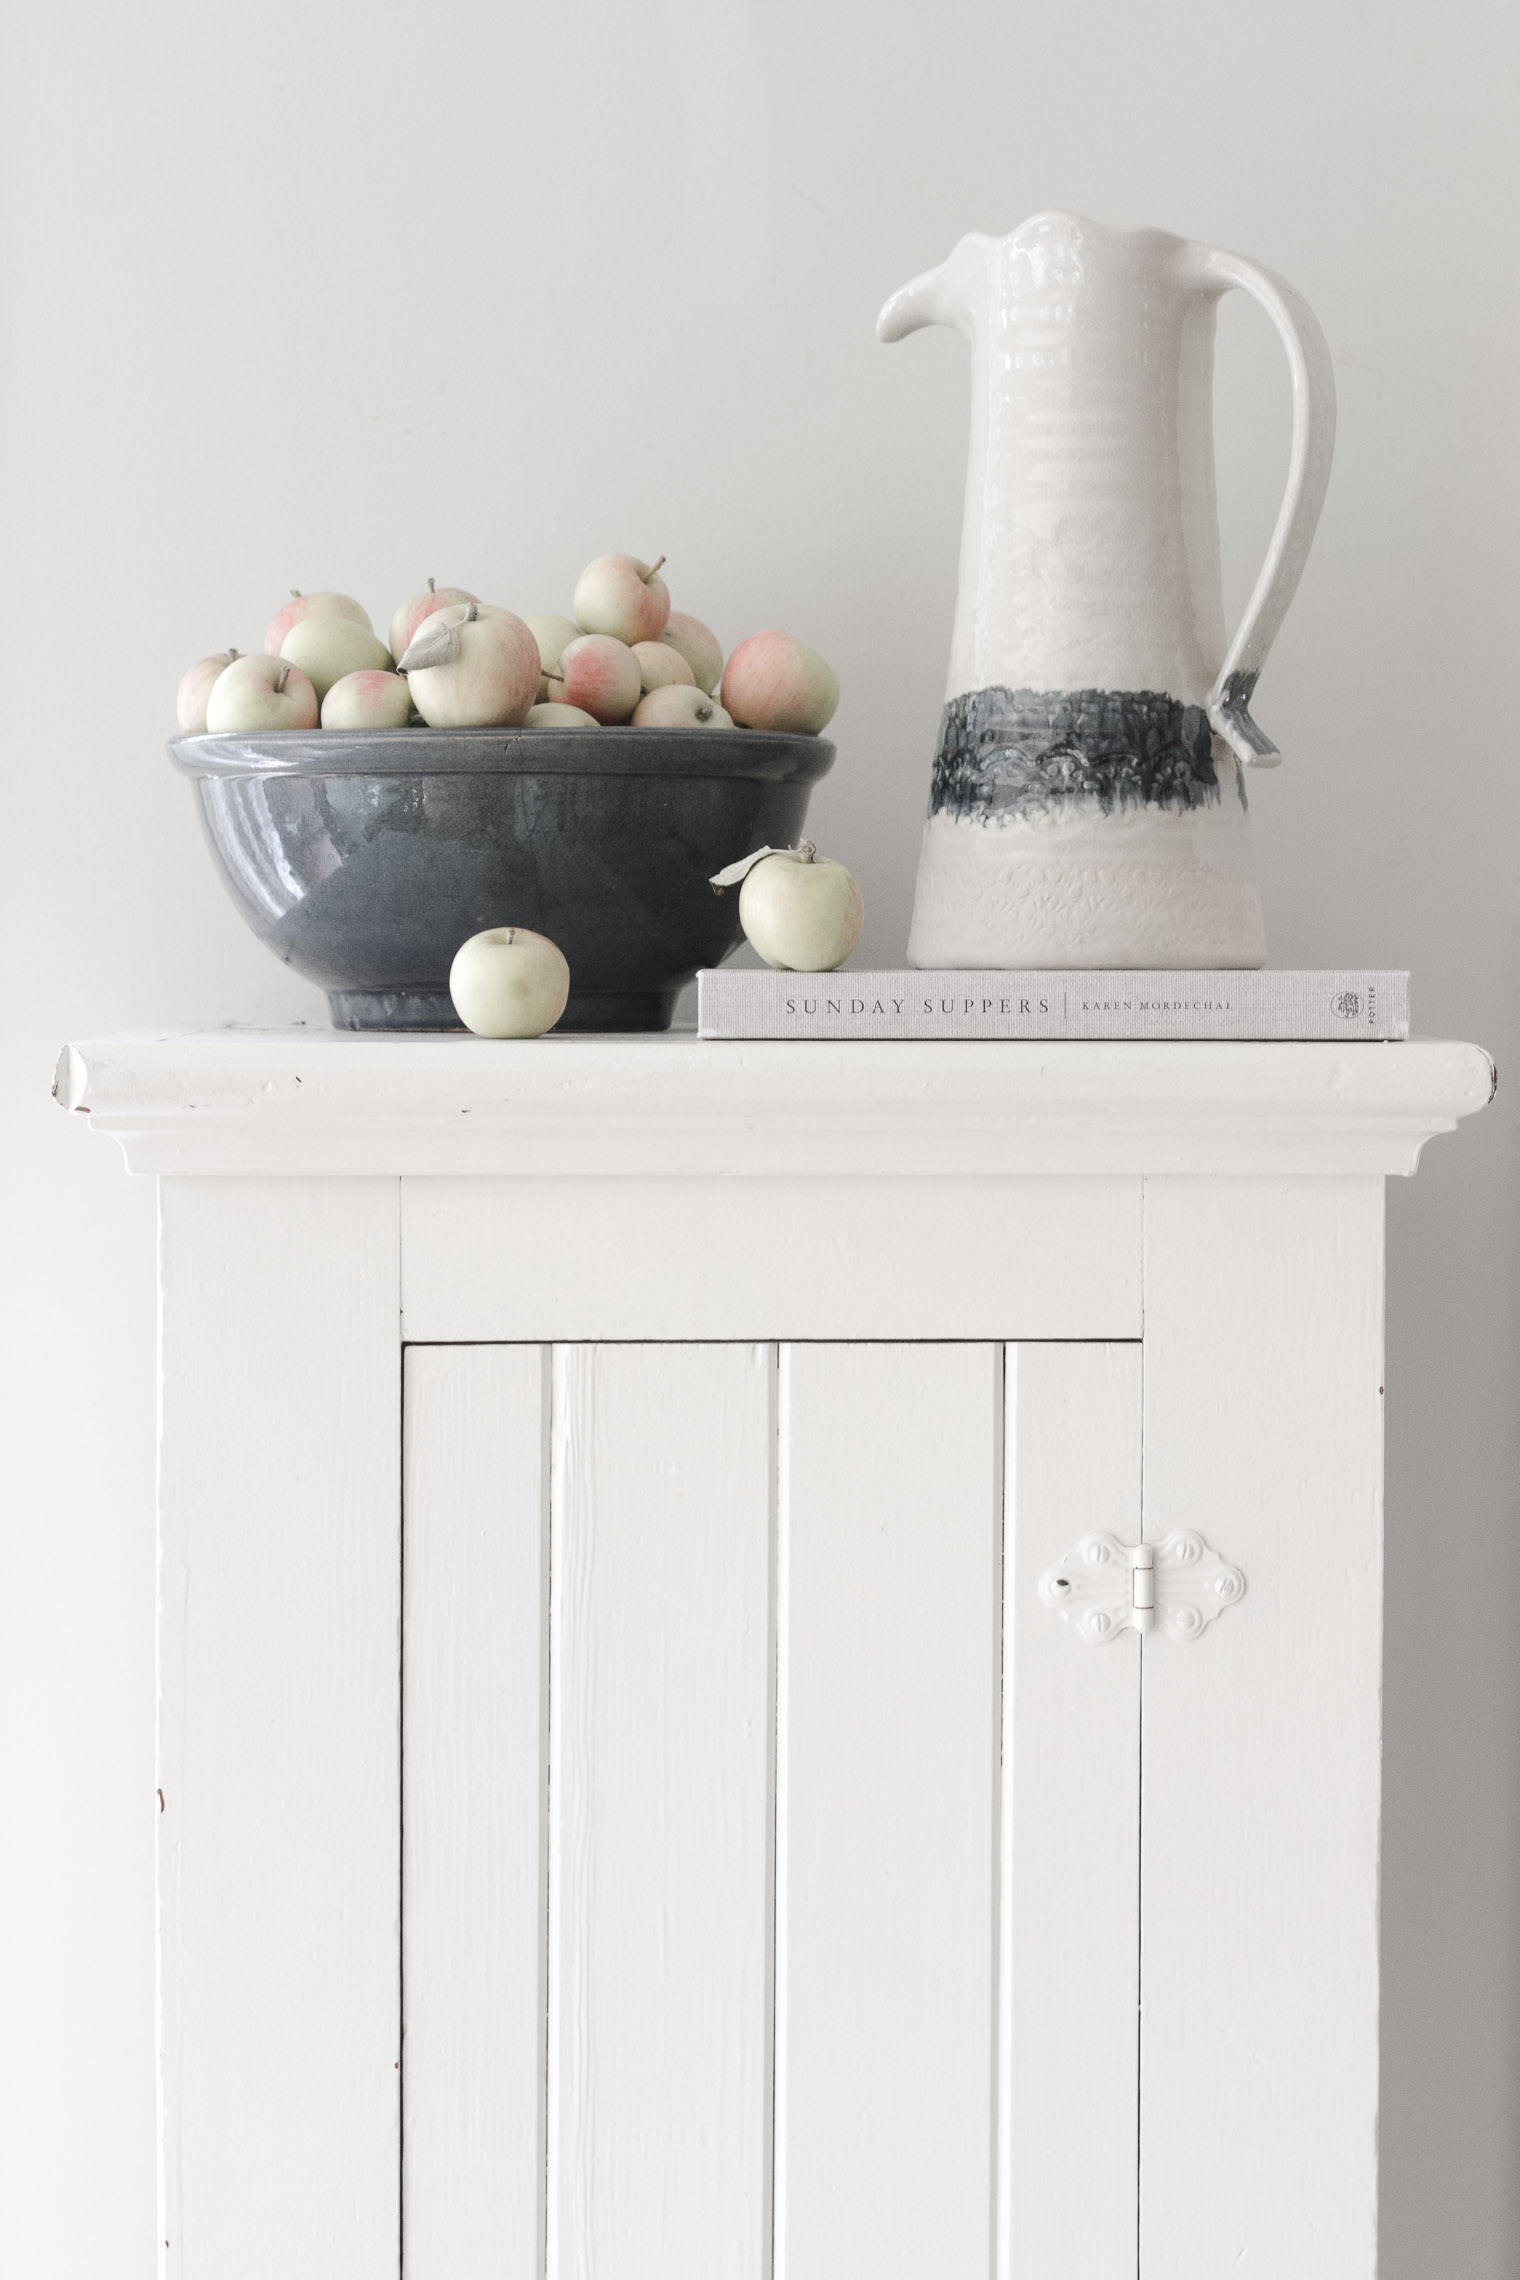 The blue bowl is Medalta, and the vase is from Anthropologie (a gift from my daughter). And then there’s Sunday Suppers … sigh. But I digress! On to the pie:

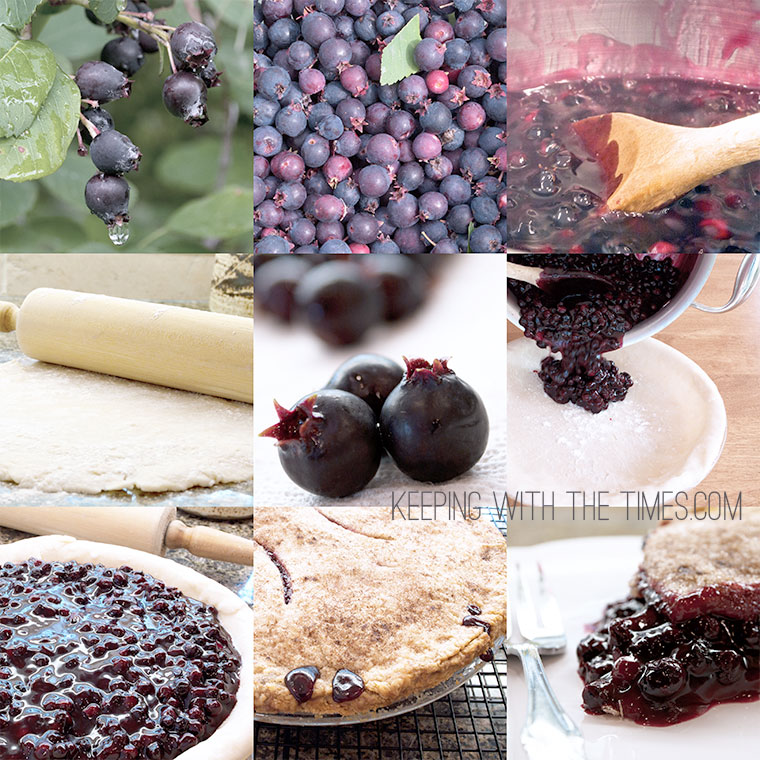
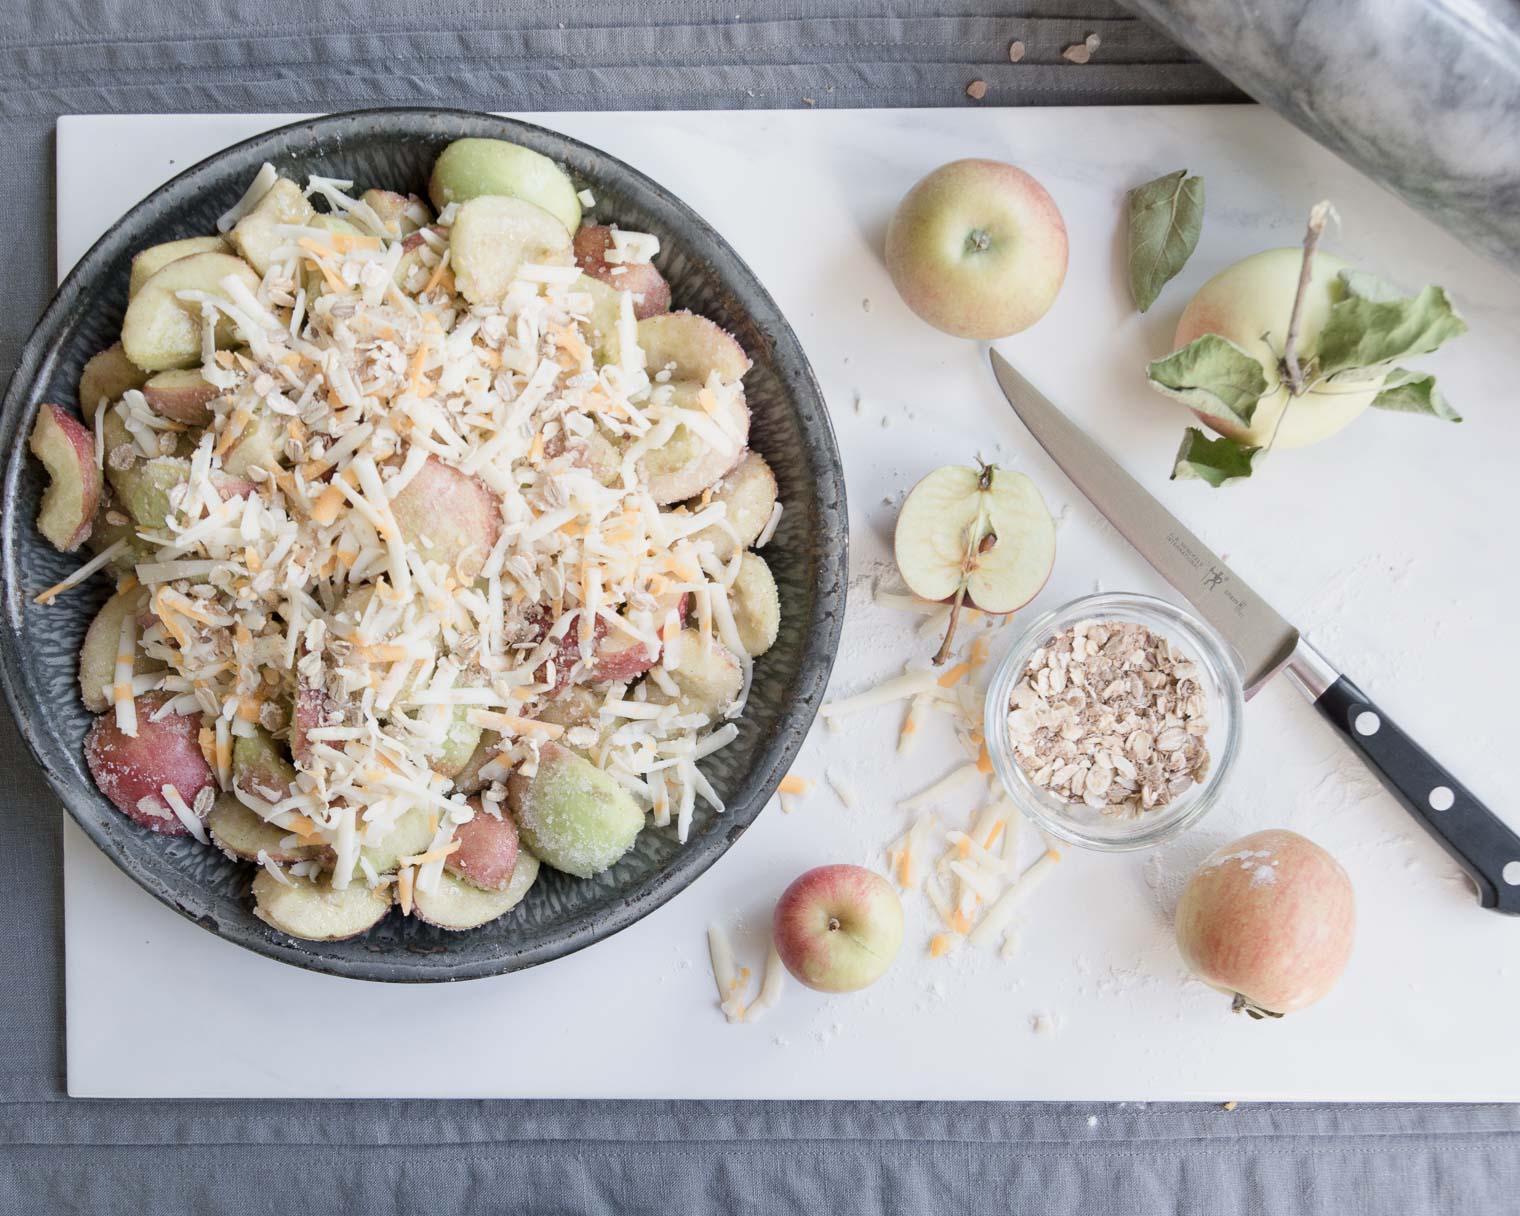 … done …
 … done …
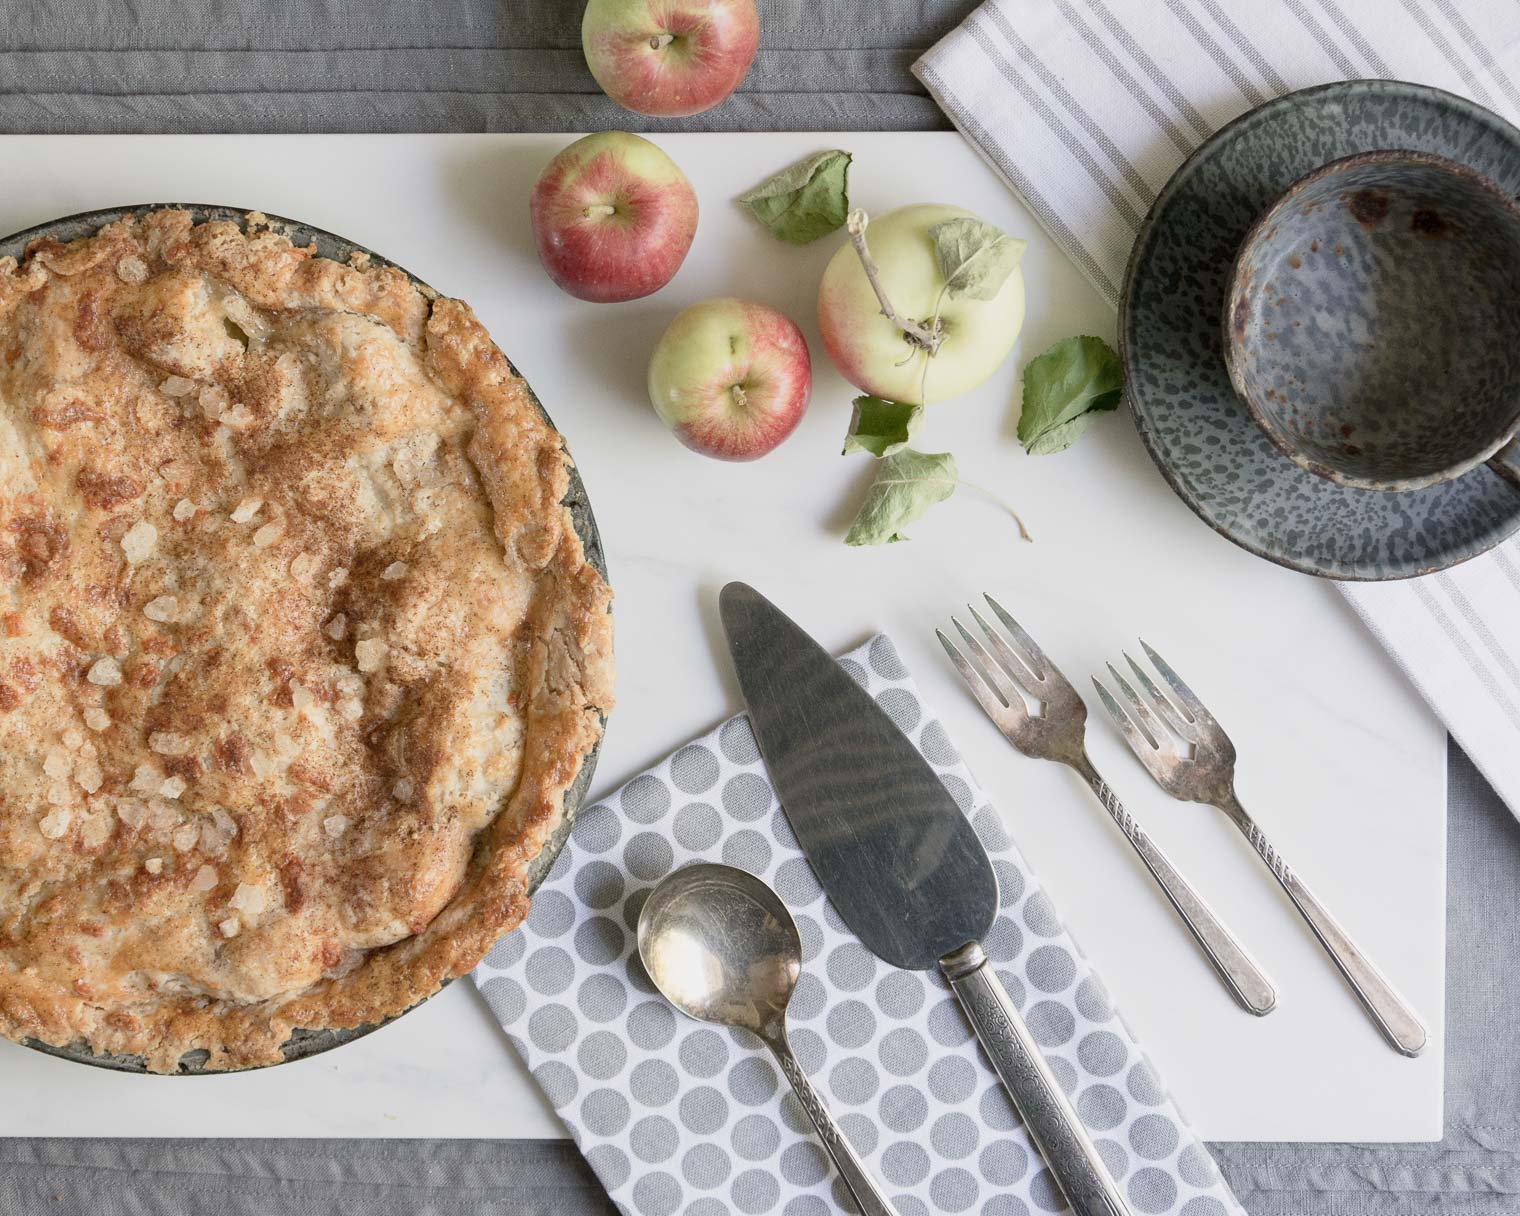 … and done!
 … absolutely delicious!


 Oh, and I’m sending out the link to this word art in my next newsletter!


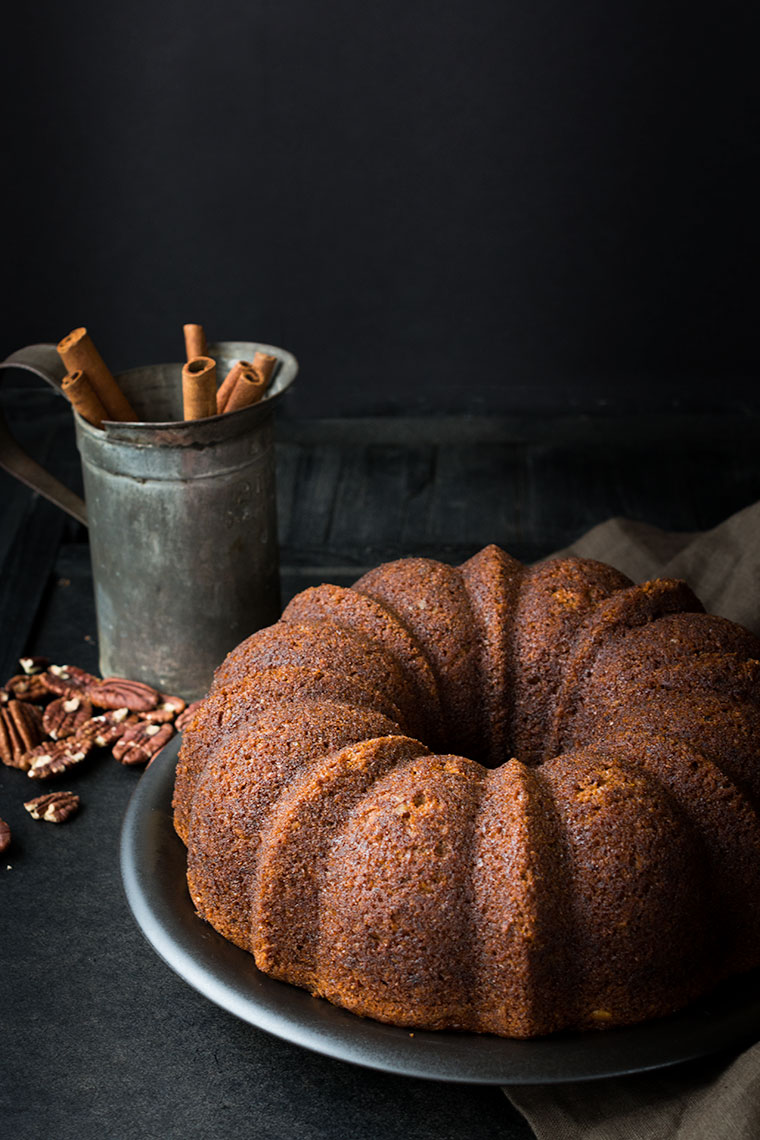


 These cinnamon buns have become MANDATORY for our Christmas morning. Try them once, and you’ll see why!